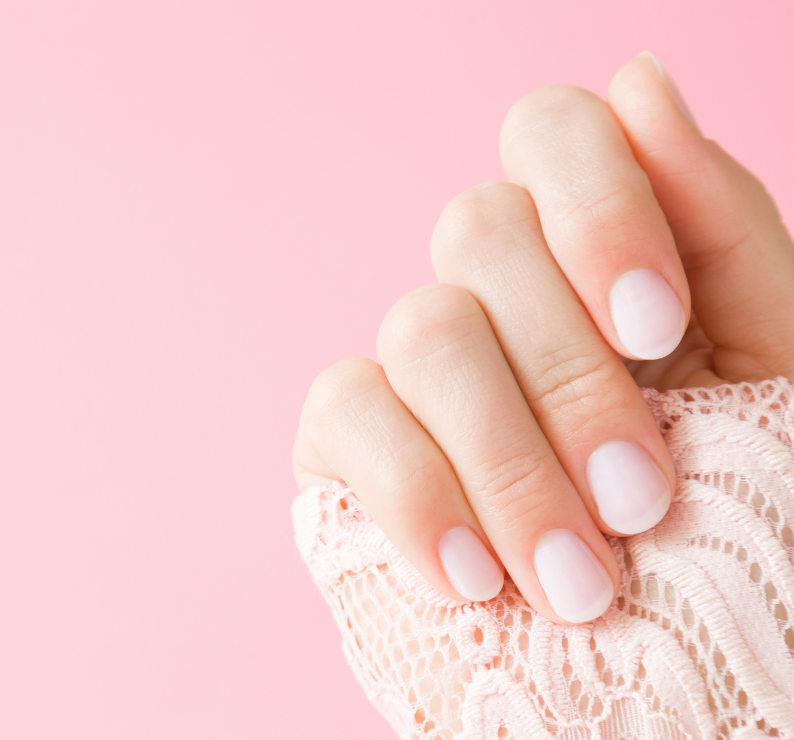
Going to the nail salon every few weeks and spending a lot of money to fix your nails can really start to add up. Whether you’re trying to save some money or just want the flexibility to your own nails whenever you want, at home manicures are the way to go!
When it comes to dip nails, many find that doing their own dip nails at home is not only more satisfying but also budget-friendly and easy to do.
Dip powder nails are a powder application system. Dip powder nails offer the flexibility of gel nails and the durability of acrylic nails. While it has become trendy lately, dip powder nails have been around since the early eighties.
What is the Difference Between Gel and Dip Powder Nails?
Gel and Dip Powder nails are very different from each other. Dip Powder Nails are applied by dipping your fingernails in powder. Dip Powder nails are perfect for short nails and long nails.
This post contains affiliate links.
These nails need to be redone every two to three weeks and are more susceptible to water or household cleaners. This means if you are interacting with liquids consistently, dip powder nails may not last as long.
Gel Nails are applied using a brush dipped in liquid and then dipped in powder to create a beautiful and healthy nail. Gel nails are cured using UV light. The UV light creates a strong coating to ensure your nails stay perfect for a longer period of time.
Gel nails are generally thicker and tend to fare better on longer nails. However, gel nails are more flexible and can be left on for three to four weeks. Gel nails are the better option if you must clean or interact with liquids frequently.
Best Dip Powder Nail Kits
If you’re interested in trying out Dip Powder Nails, it would be a good idea to consider beginner dip nail kits. These kits typically include all the tools you will need to give yourself a beautiful dip powder nail manicure. We’ve put together our top five kits to try out if you want to create beautiful dip nails.
1. Double Dip Start Powder Nail Kit
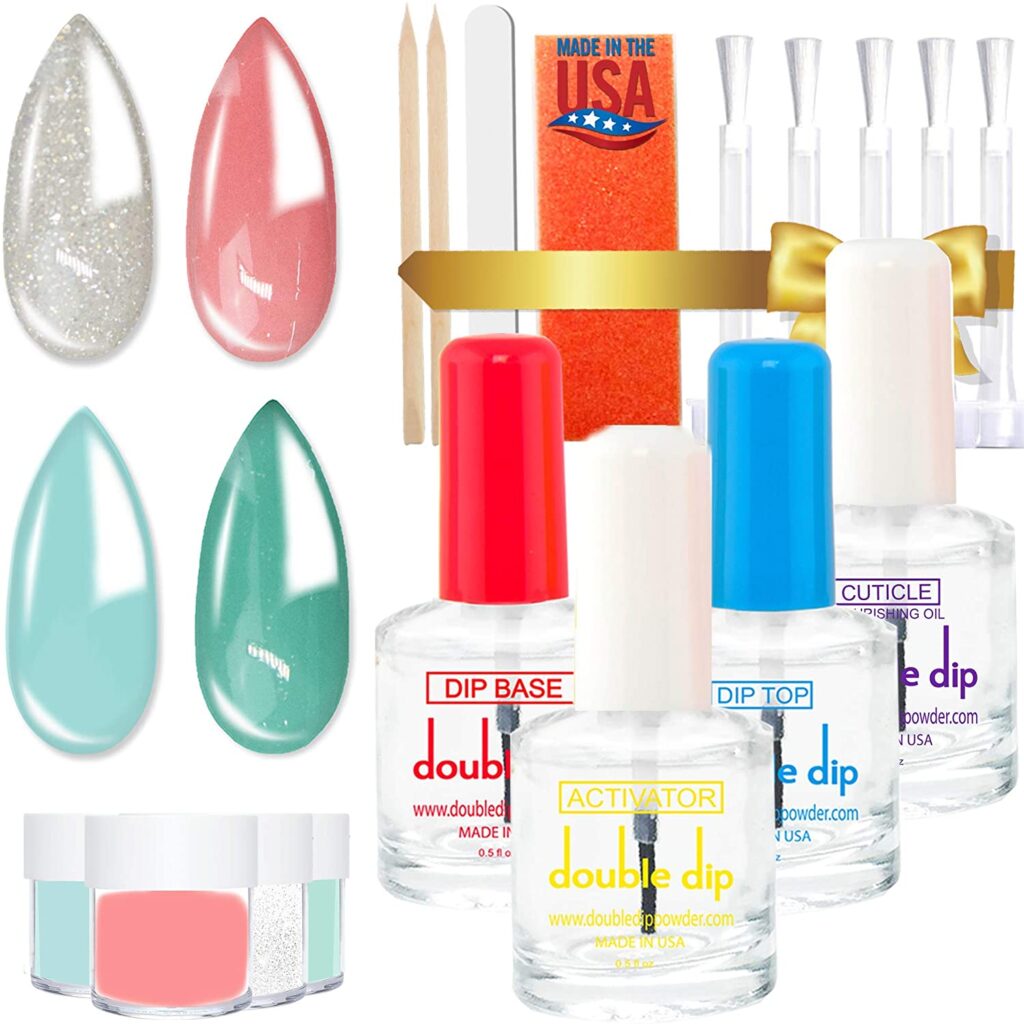
The Double Dip Starter Nail kit is an excellent kit for beginners. The kit includes seven different colors and contains the polishes you need to make your nails look perfect.
With every order, they include a starter kit that contains essential items you will need to speed up the nail process, including brushes, nail files, brush cleaner, and nail polish remover.
2. CH Nail Dip Powder Kit
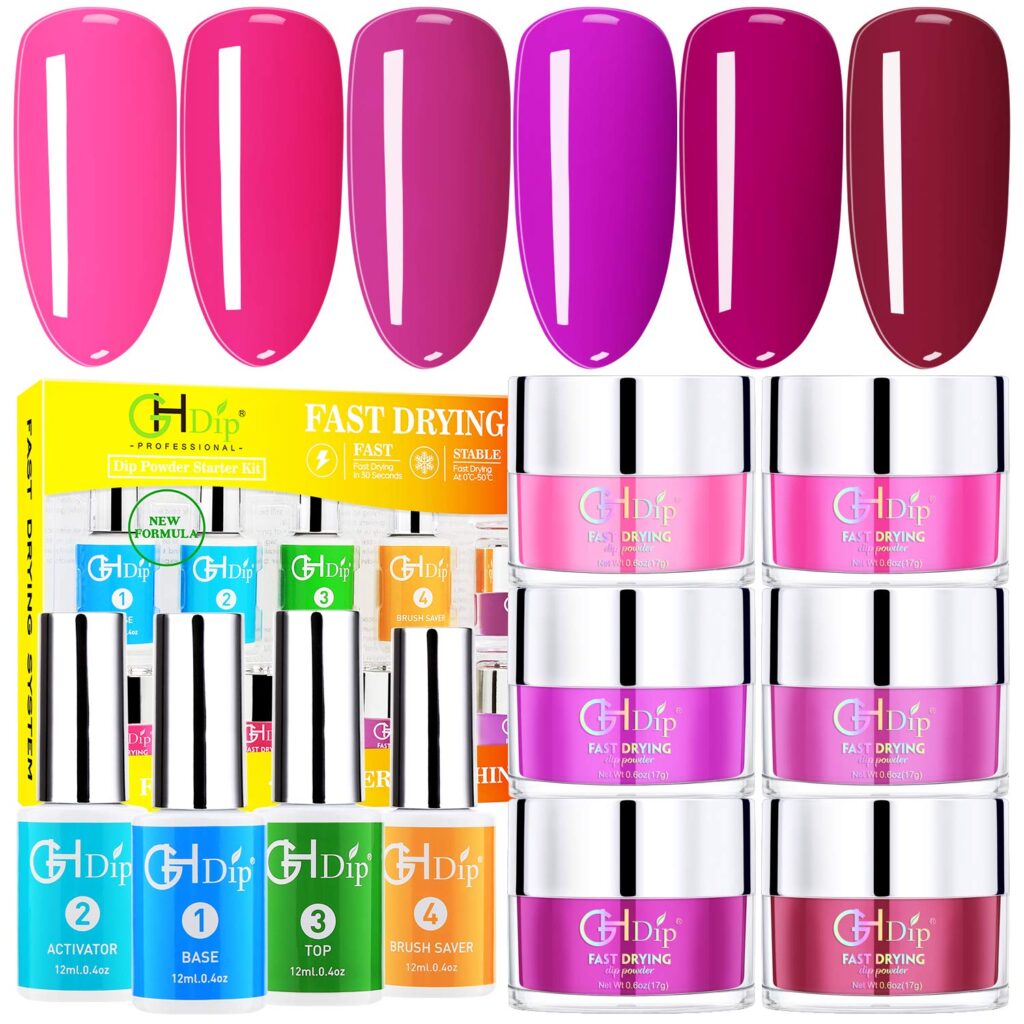
The CH Nail Dip Powder Kit allows you to create beautiful nails in a short amount of time. The dry time is a total of 30 seconds, which on average can cut down the time it takes you to finish your nails by 25%.
The kit includes two color variations. You can either choose purple and pink colors or neutral colors for your dip kit. This kit’s price is very inexpensive, which allows you to try out dip nails without making a huge commitment.
3. SerenDipity Mood Changing Dip Powder Starter Kit
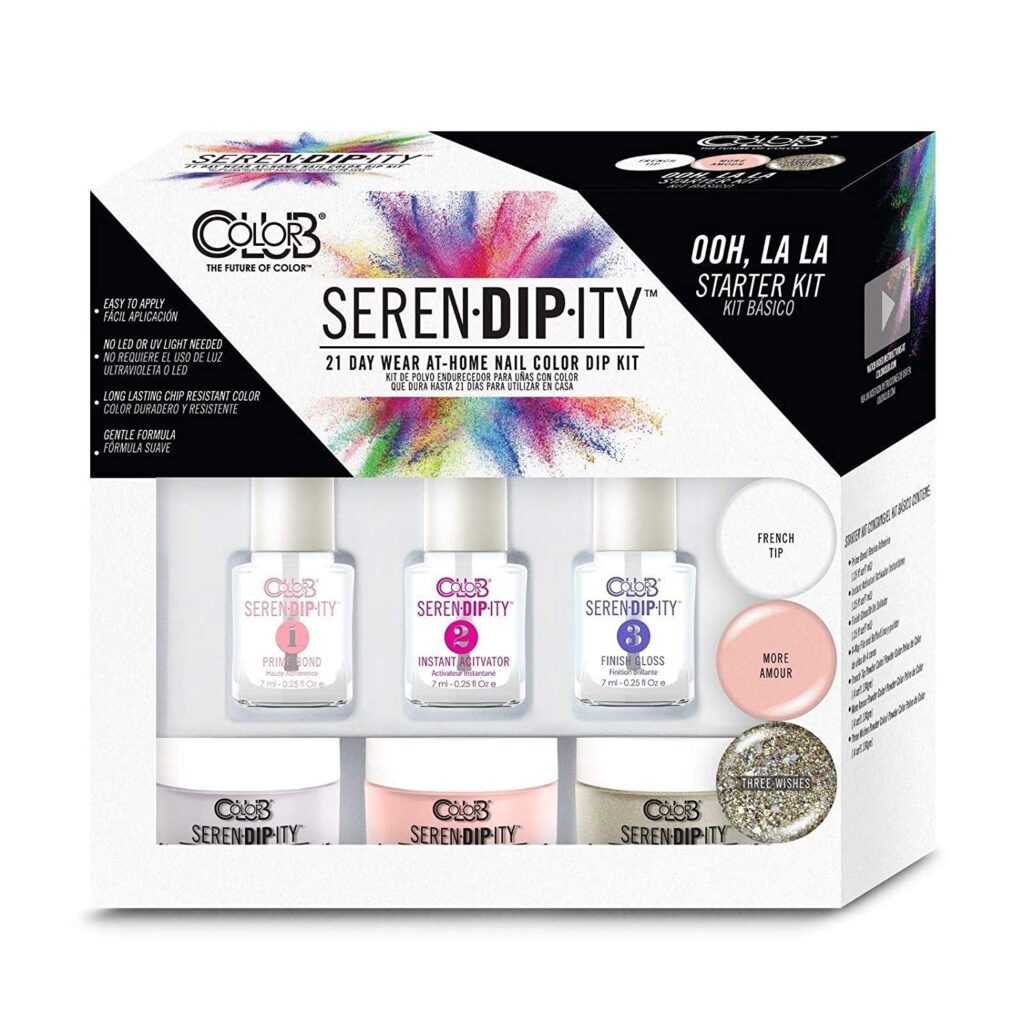
This kit is unique because it changes colors depending on the temperature around you. It’s like getting two manicures for the price of one.
The kit itself is very inexpensive and features all the powders and top coats you need to ensure a beautiful powder manicure. The Jane Serendipity Mood Changing Dip Powder has four different temperature changing colors included.
4. Red Carpet Dip Manicure Set
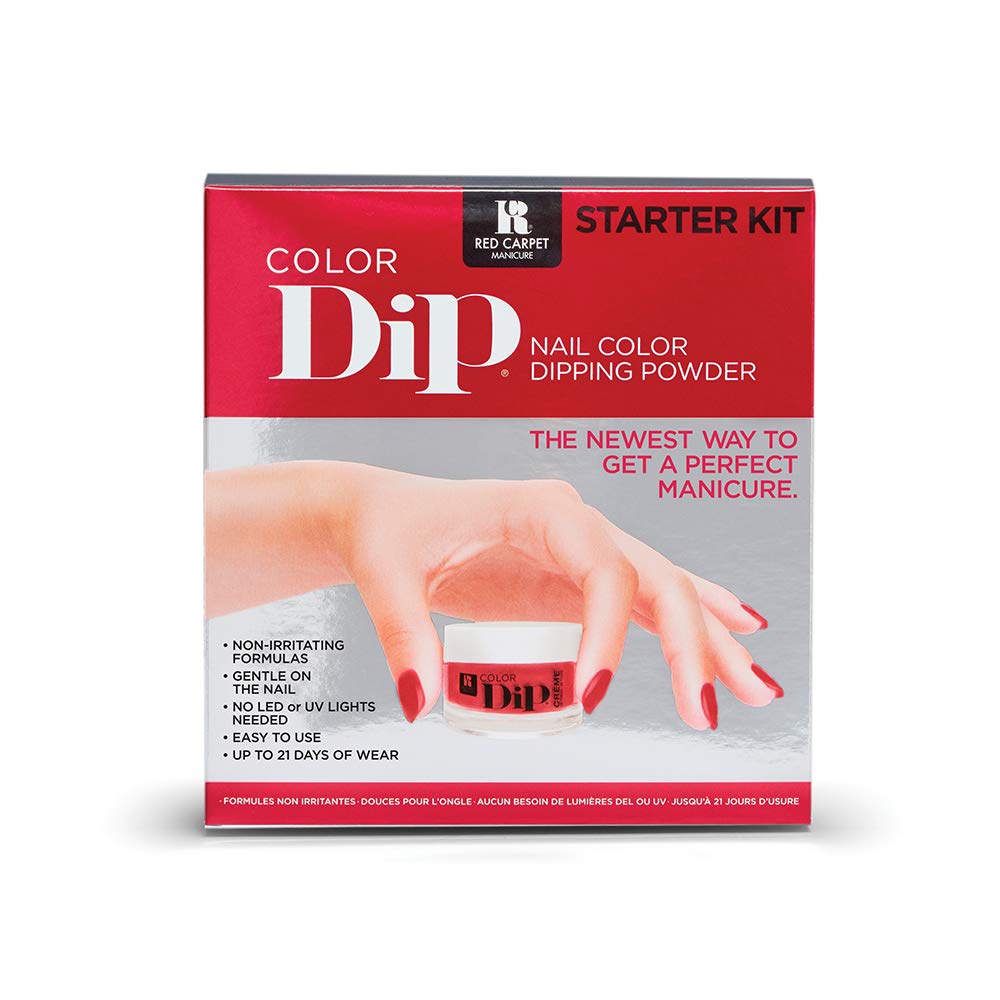
The Red-Carpet Dip Manicure set has everything you need, including a base coat, top coat, activator, brush softener, groom buffer, instructional brochure, nail wipes, remover foils, and orangewood sticks.
This product only includes one red color as your main powder. If you want additional colors, you must purchase them separately.
5. Azure Dip Powder Starter Kit
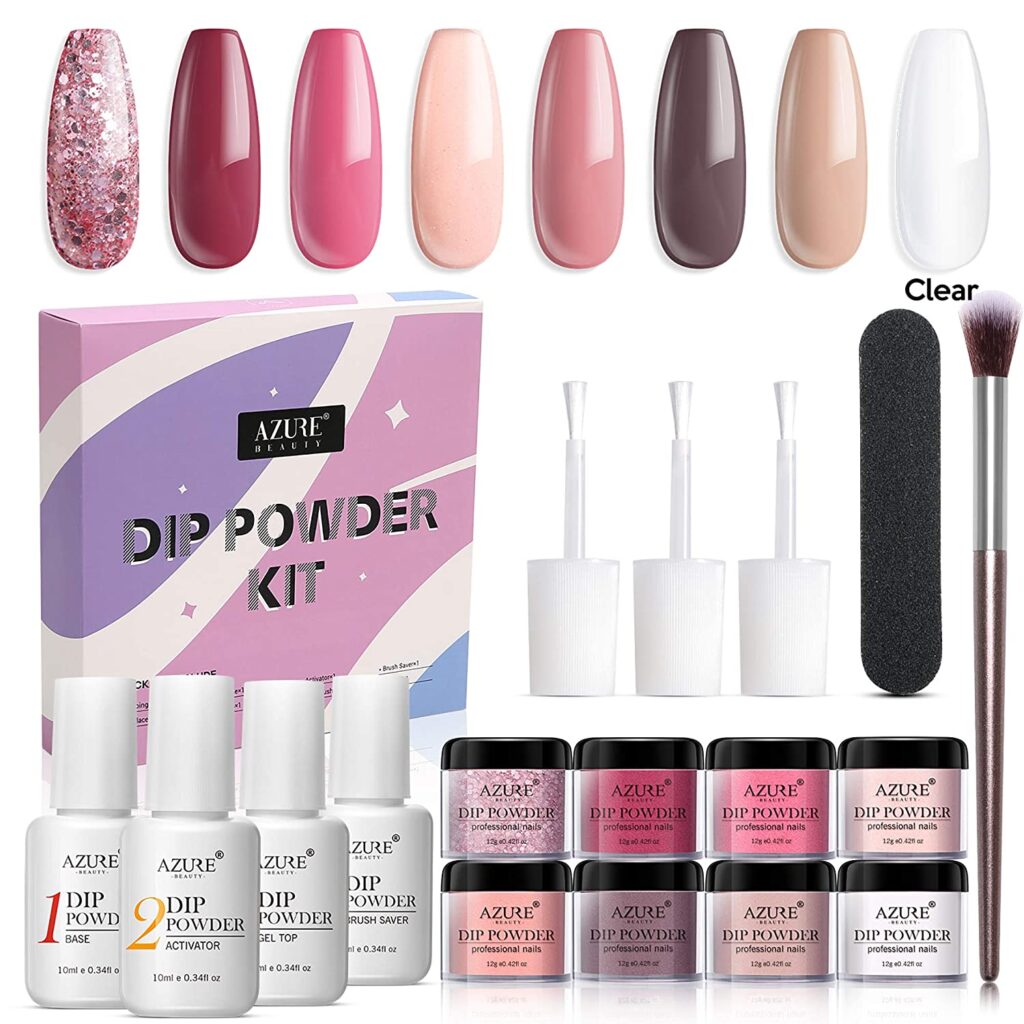
We love the Azure Dip Powder Starter kit because of its top-quality formula and beautiful color selection. The kit includes eight different shades with your purchase.
You can mix up the colors together to combine new colors! This dip powder is made from natural resins and will last about 2 weeks.
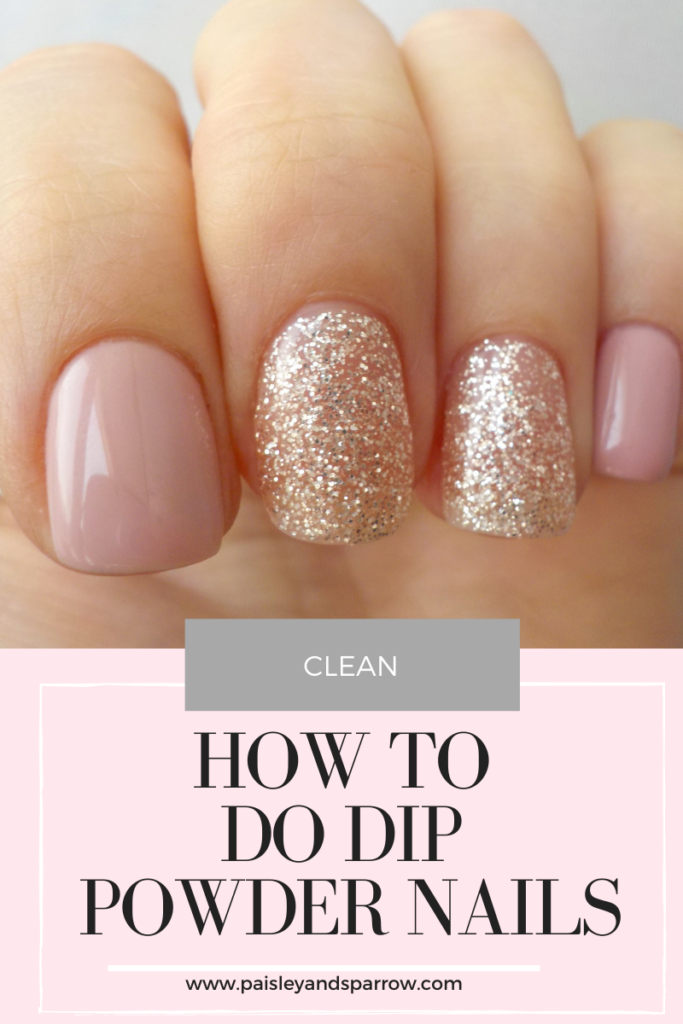
How to Apply Dip Nails at Home
Whether you choose to get your nails done at a salon or prefer doing the process at home, your nails will take some time, attention, and special care.
The technique listed below will help you get started! Most salons and at home kits will follow the same procedure to create a beautiful looking dip nail manicure. You can also check the kit you purchased for more detailed instructions as some of the kits may have slightly different procedures.
Step #1
Before you do anything to your nails, you first need to prep your nails. This step is important because you want to start with a clean surface.
You need to make sure that your cleaning your nails of any oils or dirt that may be lingering by thoroughly cleaning your nails. The best way to do this is to wipe them clean with a polish remover or acetone.
Make sure to clip down any hangnails and push your cuticles back to remove any dead tissue that could be lingering.
Step #2
Once your nails are prepped and cleaned, you’re ready to start using your dip kits. In your kit, you should have a bottle that is labeled “bond” or “base”. This polish needs to be applied to the entire nail.
This bond is essential because it removes any oils that could be on your nails or dehydrate your nails, which is necessary to get the powder to stick. Remember to wait at least 30 seconds for your polish to dry before moving onto the next step.
Step #3
You should now look for a bottle labeled “Base”. The base coat is what you’re going to use to get your dip powder to stick to your fingernail.
You will only want to apply this first layer 3/4th of the way up to your nail. Apply this in smooth, thin layers so that the application looks even.
Step #4
Next, you’ll need to dip your nails into the natural powder that should be included with your kit. This step is essential because the clear powder will ensure that your nails are growing stronger.
Make sure you do not allow the base coat to dry. Dip your nails in at a 45-degree angle. You’ll need to brush off any extra powder with a soft fluffy brush. A makeup brush will work if one was not included in your kit.
Step #5
Now it’s time to pick your primary dip powder color you want to use. You’ll first need to put another coat of base polish on your nails before dipping into the powder.
You want to do this transition quickly because you don’t want the base layer to dry. If it does dry, you will find that the powder won’t stick to your nails. You can always reapply the base coat if this happens.
This time when you dip your nails, make sure you go all the way to the end of your nails. Dust the excess powder off your nail between coats to ensure an equal application.
Step #6
You’re going to repeat the base and dip routine from step five at least one more time, for a total of two applications. If you want your nails to be a little thicker, you can opt to do step five for the third time.
However, it’s unnecessary and not recommended to do a fourth layer because it won’t add to your nails’ quality and will be wasting product.
Step #7
It’s time to put on your top layer. Look for the bottle labeled “Seal”. This polish will help protect your nails while sealing in your color that you just put on. You’ll notice that your powder becomes activated, displaying a vibrant nail color.
Step #8
Once your nails have dried, go ahead and file them down to your desired shape. You’ve now finished your nails, it’s that easy! If you want to add some extra strength to your cuticles, add some nourishing oil to your nail.
How to Remove Dip Powder
If you’re ready to take your powder nails off, you first want to file the top of your nails down. You’re trying to make the shiny part of your nails look dull.
It’s then time to soak them in a bowl of acetone, or you can dip cotton balls into acetone, put them directly on the nail, and wrap your nail in foil. Let your nails sit for at least ten minutes.
After that, the color should dissolve, and you will be able to wipe it off gently. Do not pull or scratch off your nails. If it’s not coming off, allow additional time for your nails to soak in acetone.
Dip Powder for your nails can easily cost you at least thirty dollars at a nail salon. Finding a dip powder kit and doing it yourself allows for more customization, flexibility, and control over the process. Dip Powder Kits are affordable and will usually last you a few months before you need to look at purchasing another kit.
If you’re looking for more of a traditional route, try Olive and June nail polish! I have a full review and promo code here.
Looking for nail ideas? Try these:
- Nude Nail designs
- Short Nail designs
- White Nail designs
- Floral Nail designs
- French Tip Nail ideas
- Manicures for Valentine’s Day
And try out one of these different nail shapes while you’re at it!