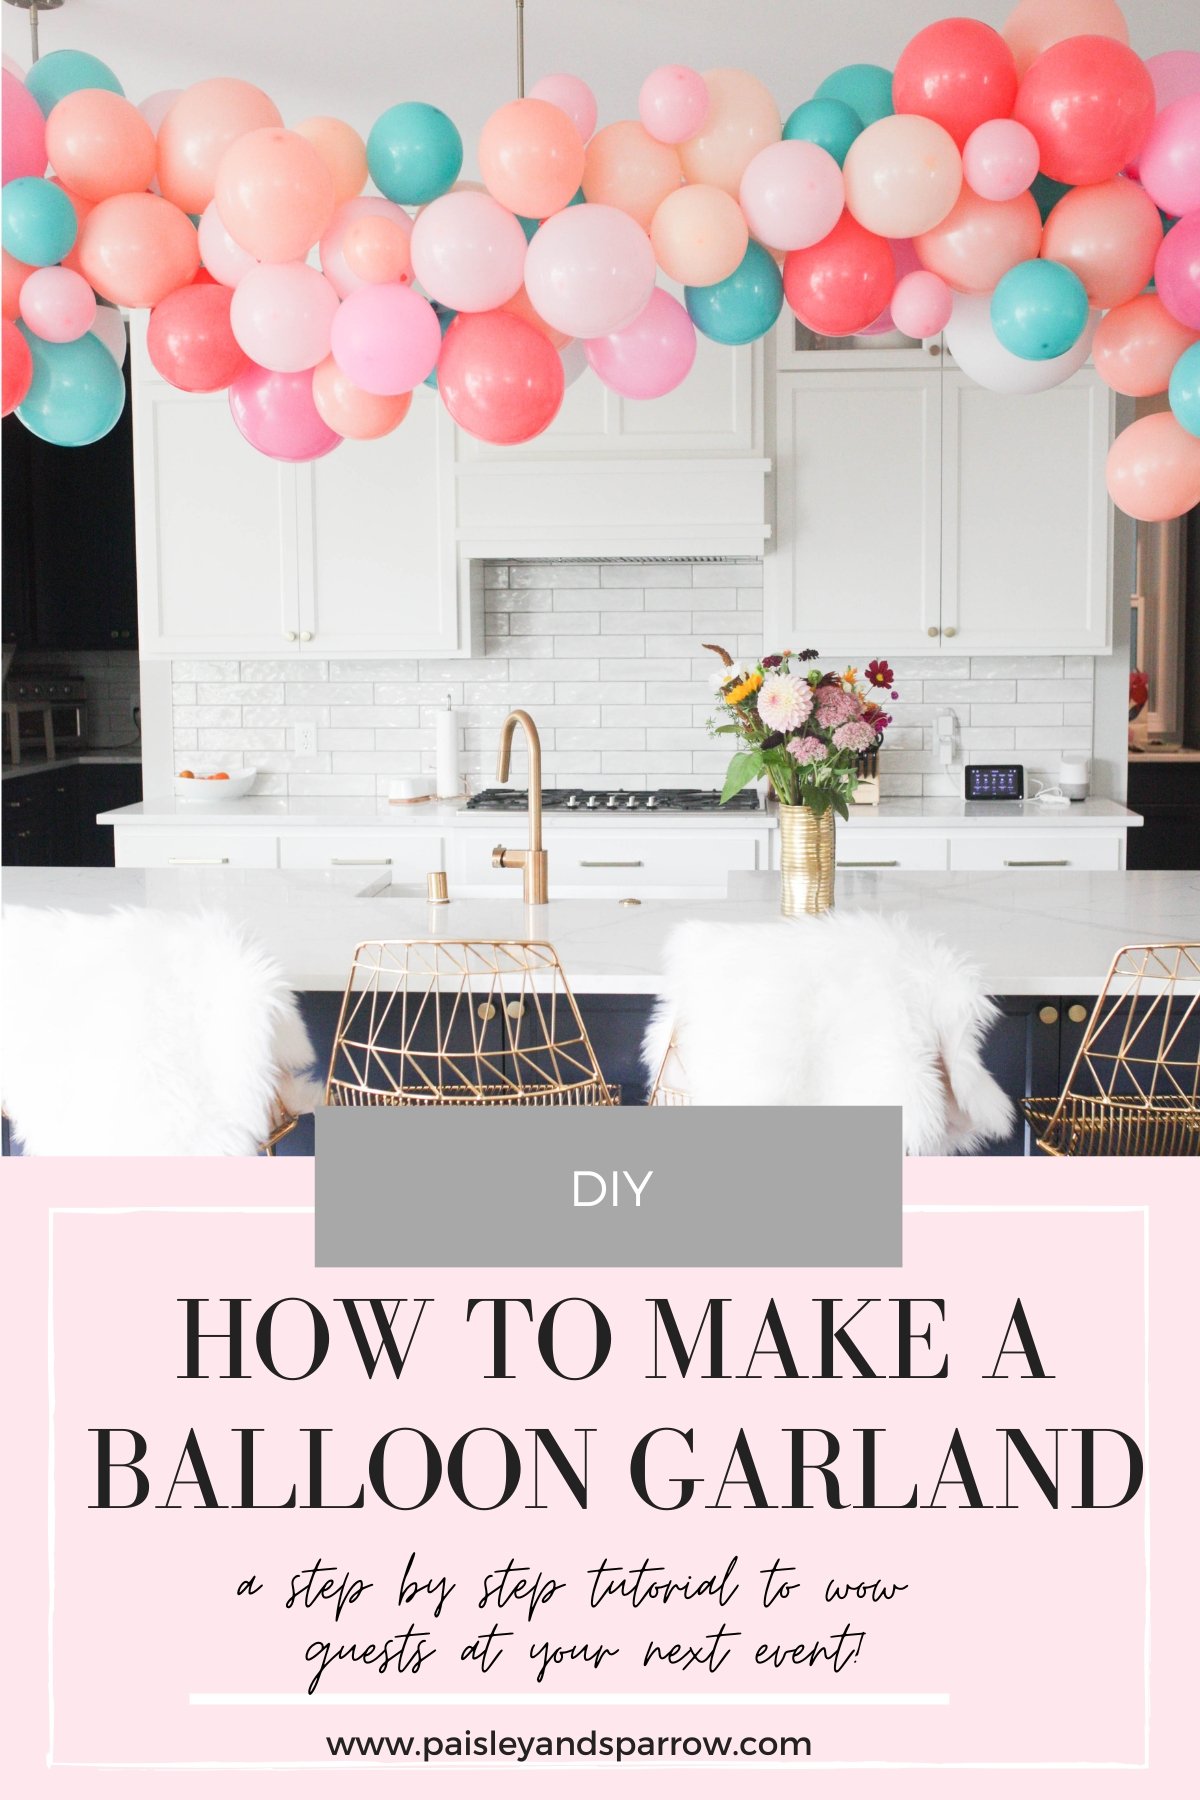
Trying to figure out how to make a balloon garland? A balloon garland is a super easy way to make a big impact for any kind of party! They’re actually incredibly simple to make which you’ll see with this tutorial.
If you’ve been around my world for any minute of time you know I LOVE balloon arches. And honestly, they make such an impact that they truly cut back on the rest of the decor needed for any type of celebration!
I was so intimidated by them before I ever made my first one because they seem so difficult! In reality, they’re one of the easiest things you can make which is why I wanted to share this balloon garland tutorial.
*this post may contain affiliate links which means I may earn a small commission on something you purchase at no additional cost to you. Thank you for helping me support my family through Paisley + Sparrow!
Examples of Balloon Garlands I’ve Created
I’ve made balloon garlands pretty much every party, baby shower and holiday in the last 3 years. I’m now known as the official party thrower in my family because I love making them and everyone loves having them!
After I did my first balloon arch, there was no stopping me! Now I make them for almost every birthday party, shower or any other gathering I host. Here’s a few that I’ve made over the year:
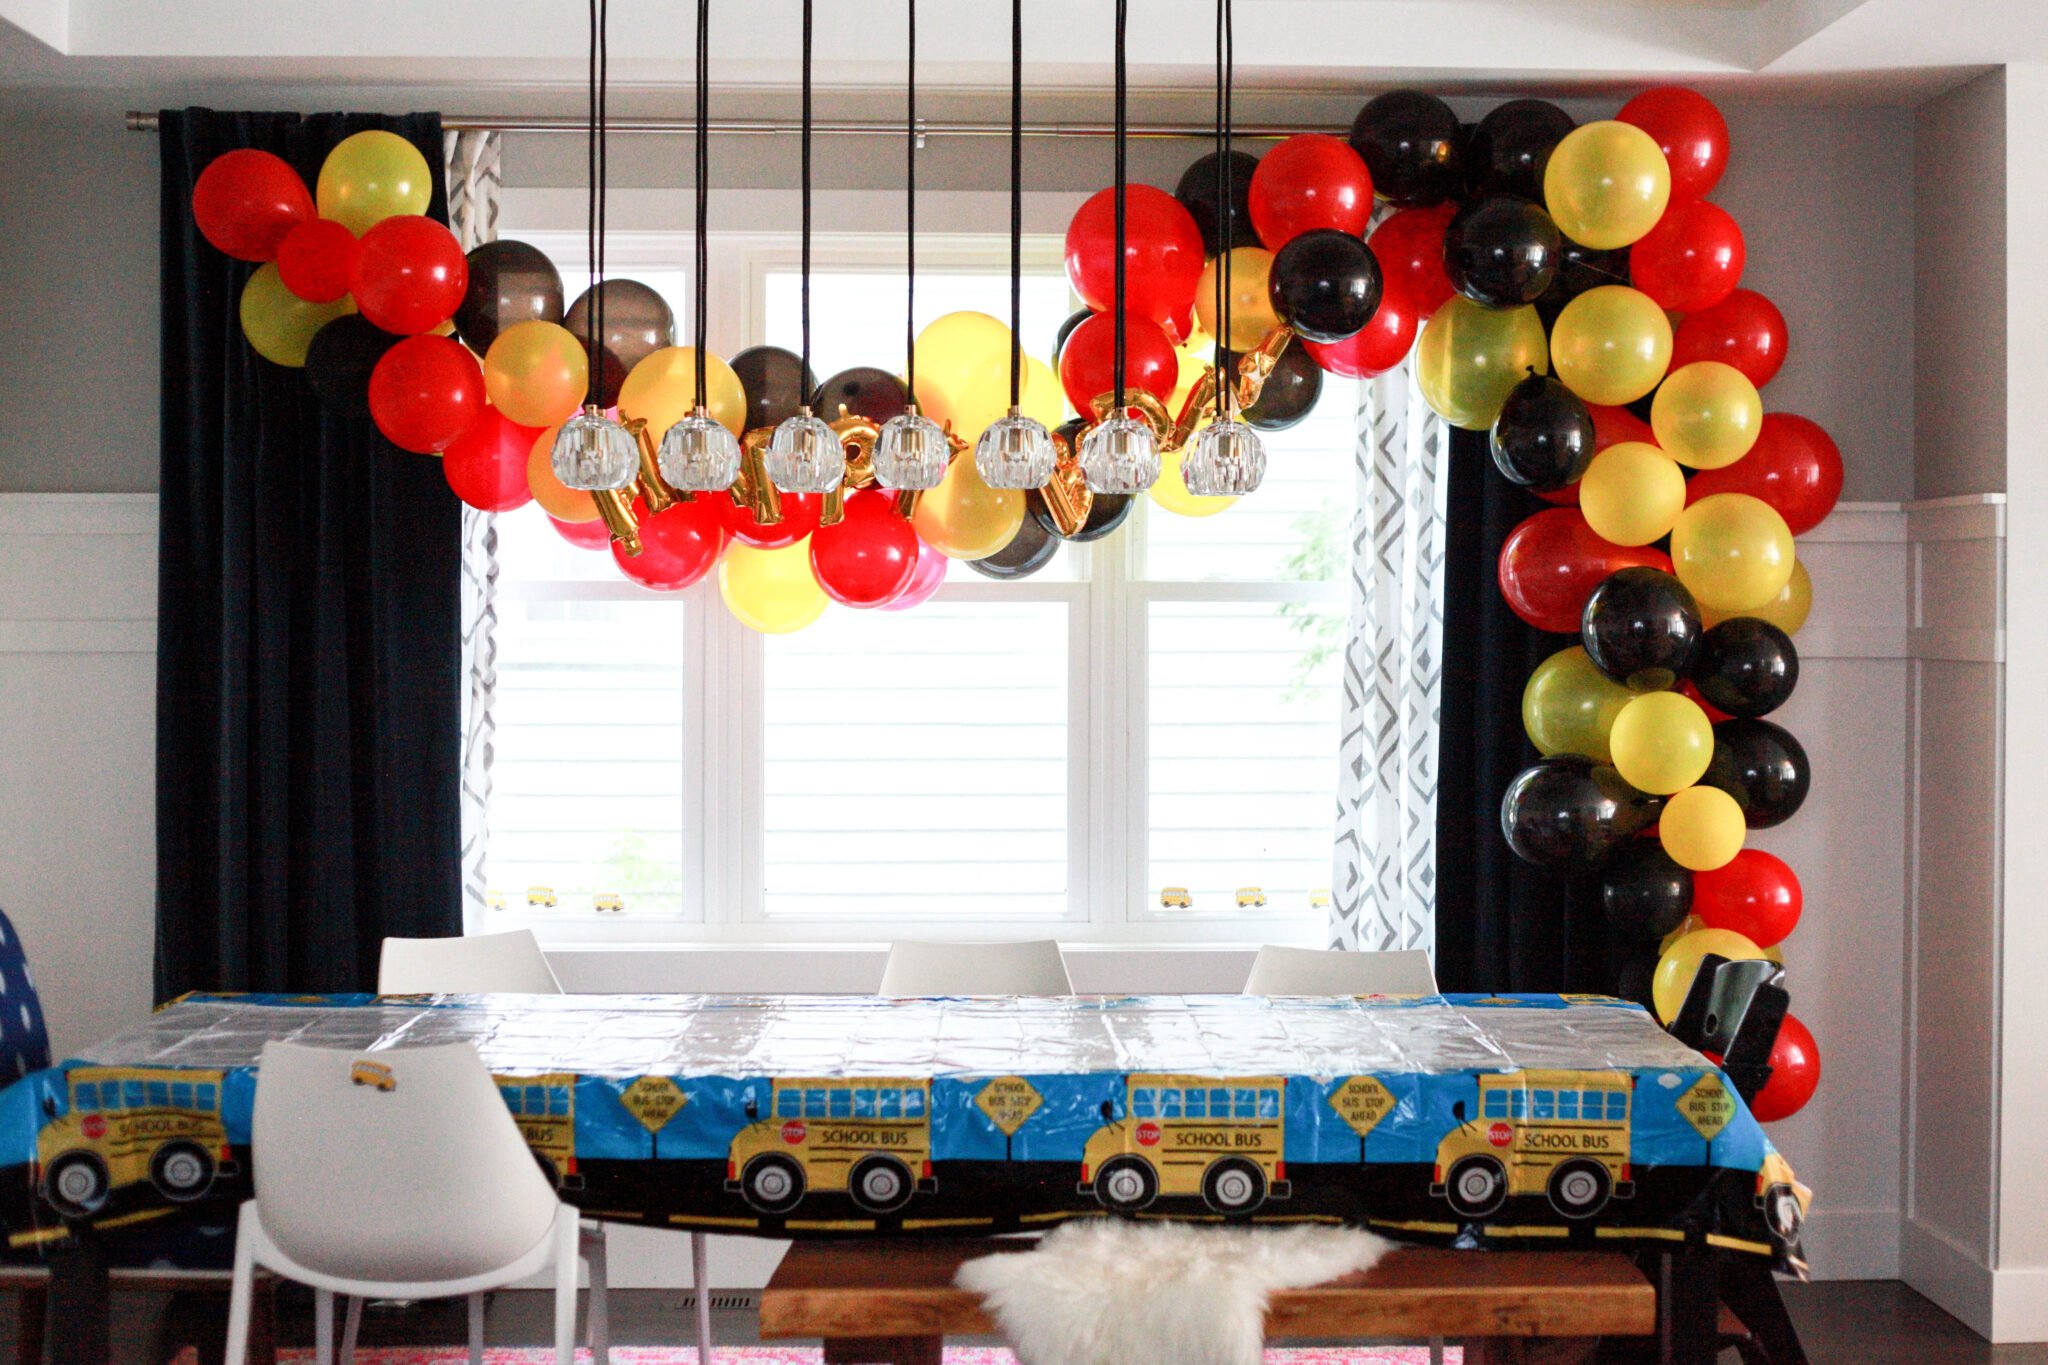
My very first one was this Mickey Mouse Balloon Garland! I used a variety of red, white and yellow balloons for Roy’s Mickey Mouse birthday party.
Keeping with the
If I buy a kit again, I’ll be sure to check exactly what’s included. I didn’t realize only a few gold pieces were in the kit so I would’ve bought an additional pack of gold or just bought all of them separate!
And actually, a handful of the gold balloons popped before the party even started which made sense why they added in a few “extra” gold balloons! (Next up I need to do a Disney princess one!)
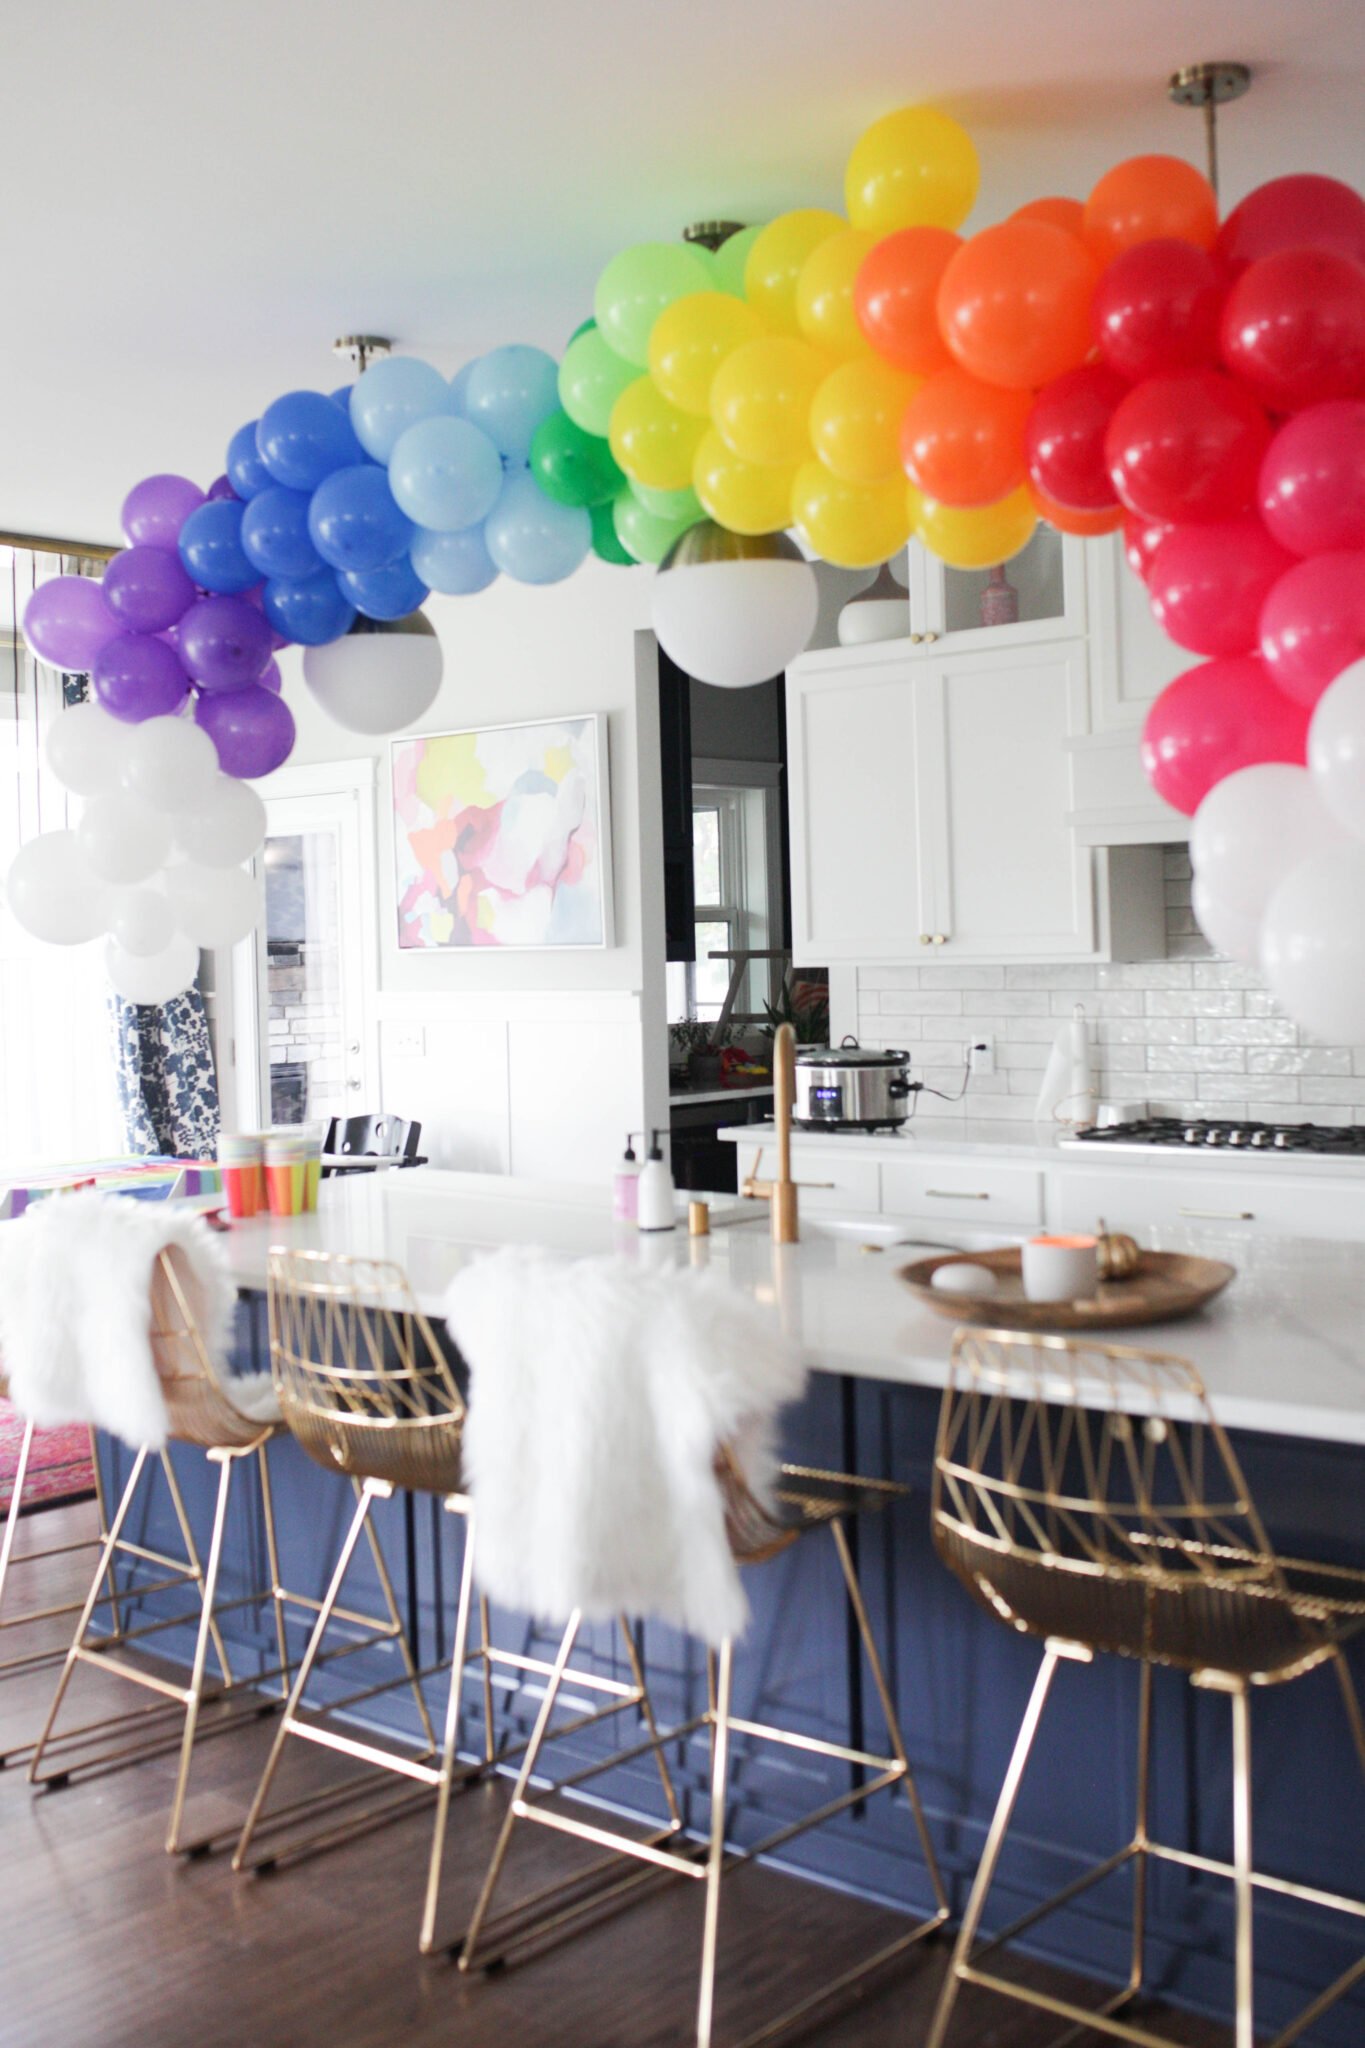
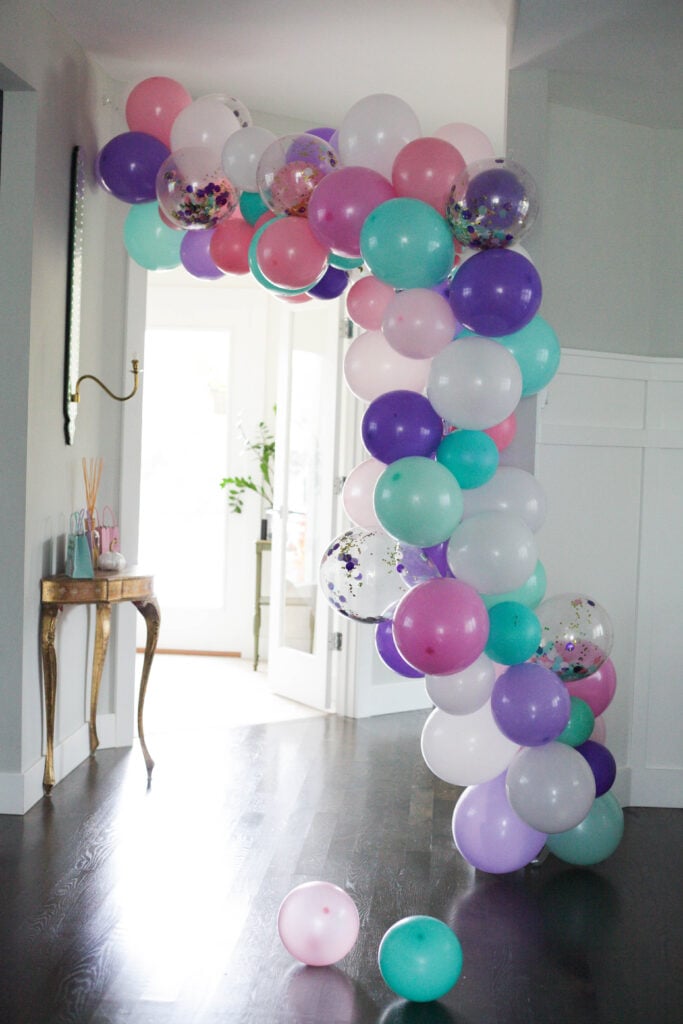
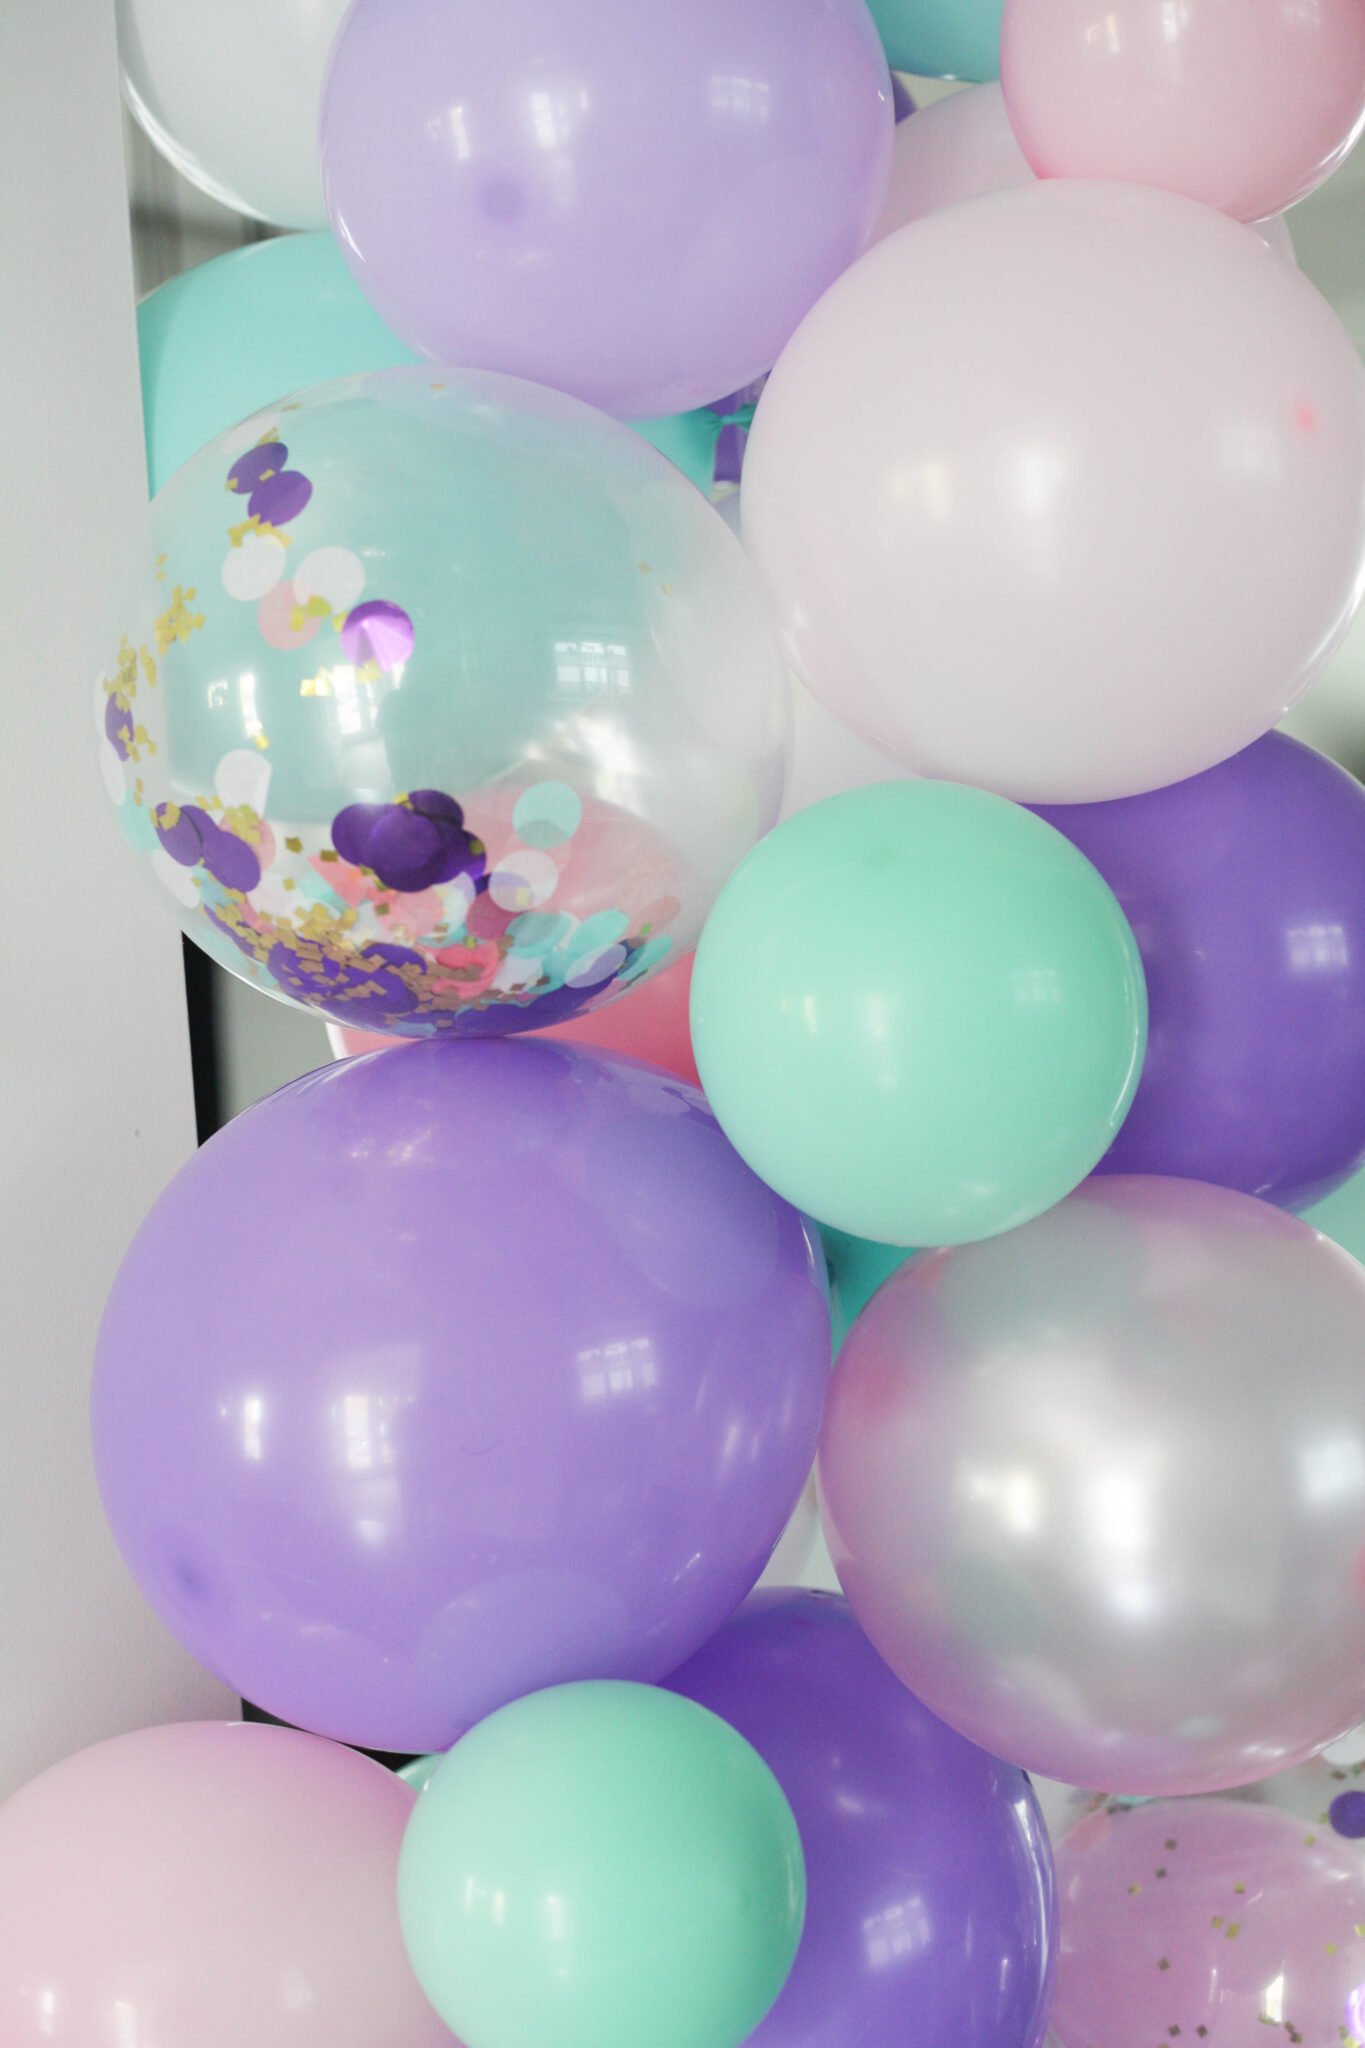
I created a rainbow balloon garland for my daughter’s 3rd birthday and it was a hit!
I even did a balloon garland just to celebrate National Coffee Day!

The most recently balloon garland I did was for our son’s superhero birthday party. It was a beautiful summer day so I attached it outside our house! It was the perfect way to welcome guests to the party.
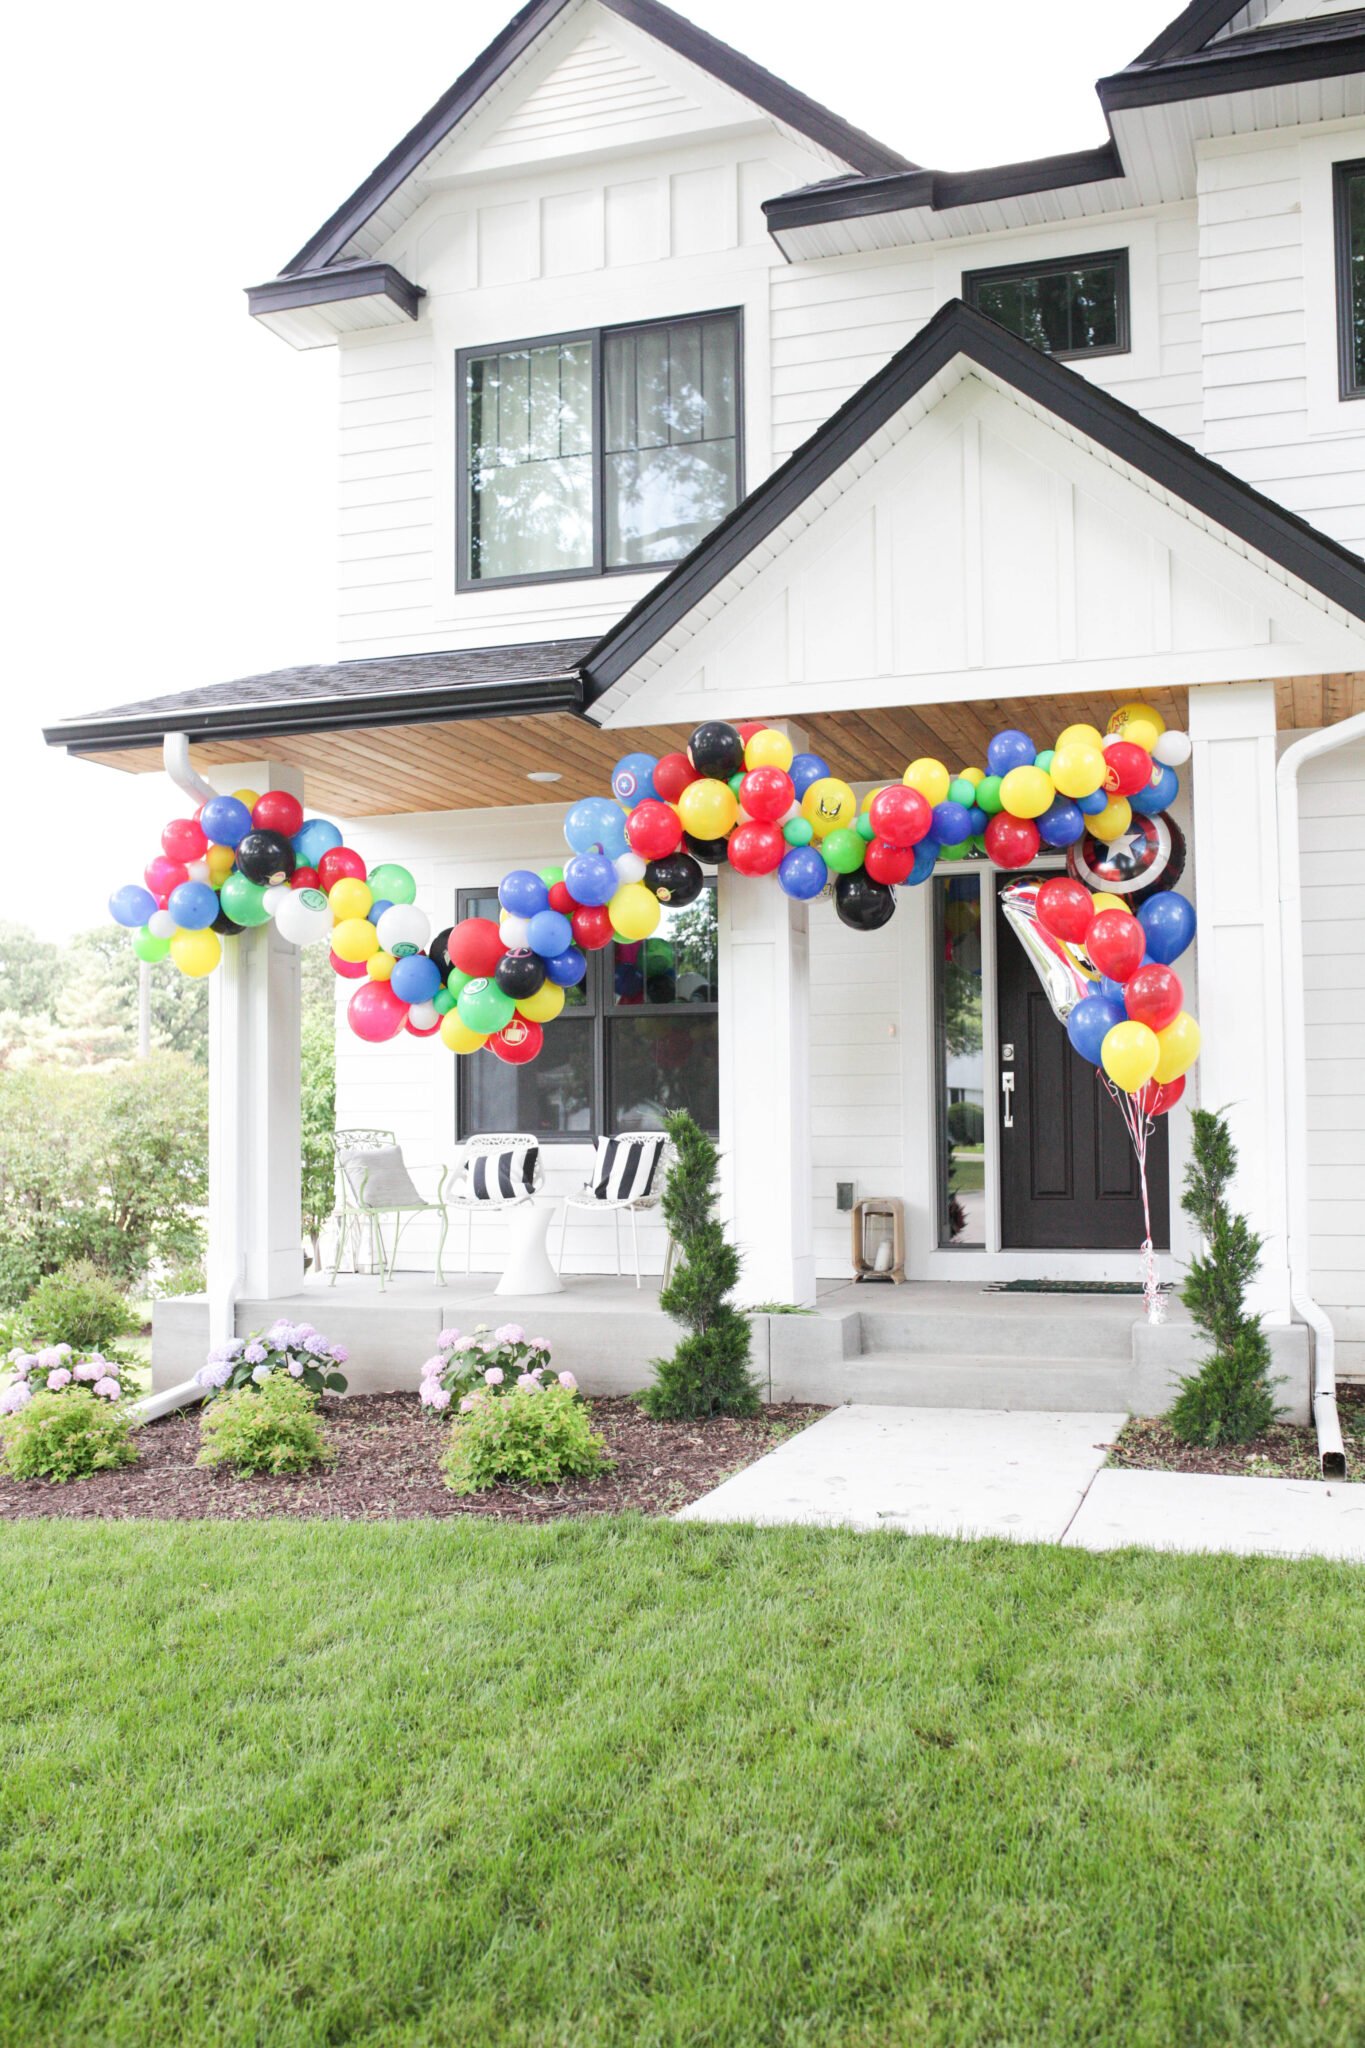
As you can see, it’s super easy to make a big impact with balloons! I handful of balloons and a little time can make a huge impact for any special day.
Now let’s talk about how to make a balloon garland.
How to Make a Balloon Garland

There are a few ways to make a balloon garland.
The first is you can tie each balloon onto a LONG piece of twine. The second way is to “sew” your balloons together by using a needle and thread or fishing line and pushing the needle through the bottom of each balloon. Or lastly, the easiest way, is you can do it by using a balloon decorating strip!
I’m convinced that a balloon decorating strip is by far the easiest way to make a balloon arch so let’s chat through the steps of doing that.
Balloon Garland Supplies List
First of all, you’ll need the following items:
1. Balloons
You’ll need a ton of latex balloons. The size of balloons matter if you want a more unique and interesting balloon garland. I use a mix of large balloons and small balloons for mine. For the bulk of my balloon arches that go over half our doorway, I use about 100 balloons.
That should give you a good idea on where to start. If you want to do a full doorway I would get closer to 200.
Just remember. It’s much better to have too many balloons than not enough!
Amazon is full of balloon garland kits to start with!
2. Balloon Decorating Strip
This is the key tool to making a balloon garland! This simple strip will make creating your balloon arch a breeze!
I like to refer to these as fly paper for balloons. It’s one long plastic strip with holes to put the knot of the ballon through. You can’t make a balloon garland without one of these! I found my balloon strip on Amazon (the single hole style).
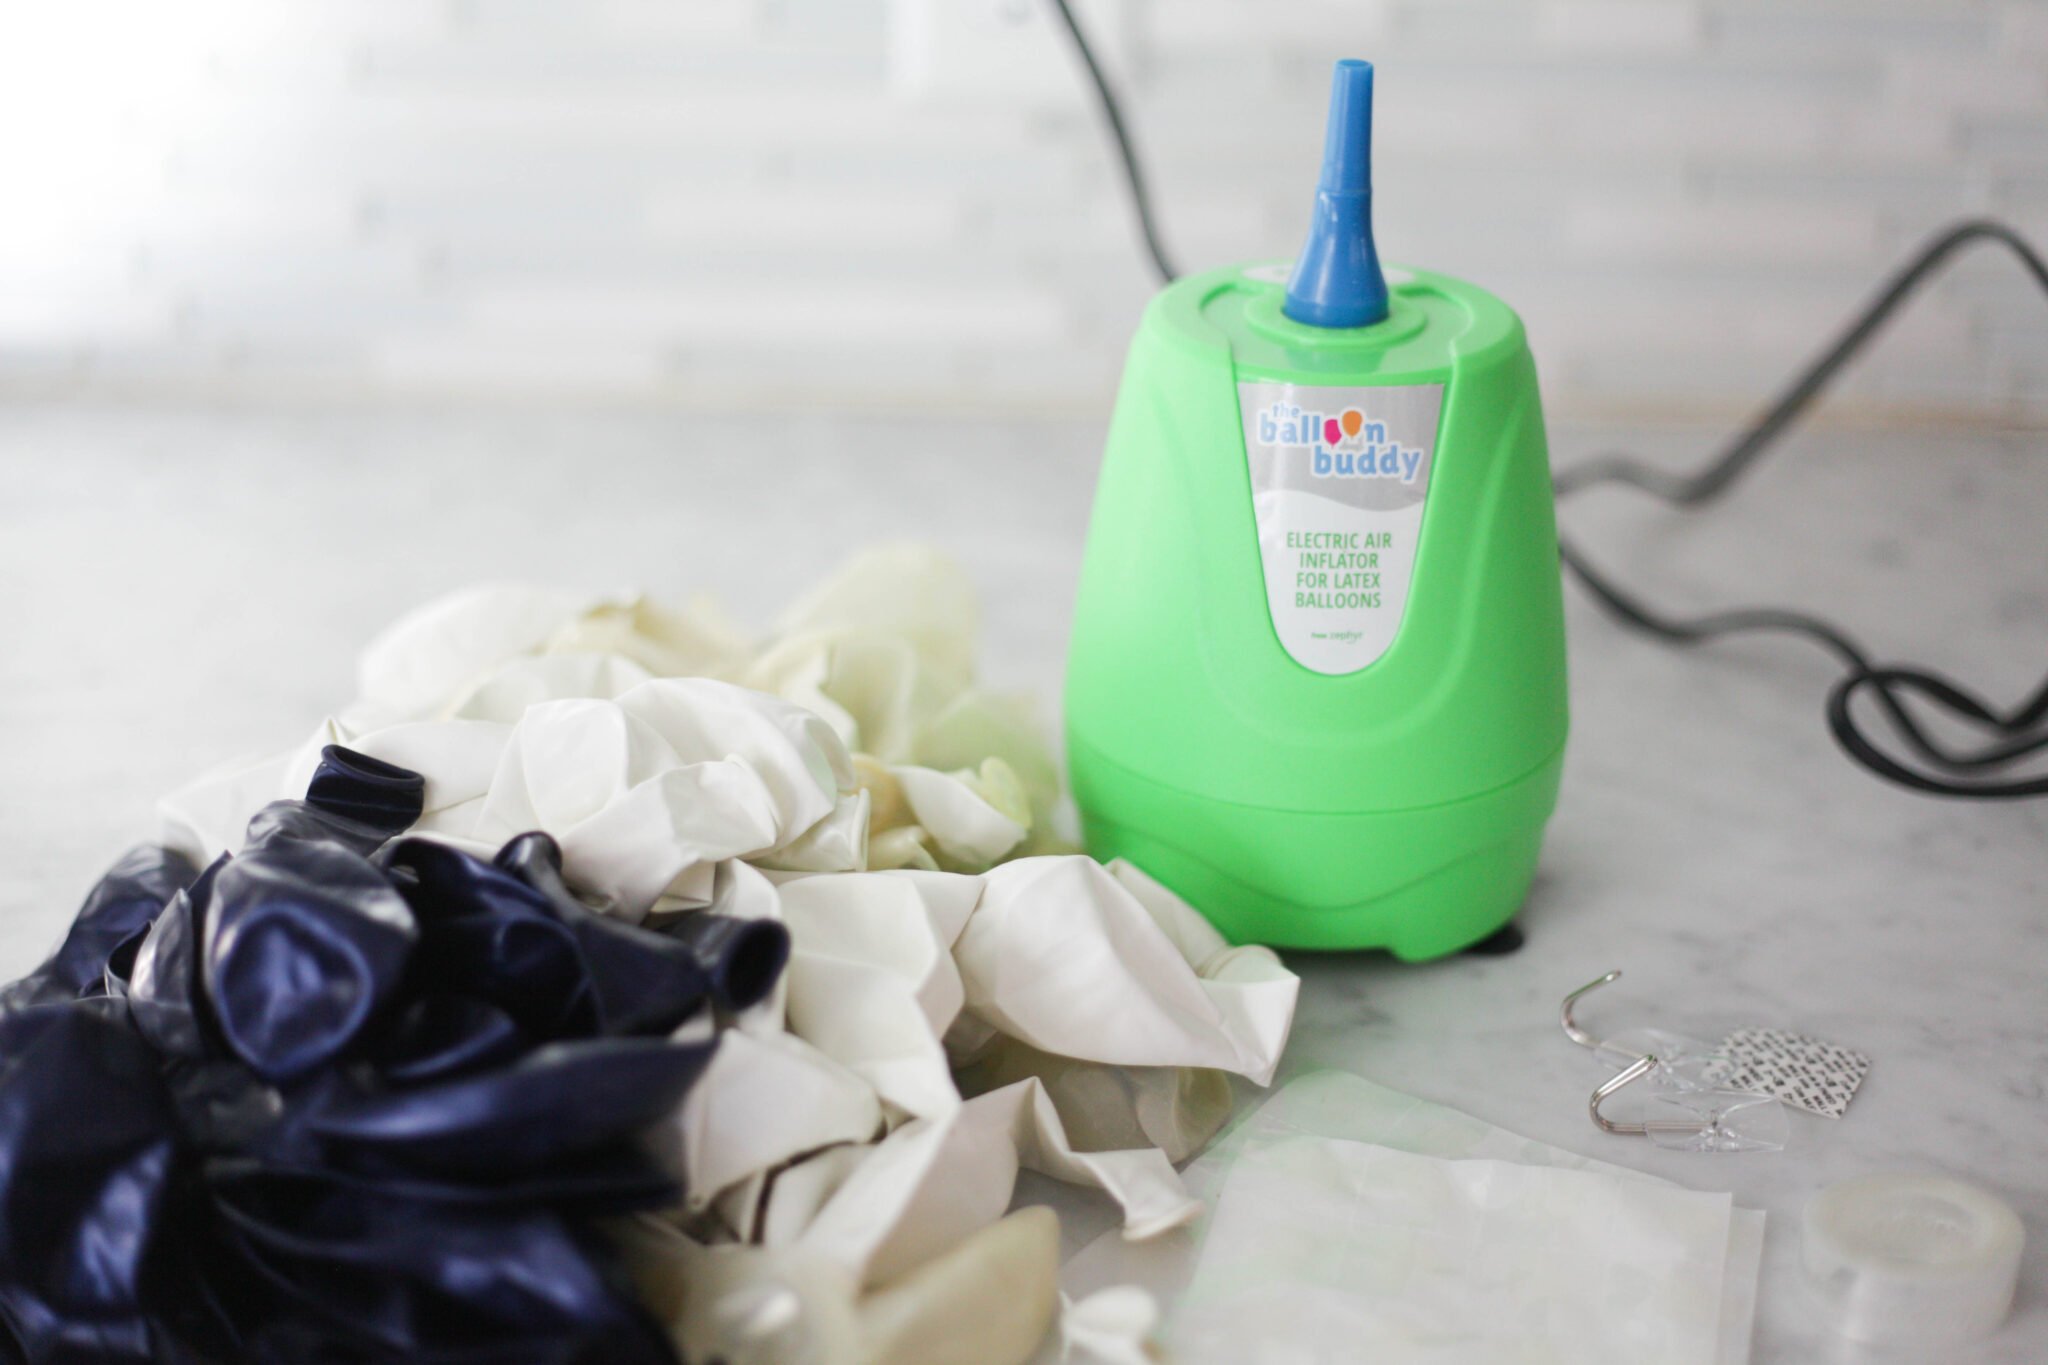
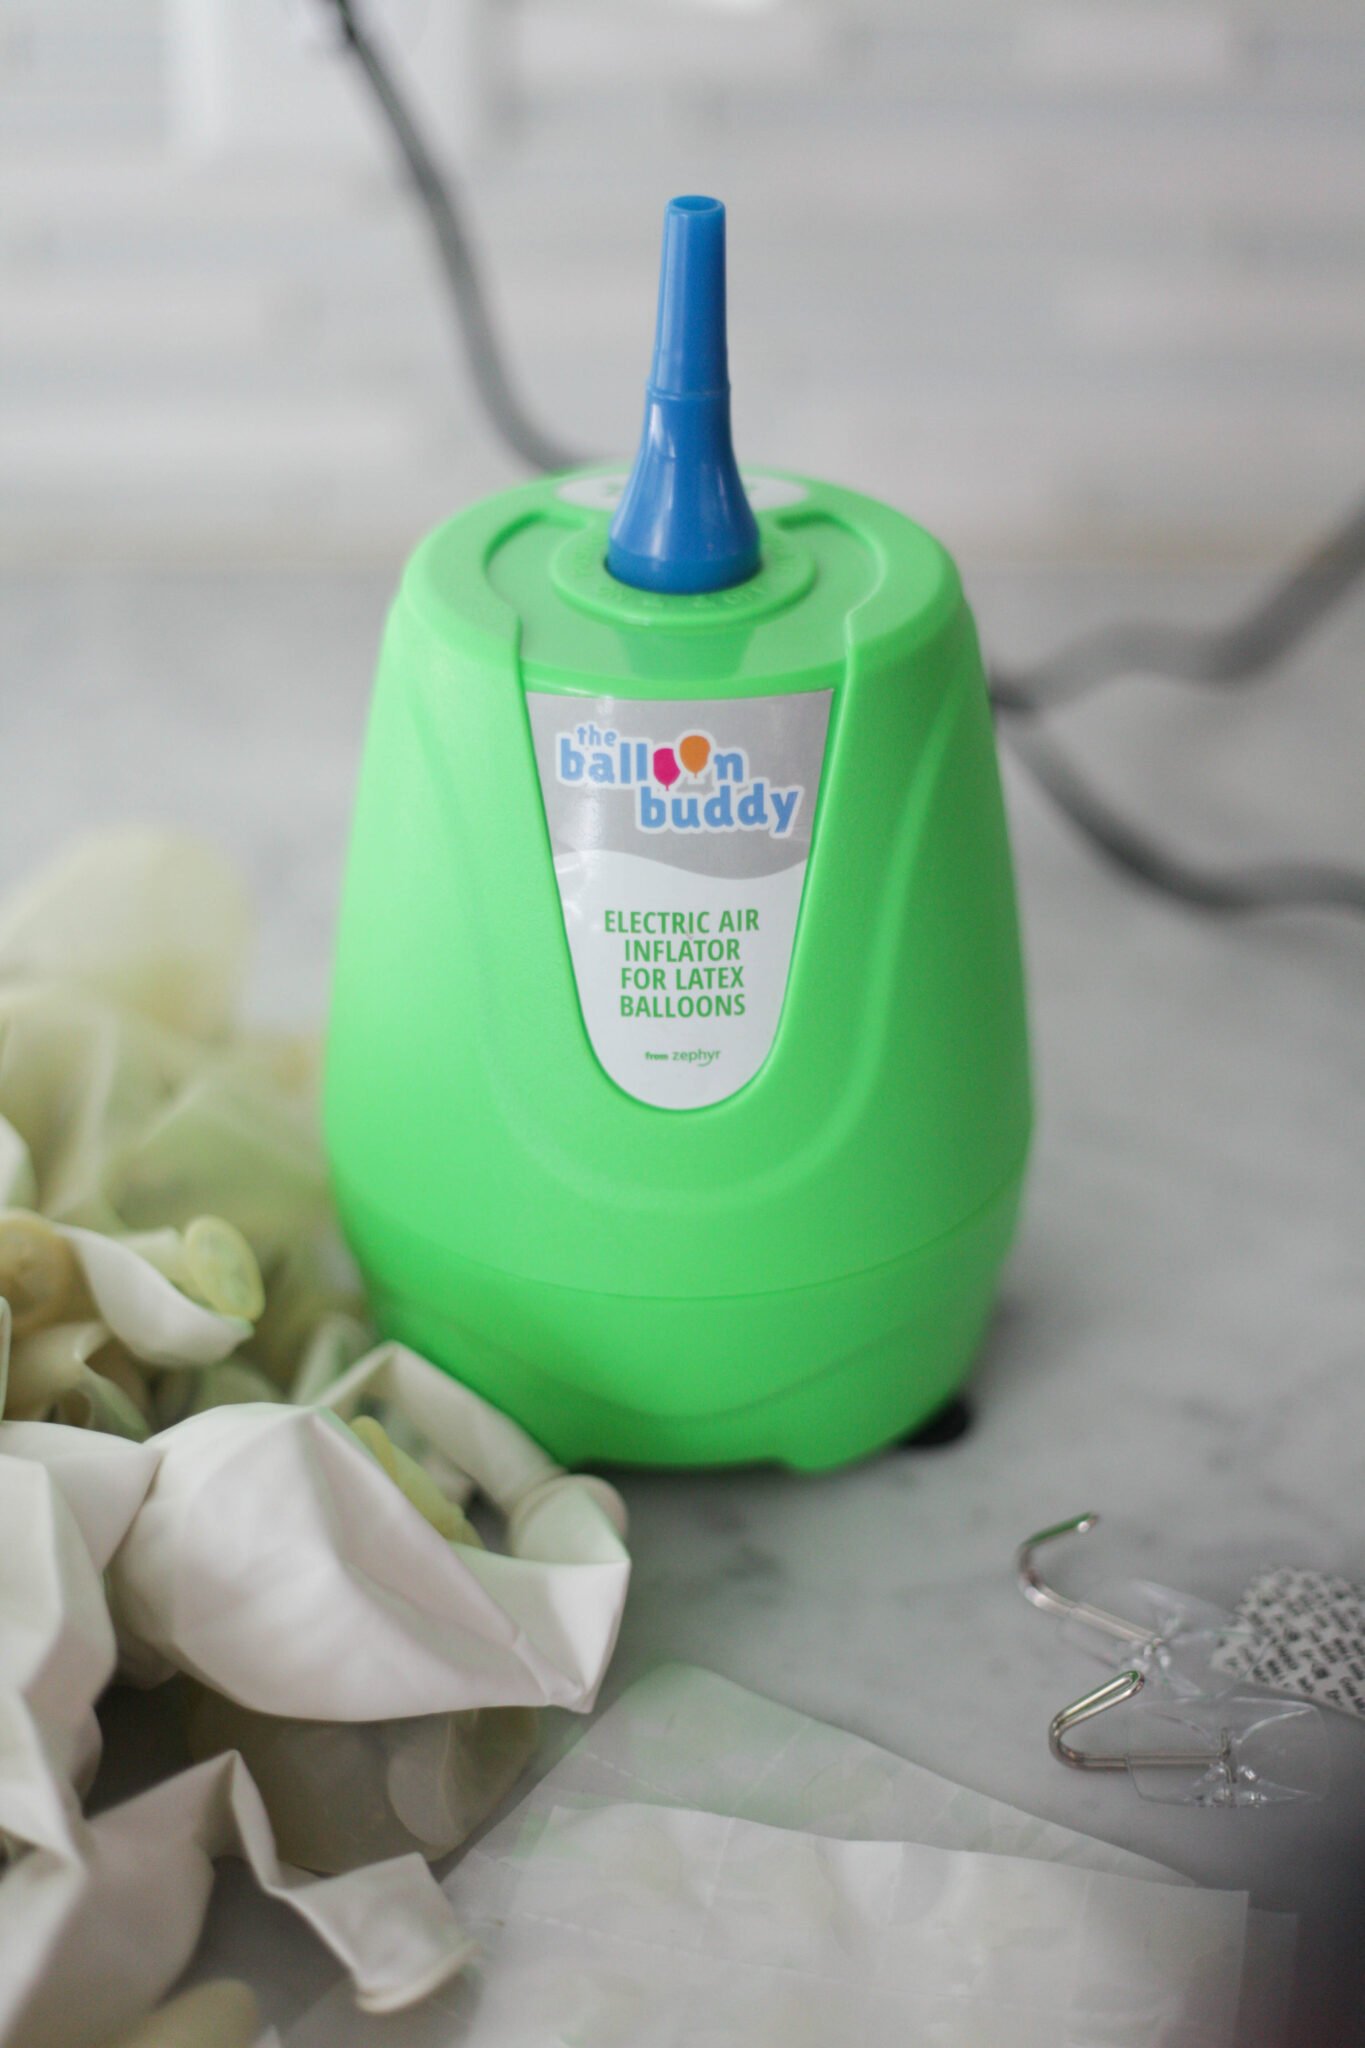
3. An Electric Balloon Inflater
Yes, you do need an electric balloon inflater! I made one balloon arch without this and it took 3 times as long! An electric balloon inflator will not only save you so much time but also prevent fainting. 😉
The one I have is this electric balloon pump from Amazon – it gets so many amazing reviews and is totally worth it.
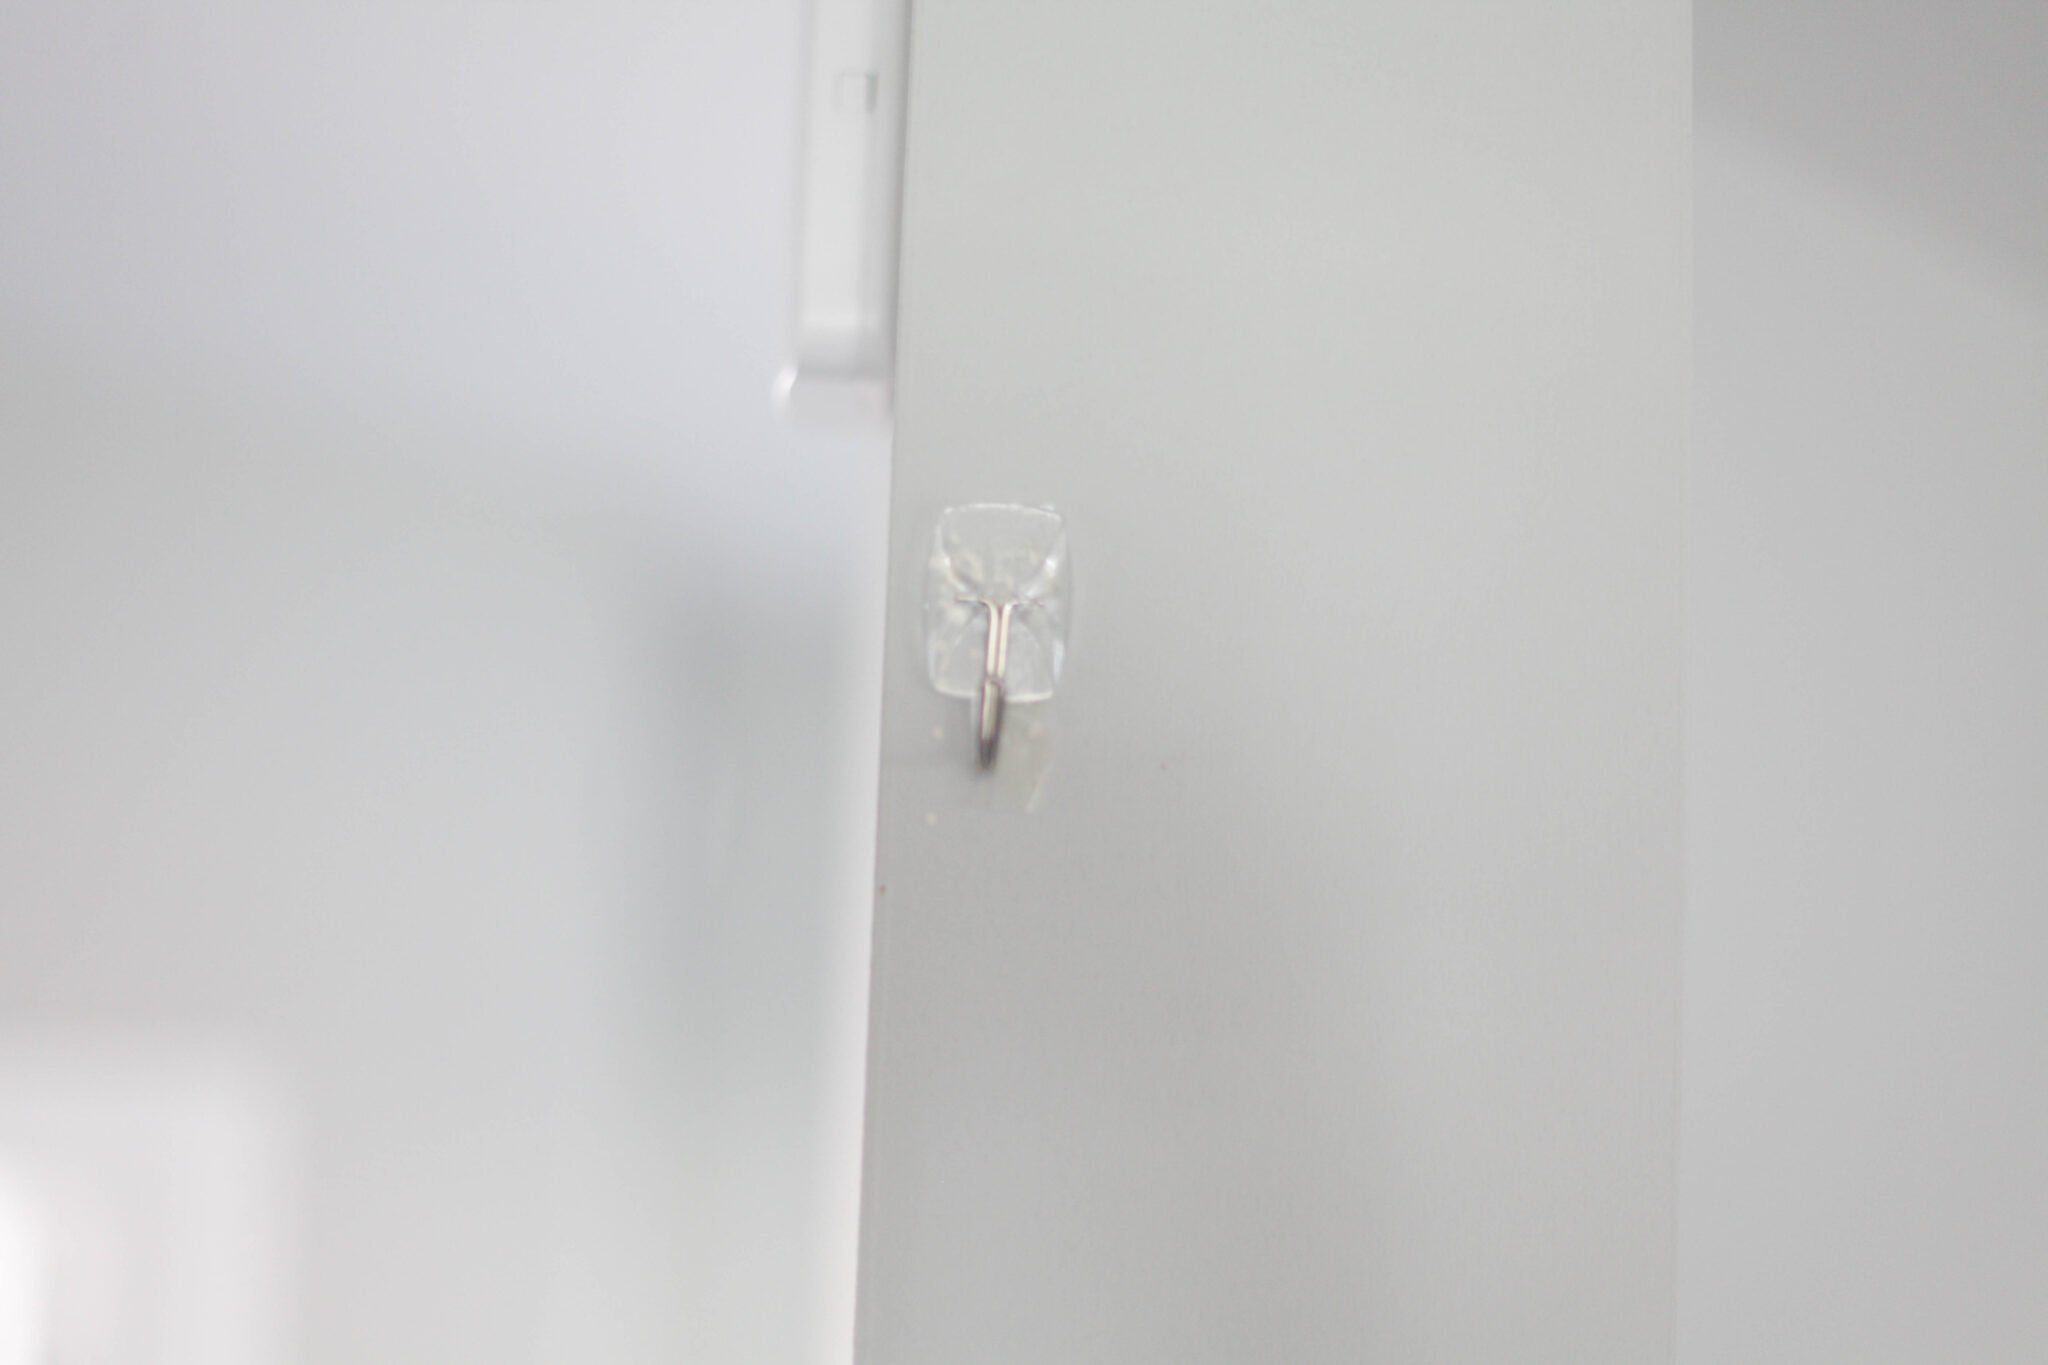
4. Command Hooks
You’ll need something to hang your balloon garland to the wall. Command hooks work great since it doesn’t create an extra hole in your wall! I got commands hook from Amazon or you can always get hooks from Target.
I’ve used both the smallest and medium size. Balloon garlands are super light so you don’t need anything too intense!
If you prefer nails you can always go that route!
5. Glue Dots
Glue dots are how you will attach balloons into holes at the end of the project. One pack goes a long way.
I got these off of Amazon and I’ve used them for all my balloon garlands and still have plenty leftover.
You could also use a low eat glue gun for this step if you don’t have any glue dots or already have a glue gun on hand.
6. Optional – fresh flowers, faux flowers, greenery
Depending on your party and type of balloon garland, adding in fresh or faux flowers or greenery can add a fun look!
How to Make a Balloon Garland – Tutorial
Ok you have all your balloon garland supplies, now let’s get to how to make a balloon garland! Don’t be intimidated by the process, I promise it’s easier than it may seem.
{Having trouble seeing the video? Turn off your ad blocker or watch it on YouTube now!}
1. Blow up balloons
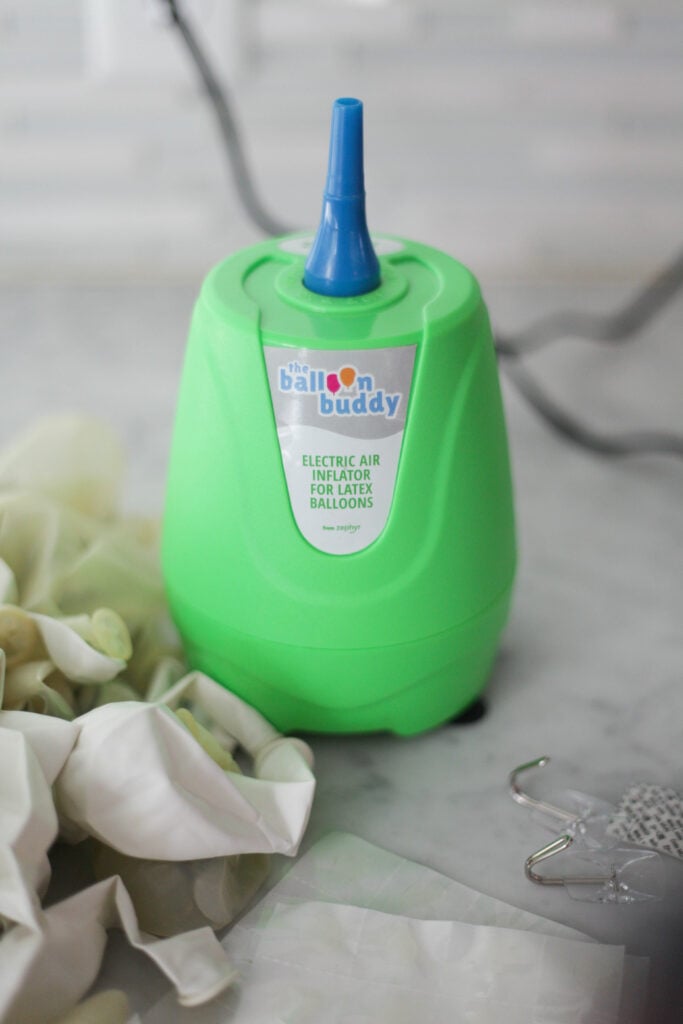
Blow up balloons using the electric balloon inflator. Ideally you want balloons of varying sizes and colors to make it more fun and interesting. If you have balloons of varying sizes then just blow them up to their intended size. Don’t blow them up too big to make them look misshaped.
However, if you buy balloons that are all the same size, you can blow them up to different sizes! This is a super easy way to make a big impact.
2. Attach balloons to decorating strip

Using the balloon decorating strip, push the end of each balloon through the hole to attach, leave ~a foot at the beginning of the strip and end of the strip (to attach it to the wall easier).
Just a note, you can always easily remove balloons if you find it to be difficult to attach it to the wall.
And don’t stress about the pattern! I’ve found that when I try to be particular about certain patterns of colors it never ends up laying how I had anticipated it to be.
Just fill it up and remember, you can always manipulate them to lay differently when you hang it AND you’ll be adding balloons at the end anyways so that can help break up colors or sizes.
3. Keep adding balloons!
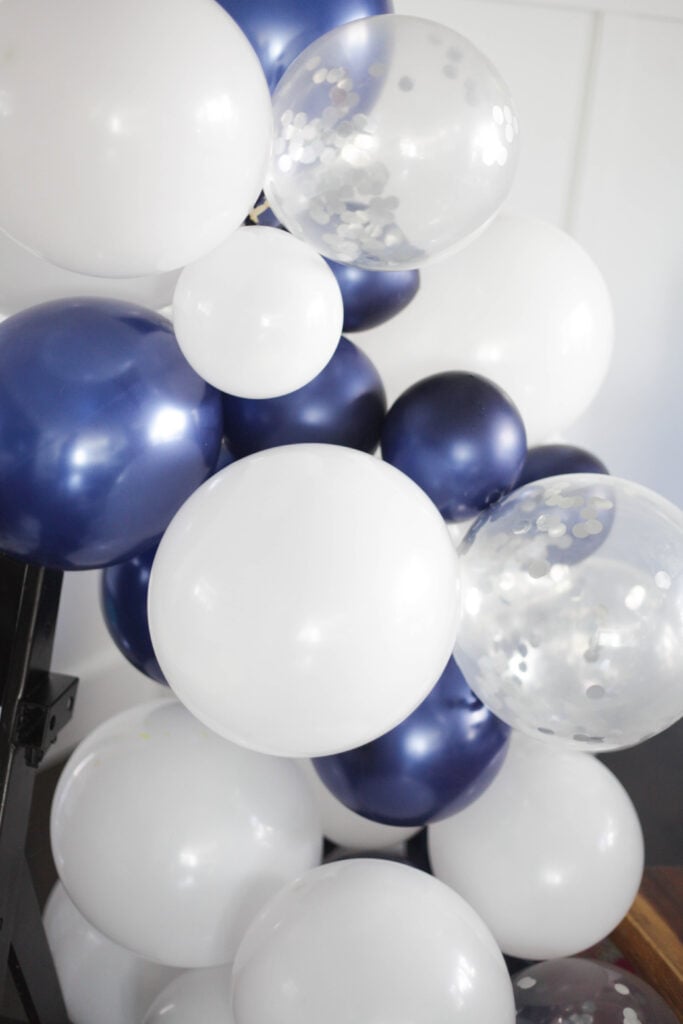
Continue adding balloons to your balloon garland until most of the balloons have been used or the garland is as long as you want. Be sure to leave out about 5-10 of the smaller balloons for filling in gaps.
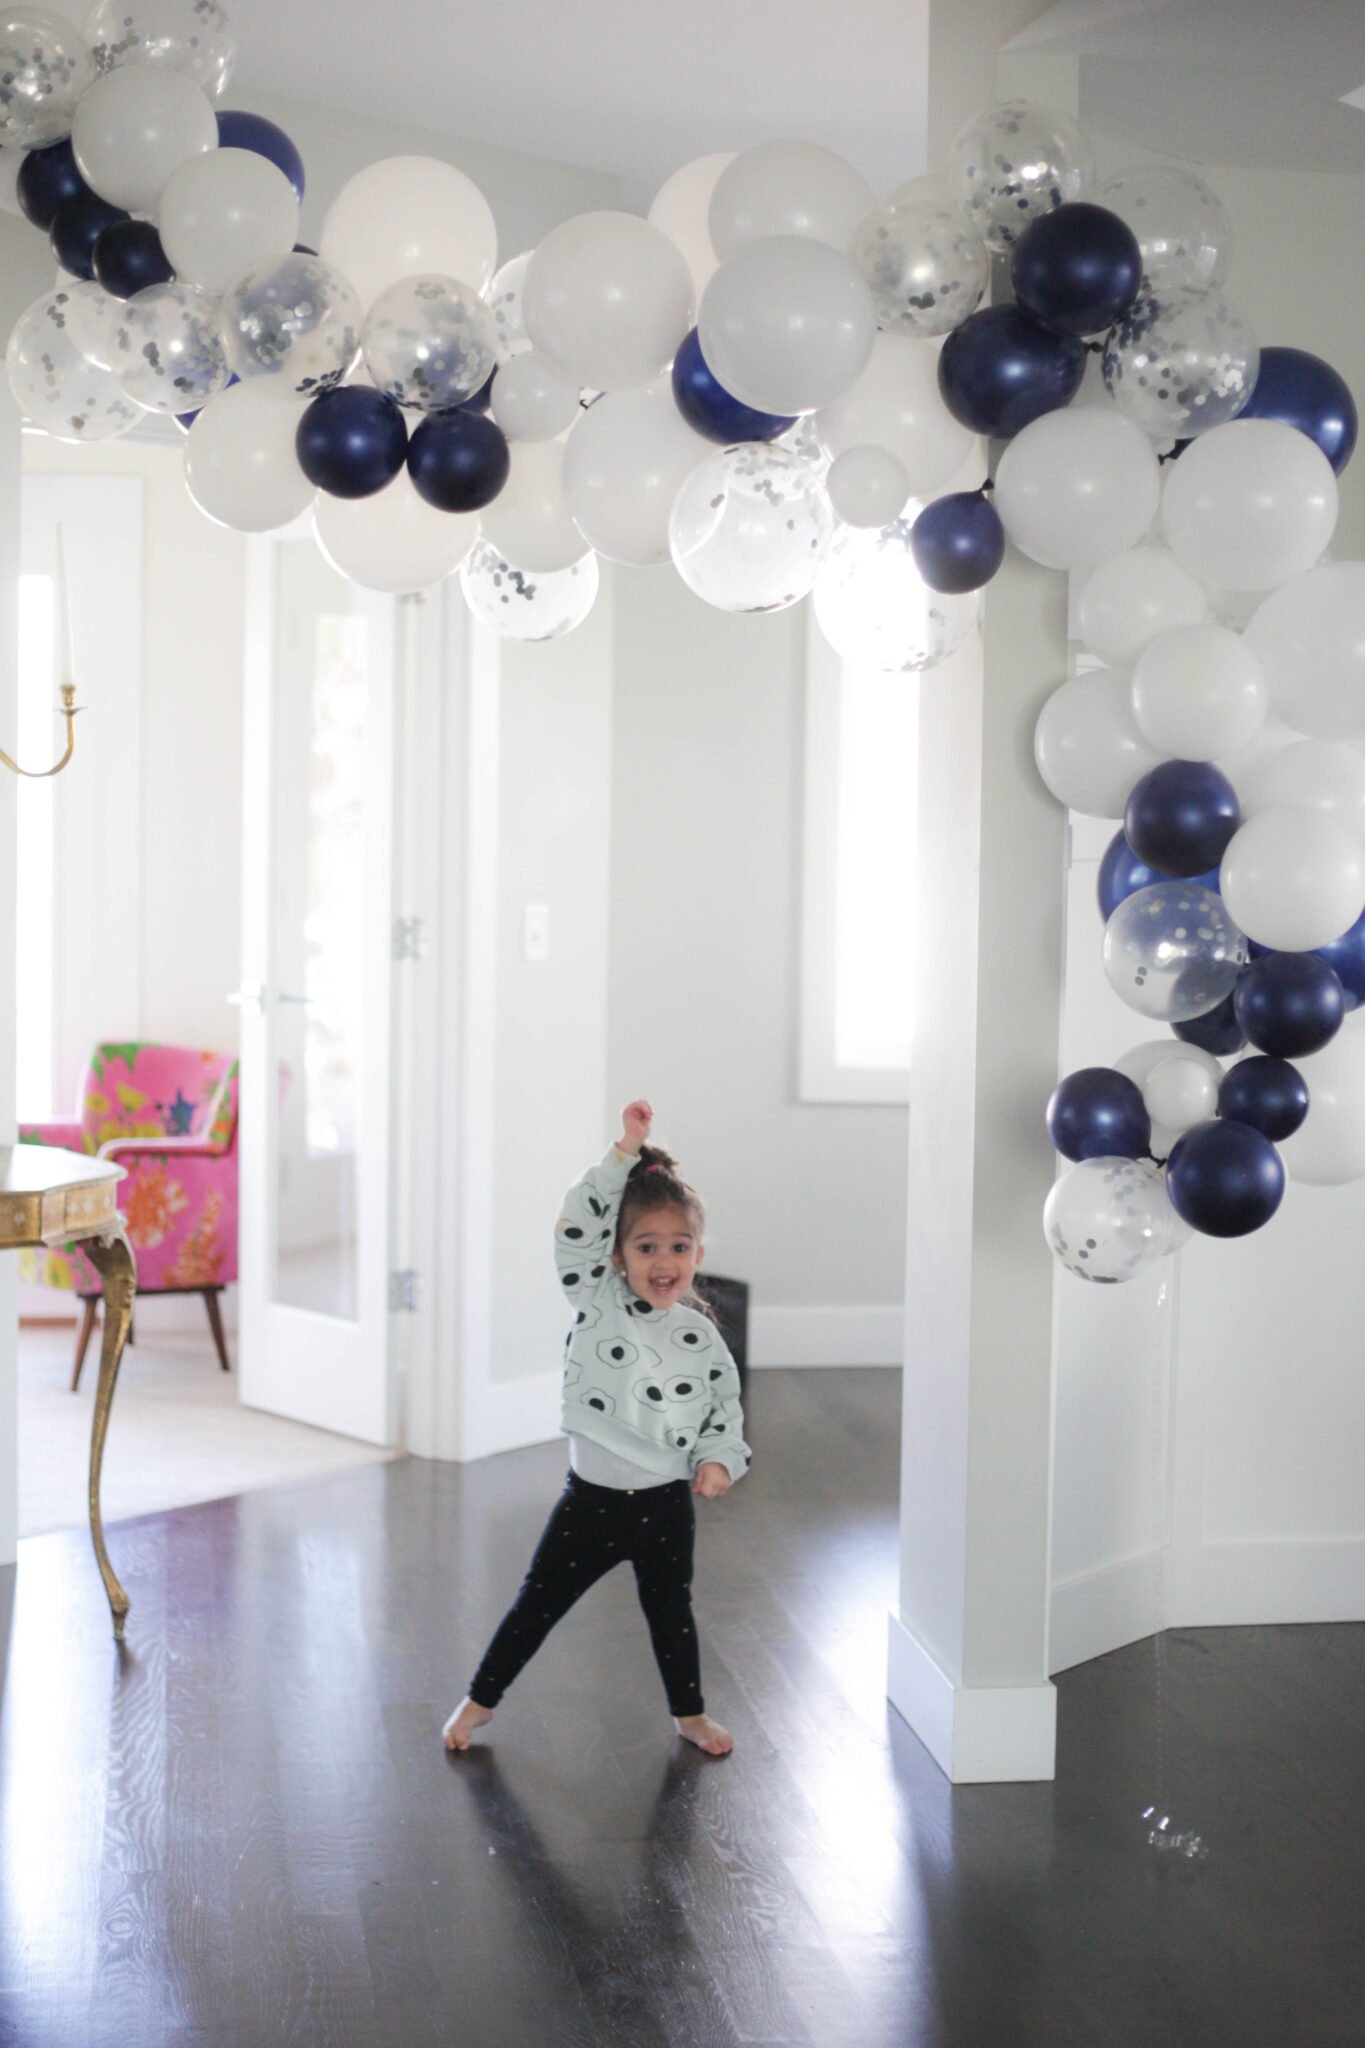
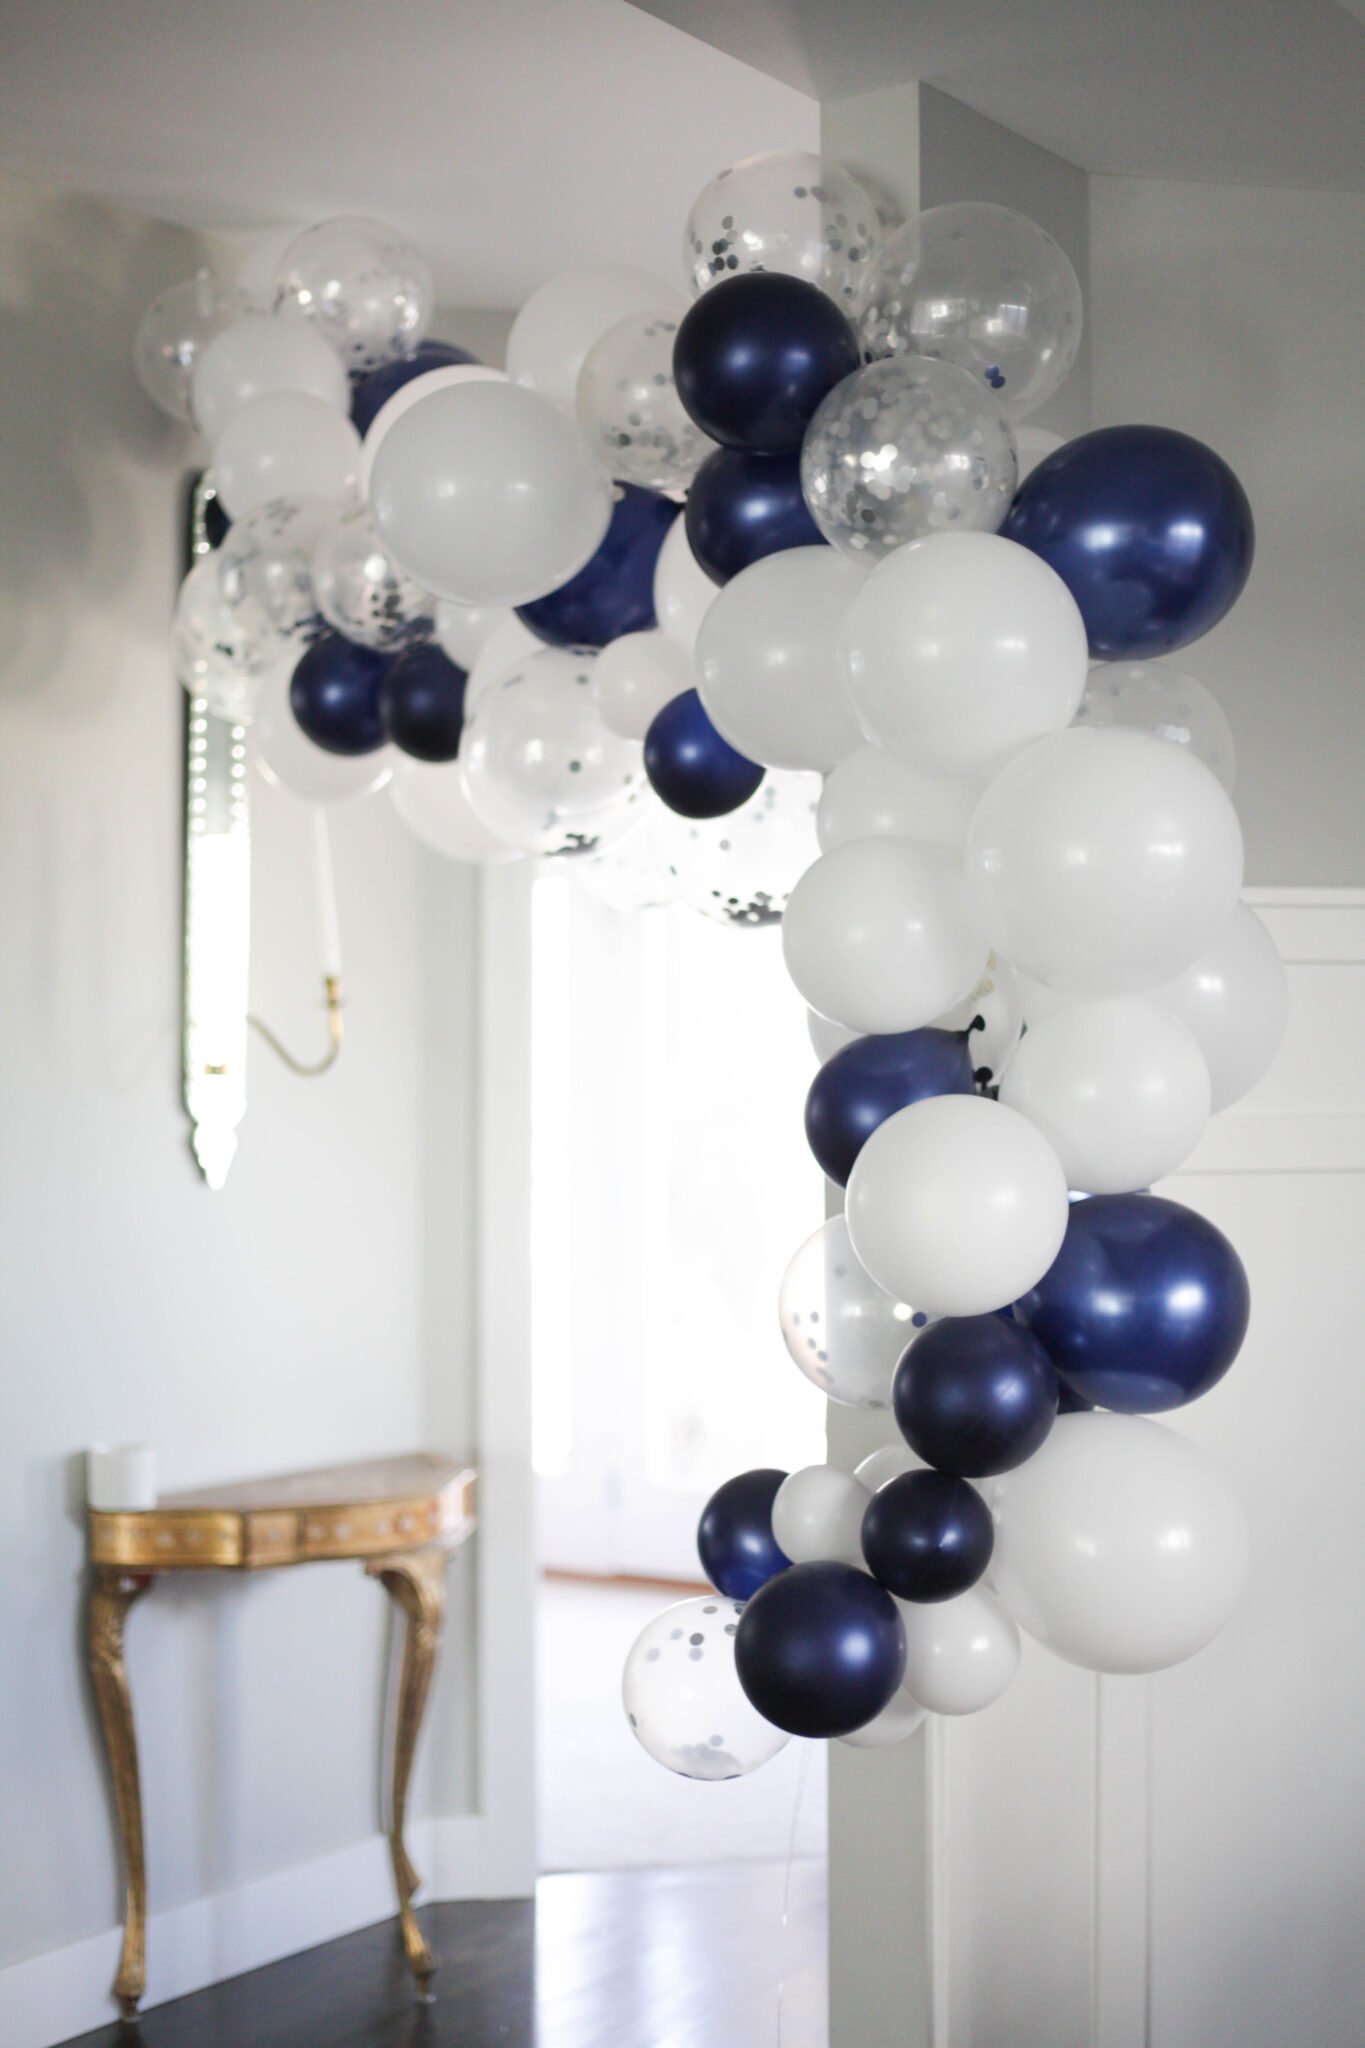
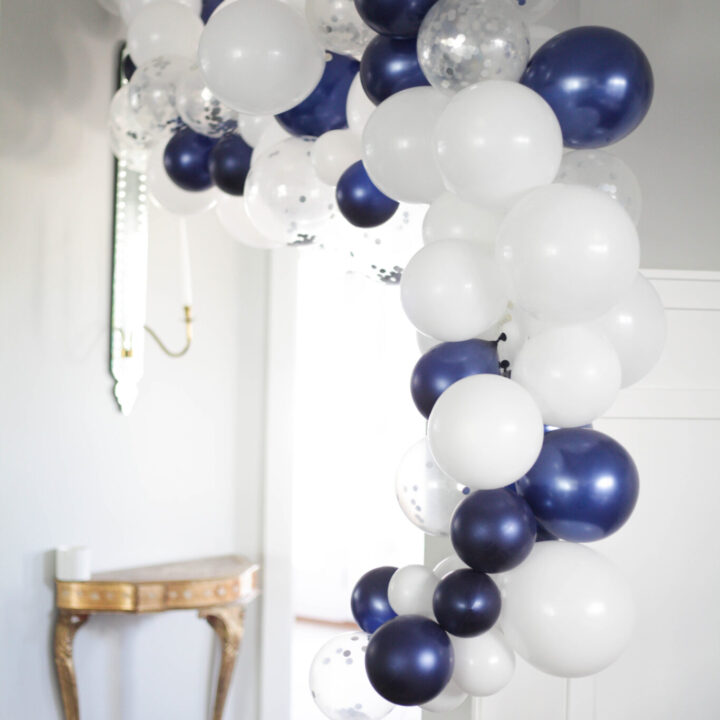
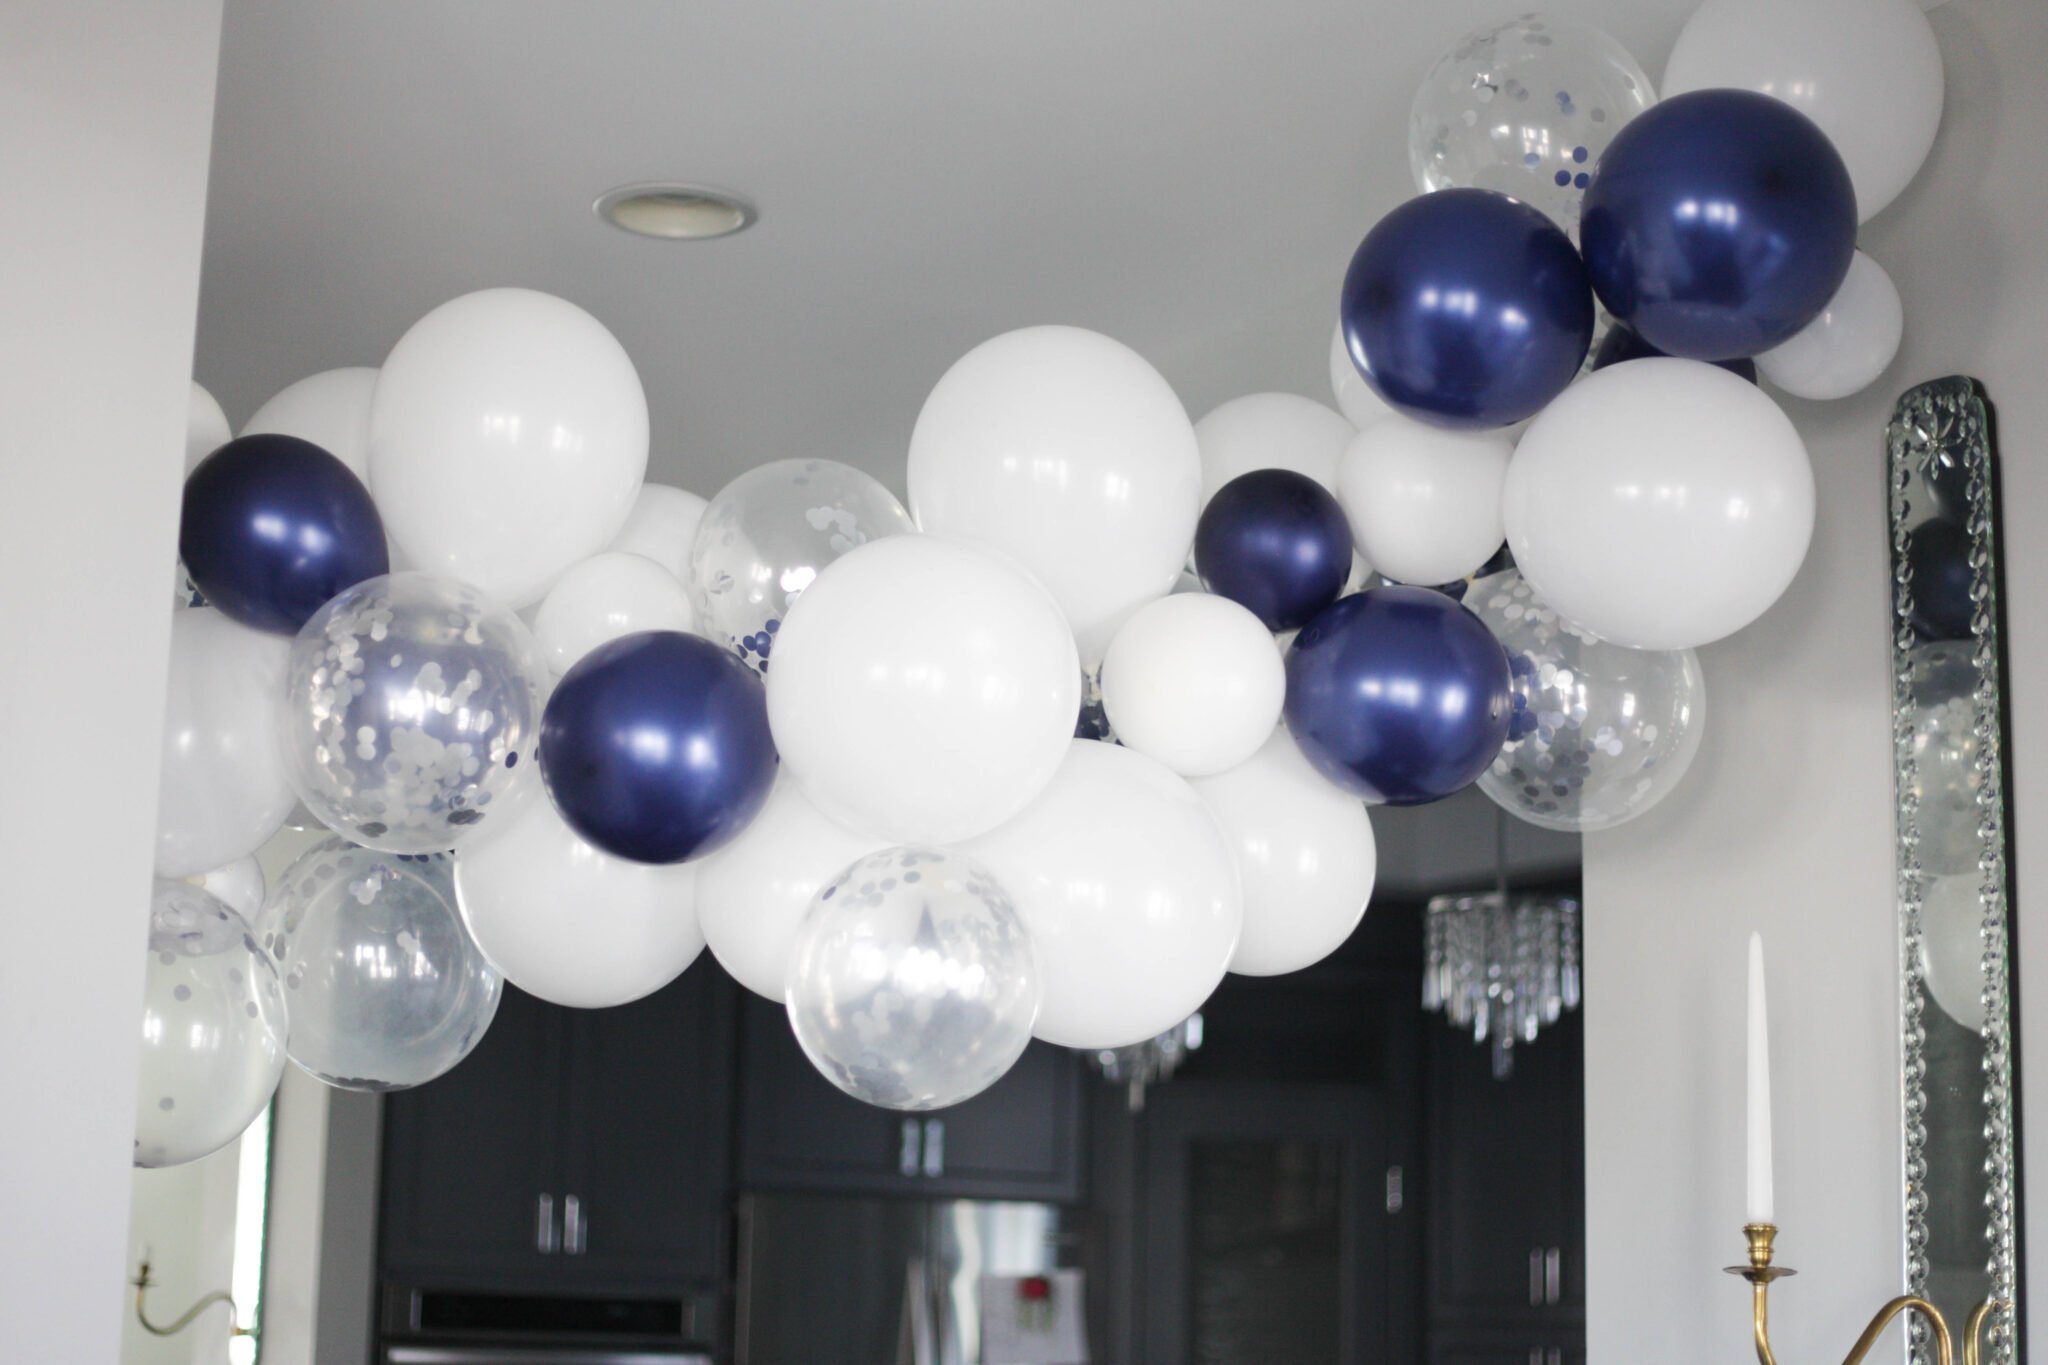
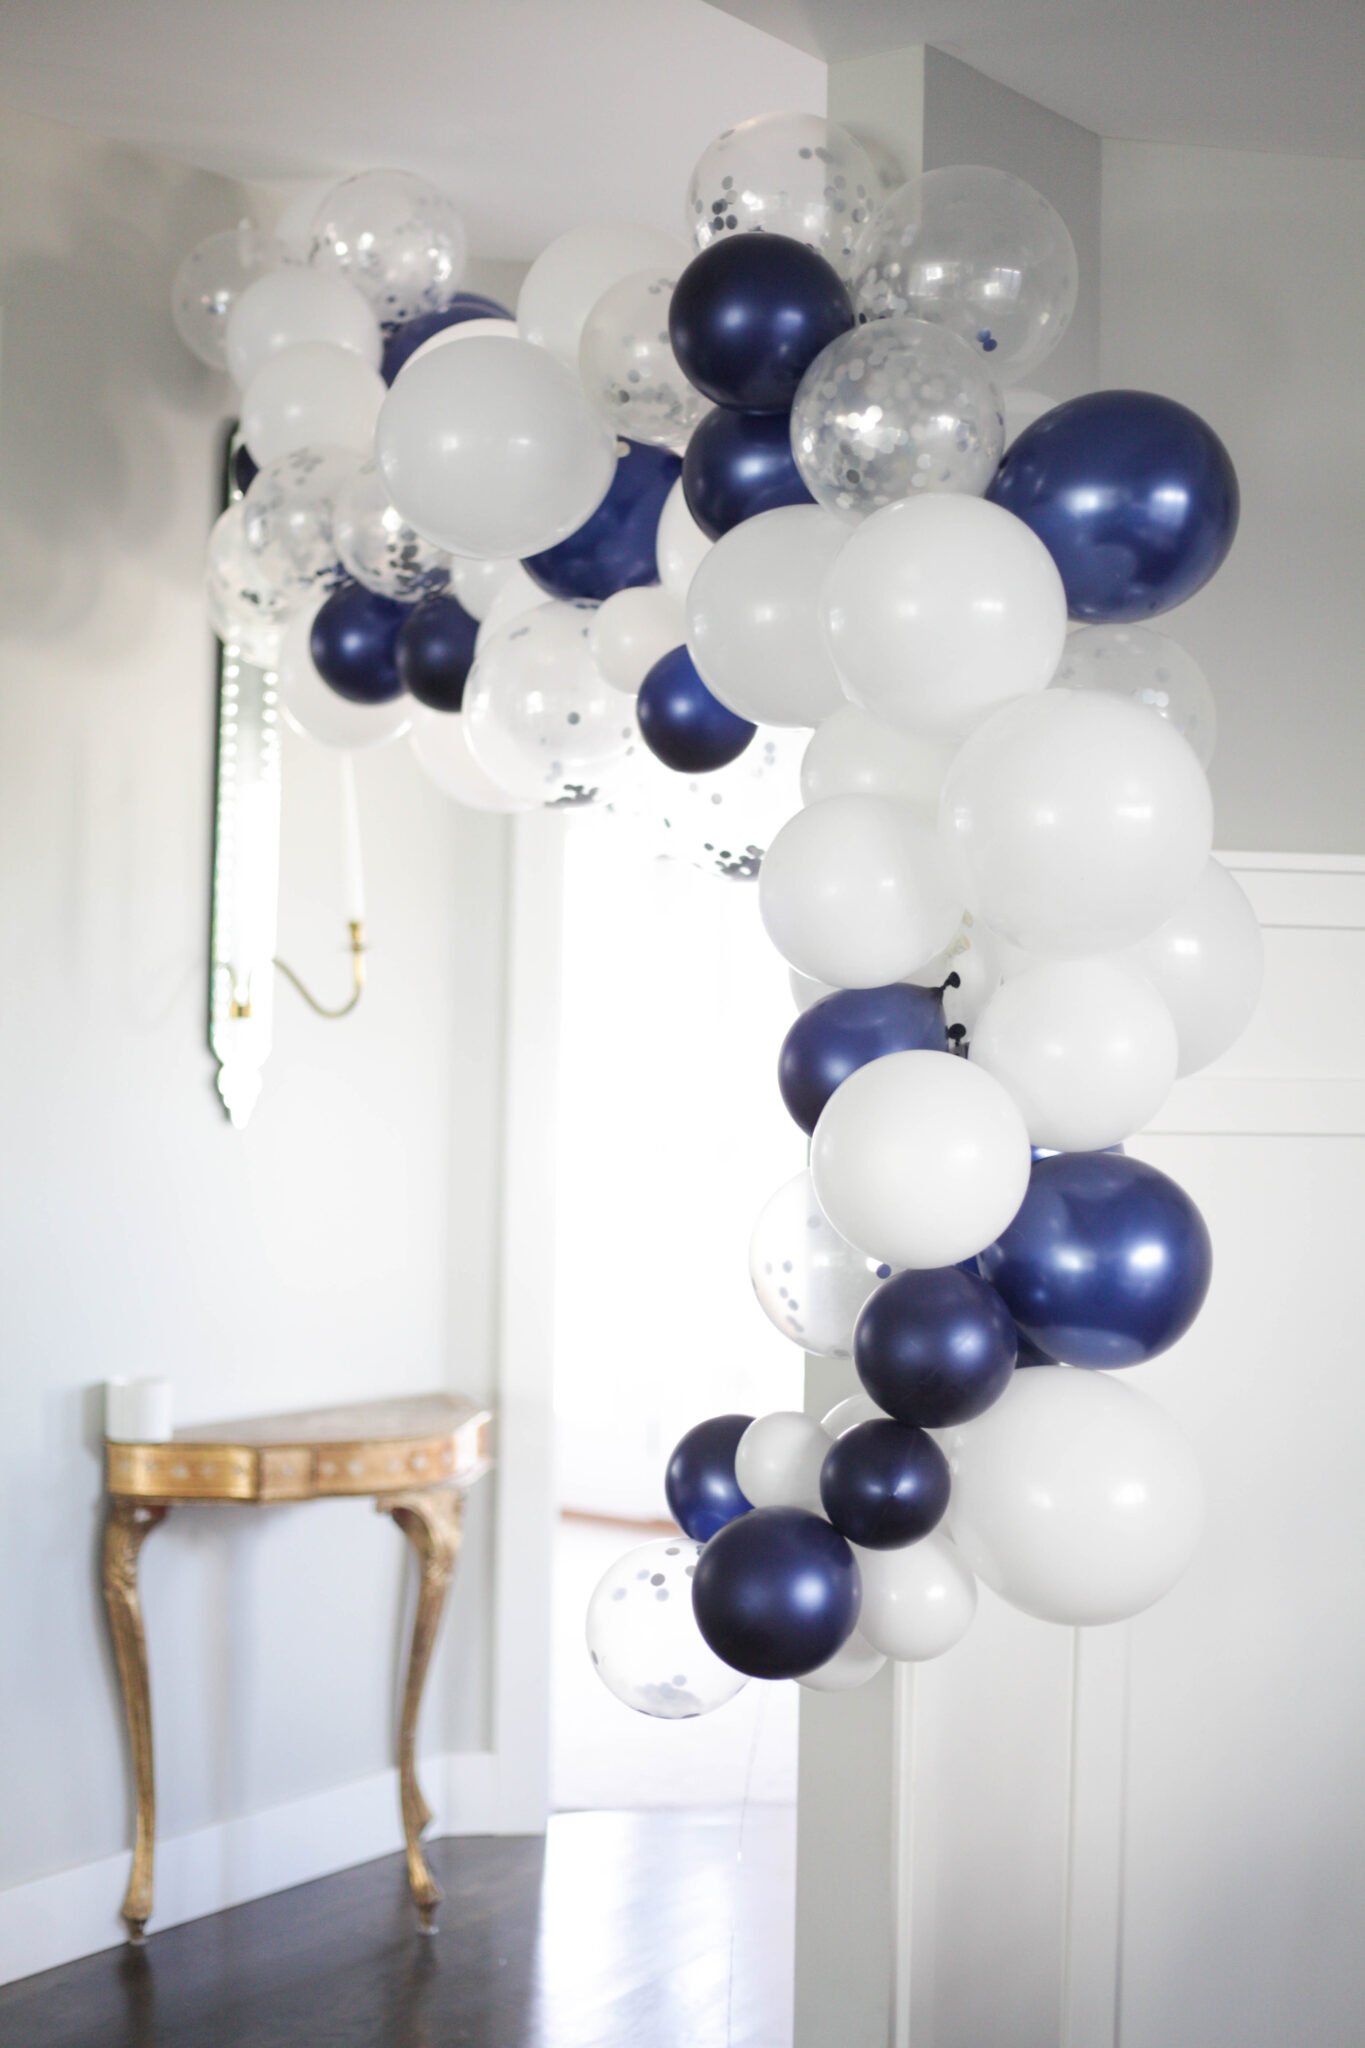
With this blue and white one I left out even more (closer to 15). You can always add them on to the bottom of the balloon arch at the end. Just be sure to wait to cut your balloon decorating tape!
4. Set up command hooks
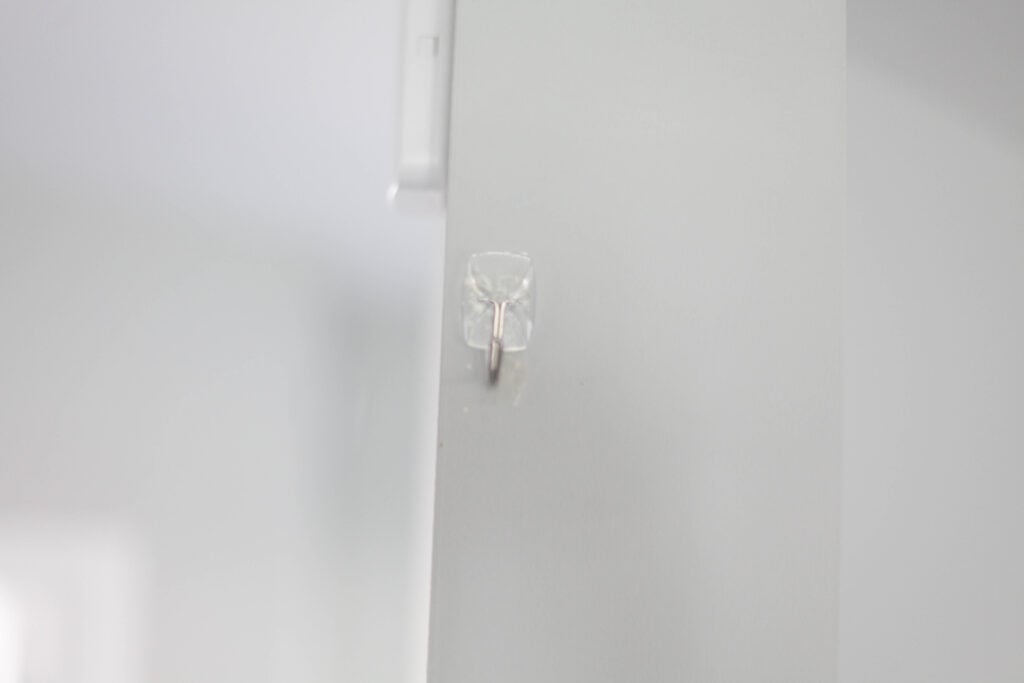
Put command hooks (or nails) on the wall where you want your balloon garland to hang. I recommend actually holding your balloon arch up before attaching the command strips!
You may be surprised at how long it ends up being or how low it hangs with how thick your balloons are.
5. Attach the balloon garland to the wall
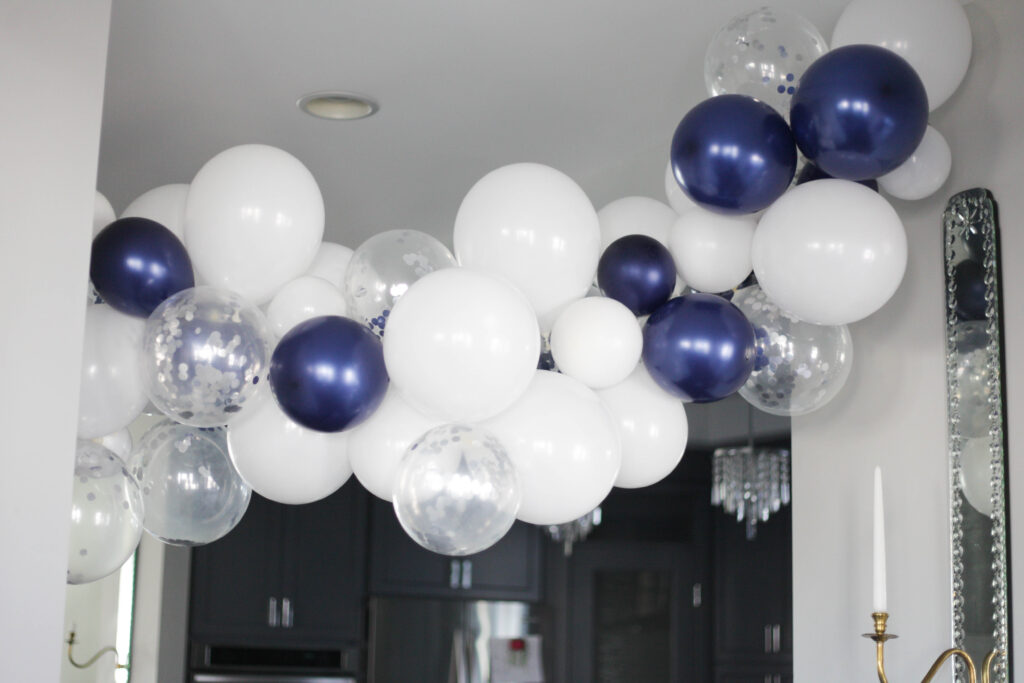
Attach your balloon garland to the wall! I do this by using command strips as I shared above. For the top one, put one the holes of the balloon strip through the hook of your command strip.
Next, attach the other part of the balloon arch to the wall either by the same method (by putting it directly through one of the holes of the ballon strip tape) or sometimes I will put baker’s twine through the balloon strip hole and attach that to the hook.
This will depend on how thick your balloon arch is and how many balloons you have. With the white and blue one I simply removed a few balloons from where I wanted to attach it to the wall to make it work.
6. Fill in holes
Once it’s up, use balloon glue dots to attach leftover balloons into spaces with holes. Make sure you don’t try to pull off the balloon after it’s set! I’ve done that a few times and it’s popped the balloon.
My best tip for this is to put one glue dot near the knot. Attach this toward the inside of balloon so you won’t see the knot sticking out.
Next, put another glue dot on the balloon you just attached and connect it to another balloon. This will ensure it doesn’t fall down randomly throughout your party!
DIY Balloon Garland
How to make a balloon garland for your next event! Wow your guests with this simple step by step tutorial for an easy but beautiful balloon arch.
Materials
- -balloons (ideally use ones of different sizes and colors)
- -balloon decorating strip
- -an electric balloon inflater
- -command hooks
- -glue dots
Tools
- None other than above!
Instructions
- Blow up balloons.
- Using the balloon decorating strip, push the end of each balloon through the hole to attach, leave ~6 inches at the beginning of the strip and end of the strip (to attach it to the wall easier).
- Continue this process until most of the balloons have been used (leave 5-10 out for filling in gaps) or the garland is as long as you want.
- Put command hooks (or nails) on the wall where you want your balloon garland to hang.
- Attach your balloon garland to the wall by putting one of the holes of the ballon strip through the hook of your command strip.
- Once it's up, use balloon glue dots to attach leftover balloons into spaces with holes.
Notes
A few additional tips:
1. If you're having trouble attaching the balloon arch by using the strip, attach some bakers twine (or fishing line or something similar) to the end of the strip in a loop and attach the loop to the hook.
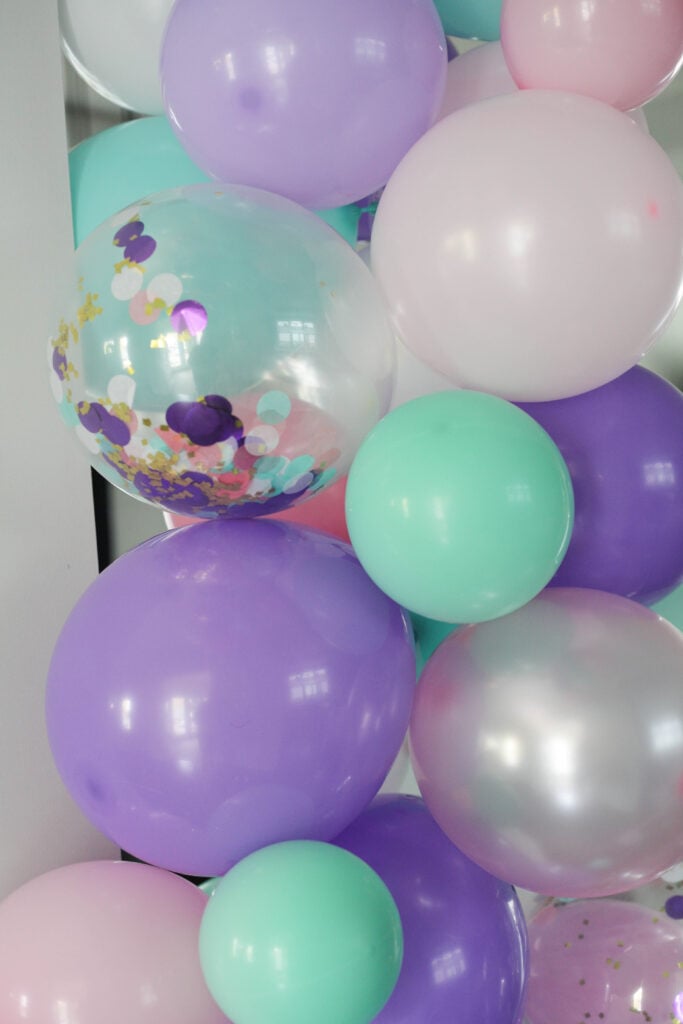
2. When attaching balloons using the glue dots, be sure to place it correctly the first time. I've popped numerous balloons by trying to remove them and put them in a different spot! It's best to just leave them where they are.

Other Ballon Garland Tips
A few additional balloon garland tips:
1. If you’re having trouble attaching the balloon arch by using the strip, attach some bakers twine (or fishing line or something similar) to the end of the strip in a loop and attach the loop to the hook.
2. When attaching balloons using the glue dots, be sure to place it correctly the first time. I’ve popped numerous balloons by trying to remove them and put them in a different spot! It’s best to just leave them where they are.
Balloon Garland FAQ
Here are a few common questions asked about balloon garlands:
The number of balloon you need depends on the size of the balloons you’re using and the space that you are decorating. Plan on getting between 100-150 balloons because you can always use leftover balloons for future balloon garlands!
No! That’s the beauty about these, they don’t use any helium.
For best results, make the balloon garland a day or 2 before the party. I typically make mine the day before I plan on using it. If you plan on hanging it outside, wait to put it out until the day of the party.
A balloon garland lasts about 1 week. I typically keep mine for a few days after the party and then post it on our neighborhood app to see if anyone else could use it for a party of their own!
This will depend on how big it is and if you use an electric balloon inflator or not. Typically the ones I make with around 150 balloons takes me about an hour to an hour and a half to make.
Get balloons of all sizes. The smallest I’ve used is 5″ and the largest I’ve used is 24″. You don’t need to get that small or that large but a varying size is great.
Other Use: Balloon Garland Photo Backdrop
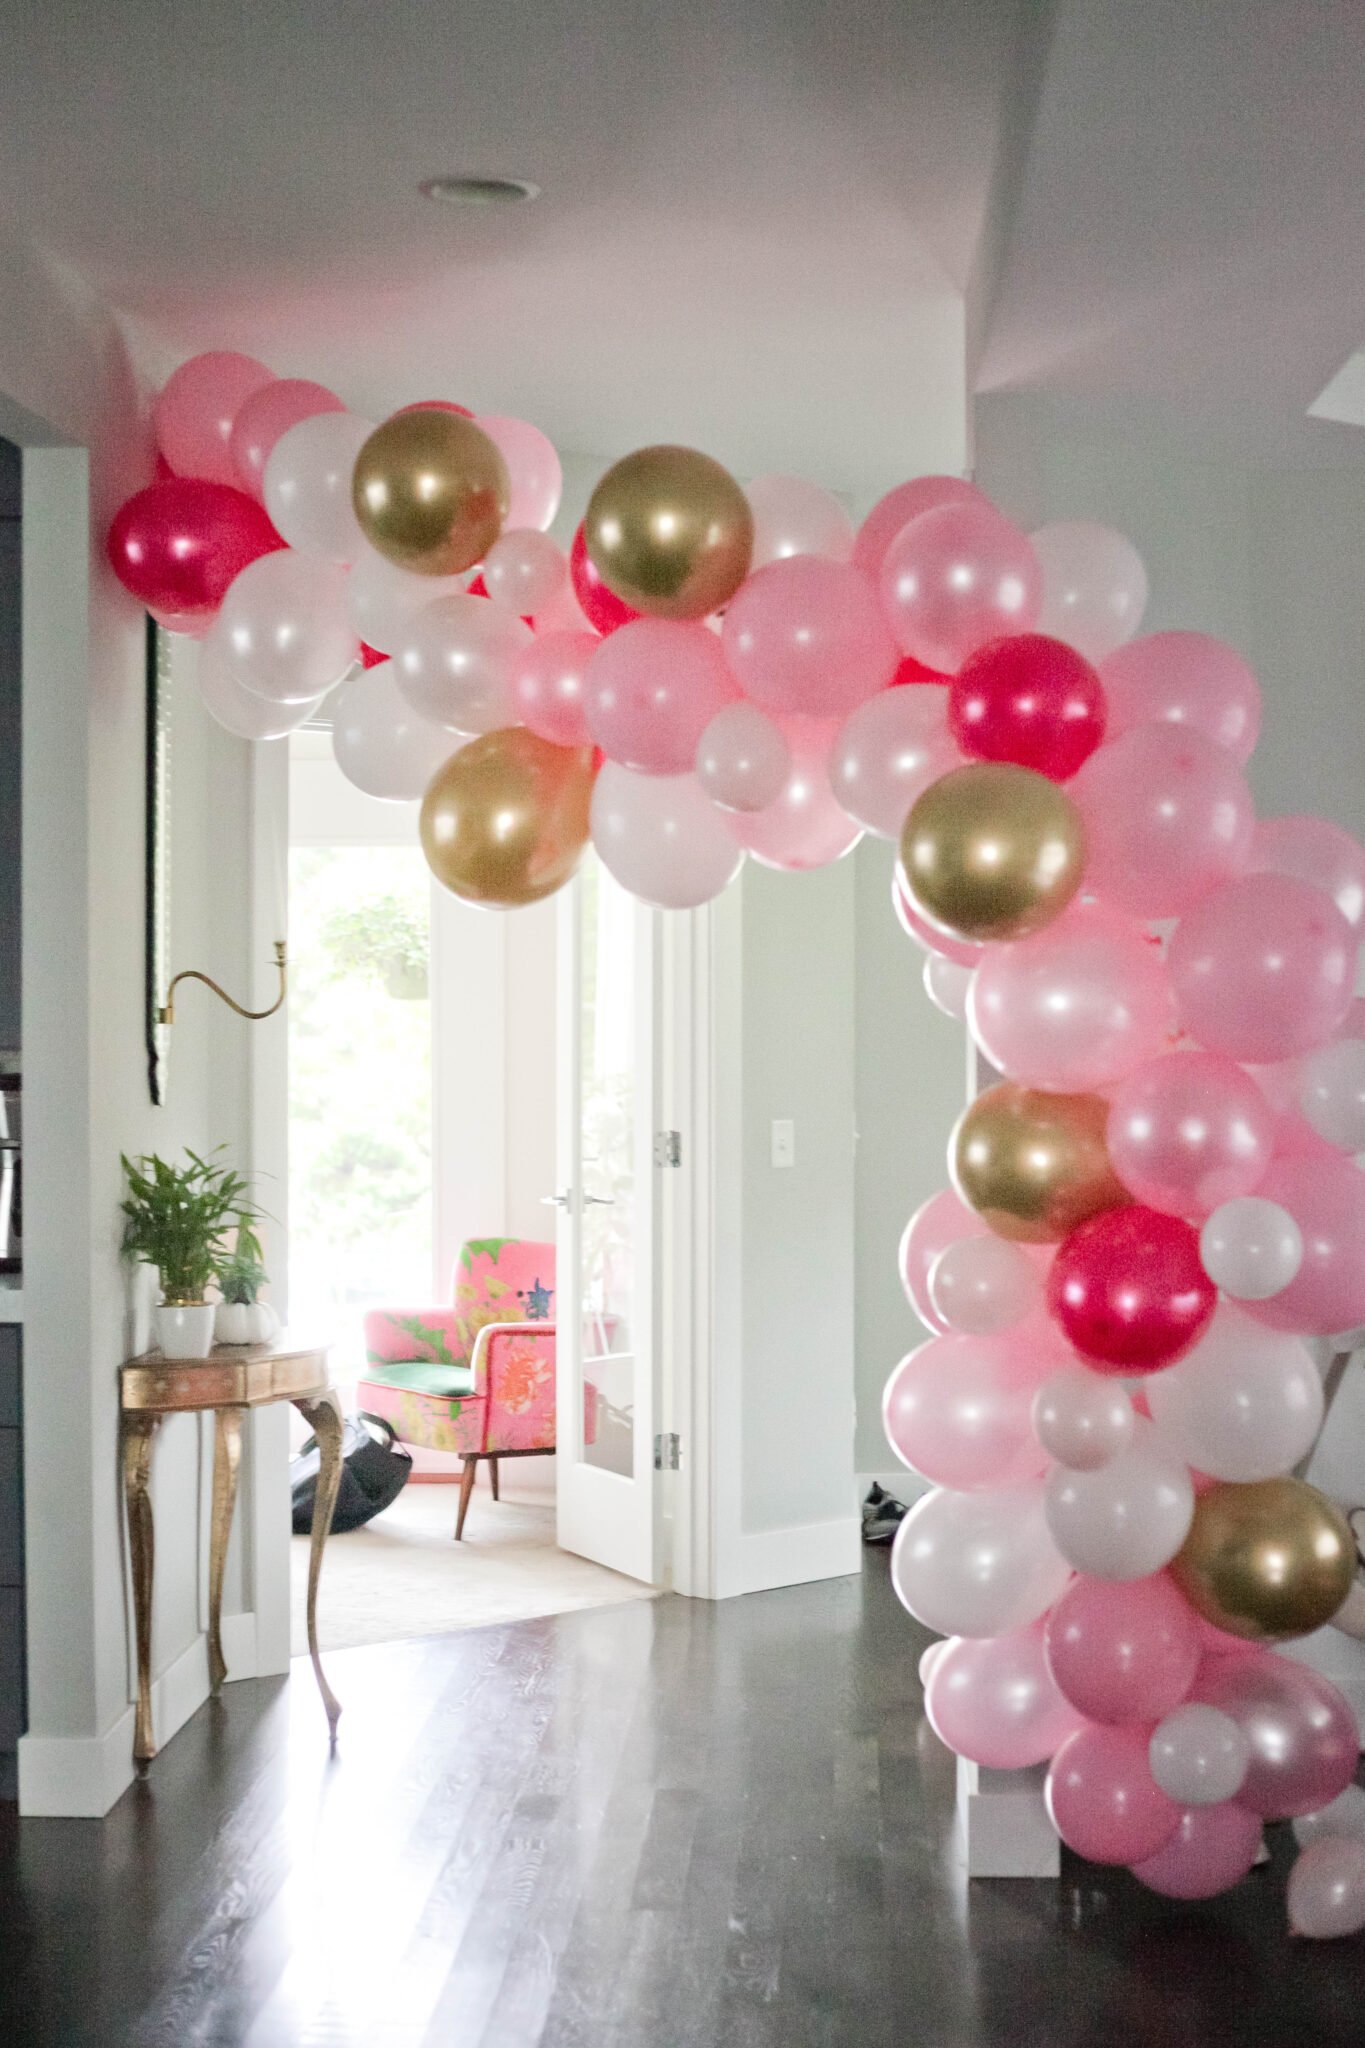
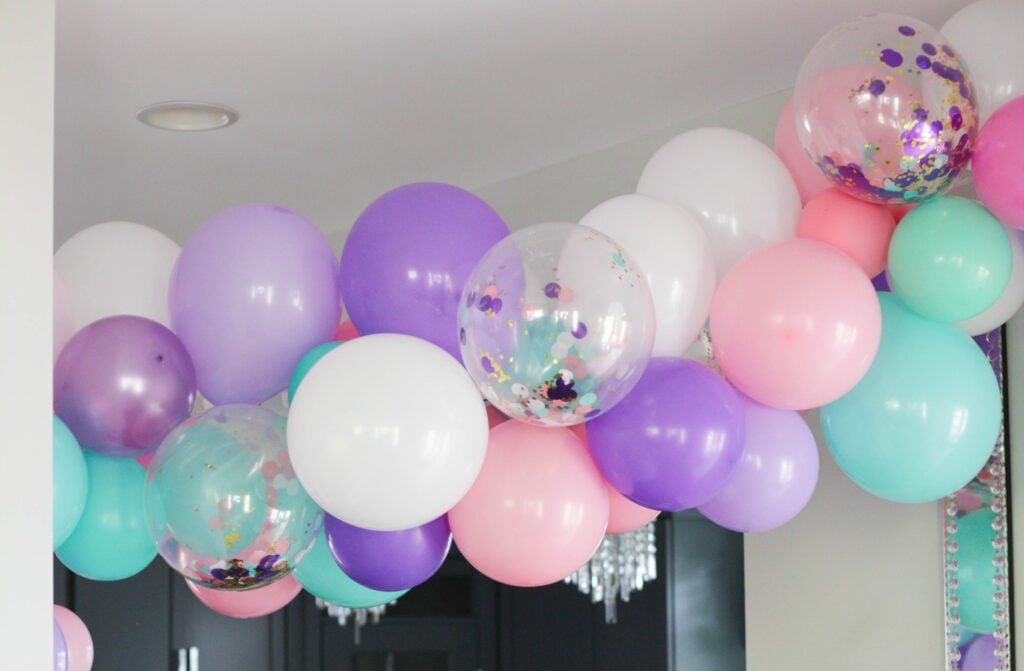
We also typically use our balloon garlands for photo opps! We pulled down the unicorn style balloon arch for Penelope and my niece’s first birthday party as the back drop. It’s an easy way to remove all the clutter from the birthday festivities behind the kids!

We’ve also even brought them outdoors for family photos. There’s so many fun things to do with balloon garland!
I hope this simple how to make a balloon garland tutorial helps you wow the guests at your next event! If you want a specific rainbow balloon garland be sure to check out this post. And check out this post for inexpensive things to do for a kid’s birthday!


Have you ever made a balloon tower? I see that they have kits available on Amazon, but I’m never sure if they are good.
I haven’t made one yet – I’ll have to check it out for my next party!
Would the inexpensive packs of balloons from Party City work for this balloon garland?
Yes I’m sure it will! I’ve used lots of very inexpensive balloons. They don’t tend to last as long as other but they’ll likely be good for at least a couple days!
Do you “double stuff” your balloons or what good quality latex balloons do you use that aren’t thin and don’t pop easily?
No, I don’t! I typically just buy my balloons off amazon and have never had any trouble. Be sure to not overfill them!
I love that you mentioned the electric balloon inflator. That’s an absolute MUST for me, especially if you’re making the balloon arch for someone else’s party. The whole process will go so much faster. Thanks for the great post.
I’ve had a hard time in the past tying the knot on all those balloons. Do you have any advice? I think I saw someone mention using those clear little hair ties? Would love to hear your thoughts
Have you tried one of the balloon tier tools? That might help! Like this: https://amzn.to/3xPmWbu
Get tutorial I’ve made several never used the hooks but that seems so much easier..
Thanks for the great tutorial! I am in charge of decorations for a 40th birthday and gave this a try a couple days early. Looks fantastic!! My only problem is my garland is attracting hair – mine and our German shepherd’s. Any tricks to get the hair off the balloons or to keep this from happening again? Thanks!
Do you have to alternate which side you put the balloons in onto the strip?
Nope! It doesn’t really matter!
Thanks so much for this tutorial, I just ordered an electric inflator kit through your affiliate link. I’m making a balloon arch for my daughter’s baby shower and the cheap hand pump isn’t working at all, boo. And, this is an investment because now I can make a balloon arches for all future birthday parties ?
Thank you so much for this tutorial! Made a modest balloon garland (my first one) and everything went smoothly!
Hi Jen,
Your tutorial is great and very detailed….Thanks! I was just wondering if you ever made a free standing garland? The venue that I’m having my party do not allow anything on the walls.
You could attach the ballon garland to just about anything! You can bring in metal hoops or anything else to give it the height.
Awesome video and pics, thanks so much for sharing. I have always wanted to try this and now I am doing it. I am making one for a shower this weekend and then one for my granddaughter’s birthday in 2 weeks. Yay!!!
Have you ever preassembled these and transported them by car to another location? Thank you. Great instructions and tips. Used the link for tape.
No, however I frequently gift any balloon garland I make after we enjoy it for a few days and those I’ve gifted it to will transport it that way. I would just wait to fill in holes until you get to your destination! Good luck!