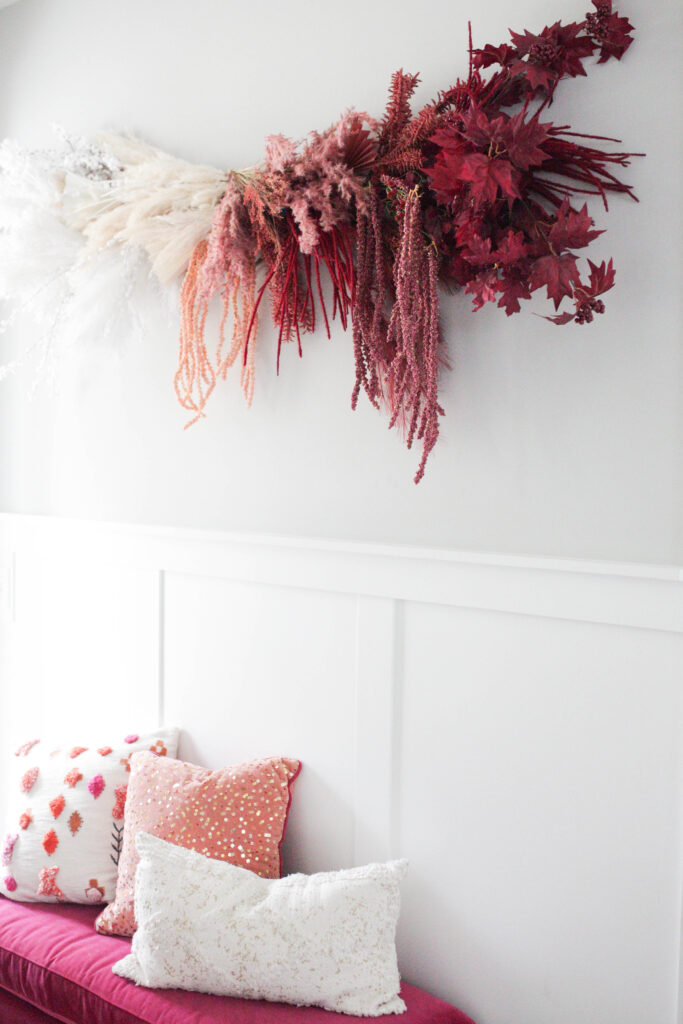
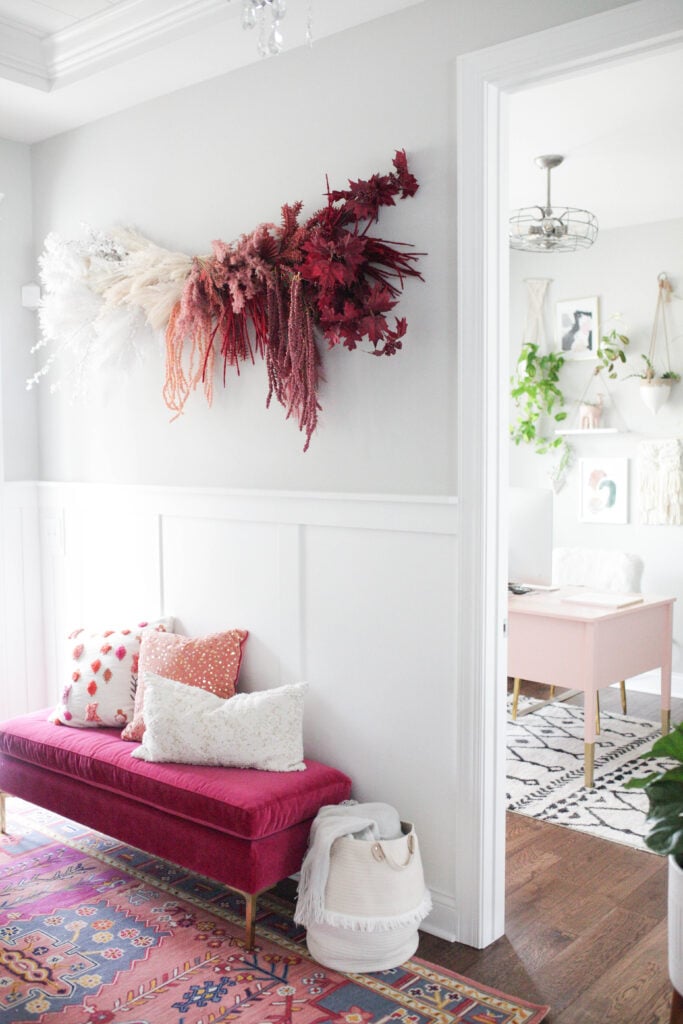
The other day my husband and I went out to dinner and the restaurant we visited had this absolutely stunning dried floral wall hanging in the entryway.
Naturally I thought I needed to make my home so off to my local craft store I went to gather up some supplies for my very own floral wall hanging!
This is going to be less of a “how to” post and more of an inspiration post because there’s no exact science to something like this! It will all depend on what type of floral you’re using and your wall.
However, I’ll be sharing simple steps below with how we made this wall hanging as well as the supplies we used. I hope it helps!
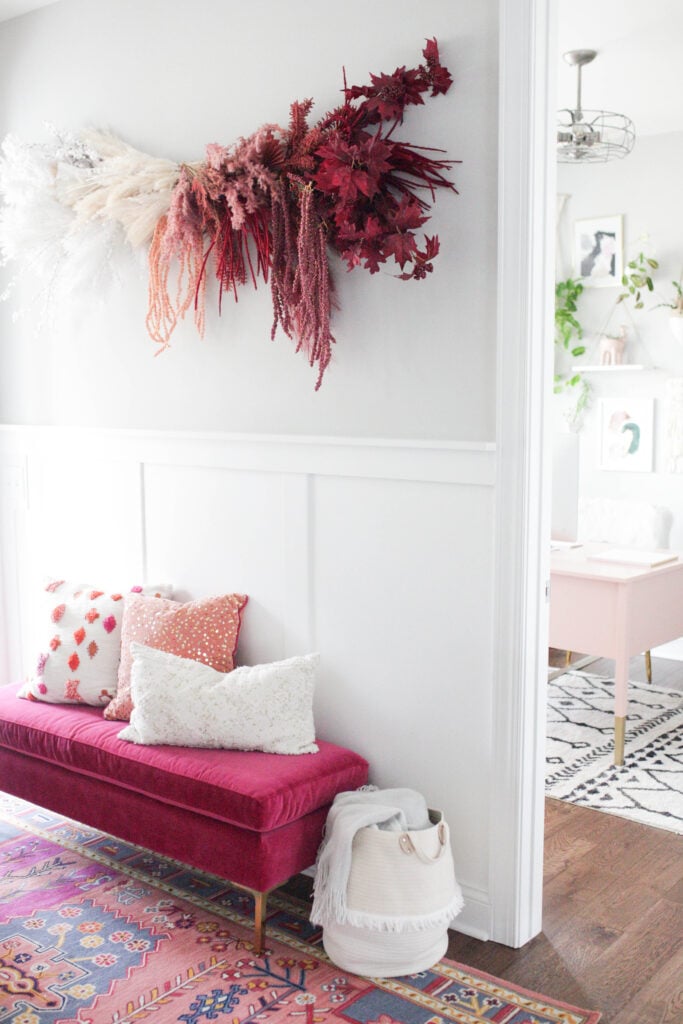
Fun Faux Dried Floral Wall Hanging Tips
Paisley + Sparrow is a participant in the Amazon Services LLC Associates Program This post may include affiliate links which means I may earn a small commission if you shop using the links below at no additional cost to you. Thanks so much for supporting me and this blog!
Supplies
1. Faux Floral
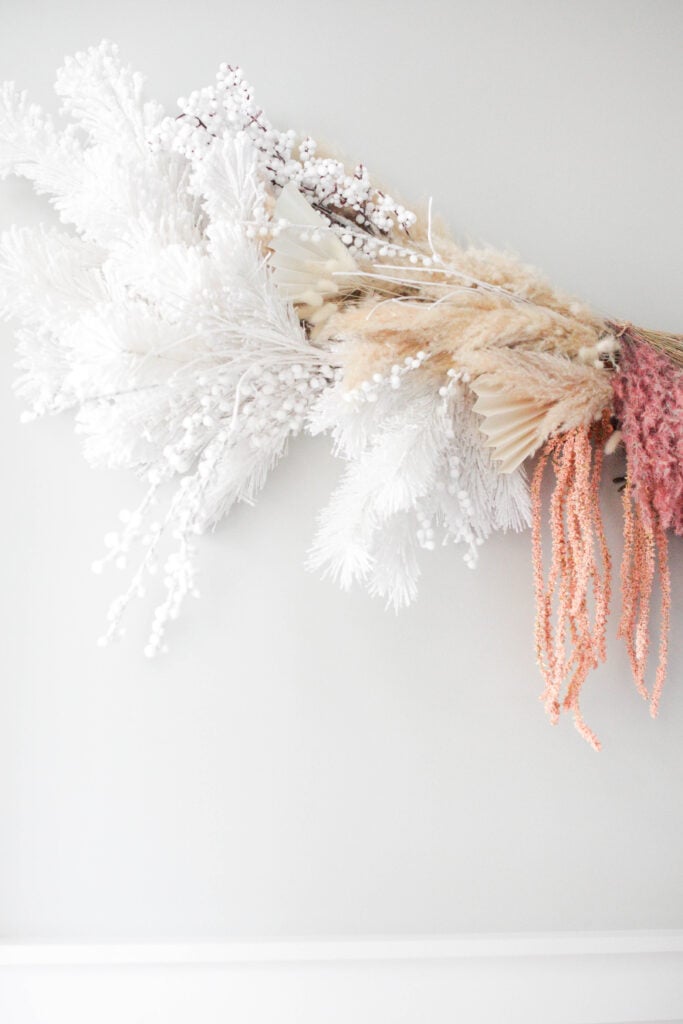
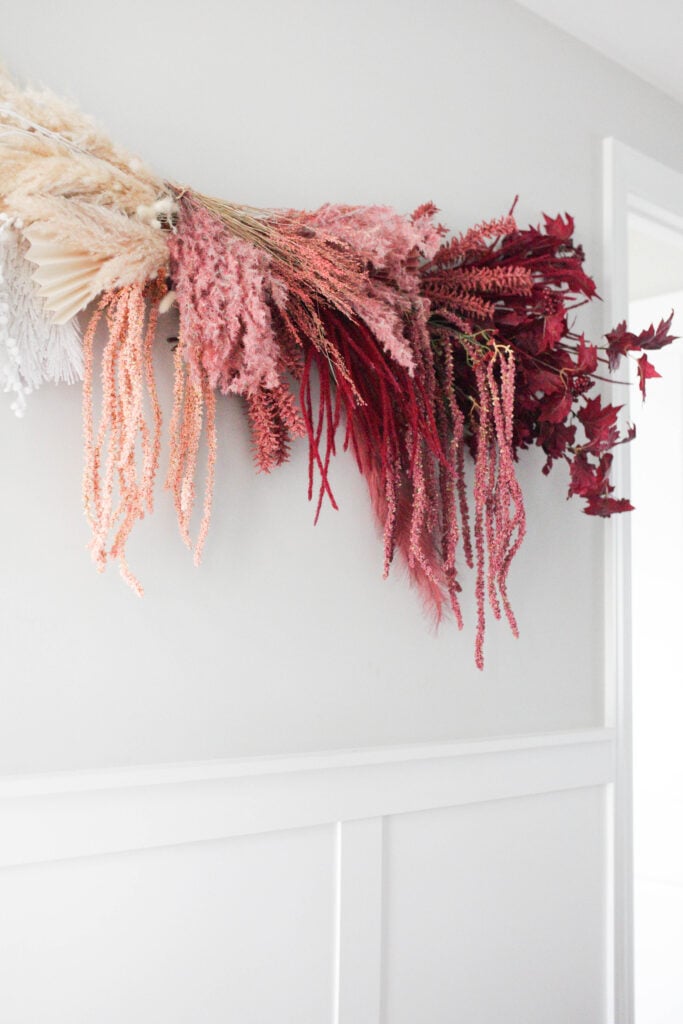
Get a LOT of faux floral! And get multiple of each style to make sure you have a cohesive look. I got about 3 of each style.
You’ll also want to get a variety of textures. Get some fluffy, spiky, smooth, etc. You’ll want some that hang and droop and others that will stick straight!
2. Floral Wire
I used floral wire to combine bunches together. You won’t combine the entire wall hanging together but rather chunks together.
3. Command Hooks
We used both the larger style command hooks and small style command hooks.
4. Painters tape
Bet you can’t tell we used painters tape! This just helped us tape down the stems to make sure they went in the direction we wanted them to go.
5. Paper for paper fans
We made our own paper fans! Just like you would in elementary school!
Faux Dried Floral Wall Hanging Instructions
1. Measure your wall.
First you’ll want to measure your wall so you know how big of a space you have to use. Mark this off on the floor to make sure you don’t make your wall hanging too small or too big.
2. Lay out your florals.

You’ll next want to lay out your florals in a general idea of how you’ll want them to look on the wall. It obviously won’t stay like that but just a general idea will be great.
Make sure you have enough space to move around!
3. Start hanging the outside pieces first.
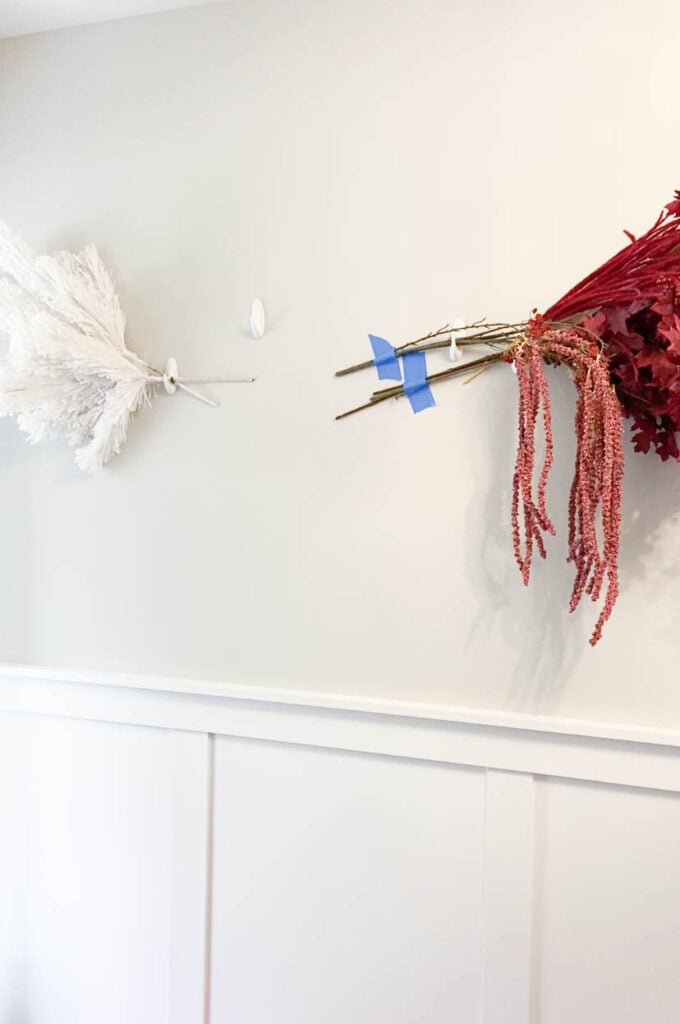
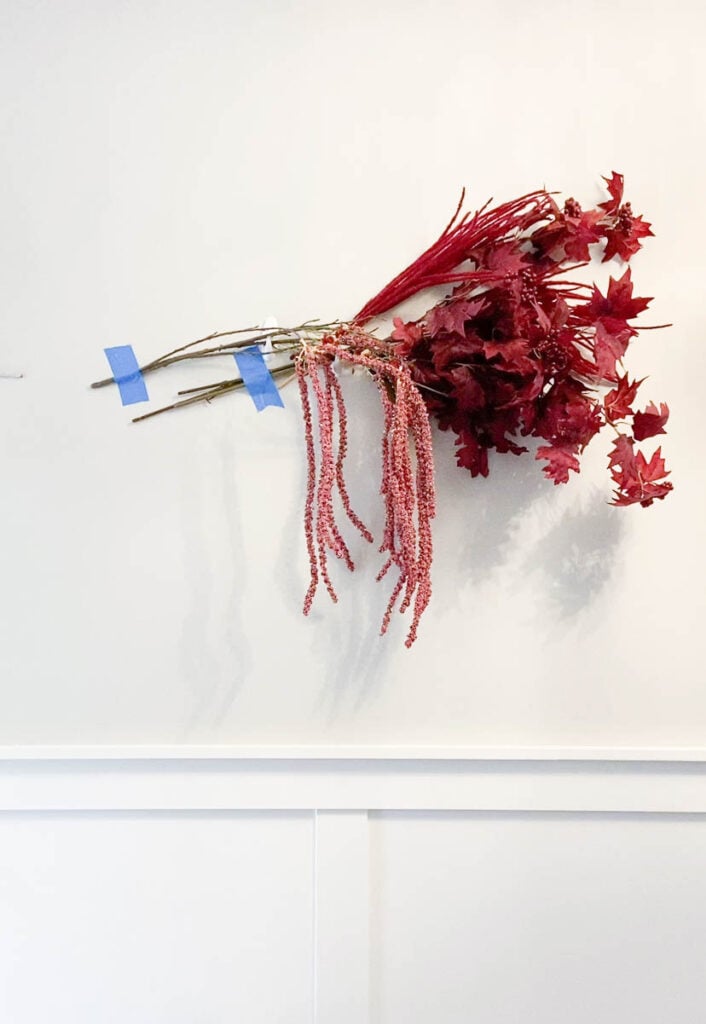
Starting on the outside, begin to hang your florals! We combined a few bunches together for both sides using the wire hanger to keep them together. Then we hung them up using our command hooks.
Make sure these are nice and secure! This will be where many of your other floral pieces get connected to so you want this be very solid.
4. Continue adding from outside to inside.
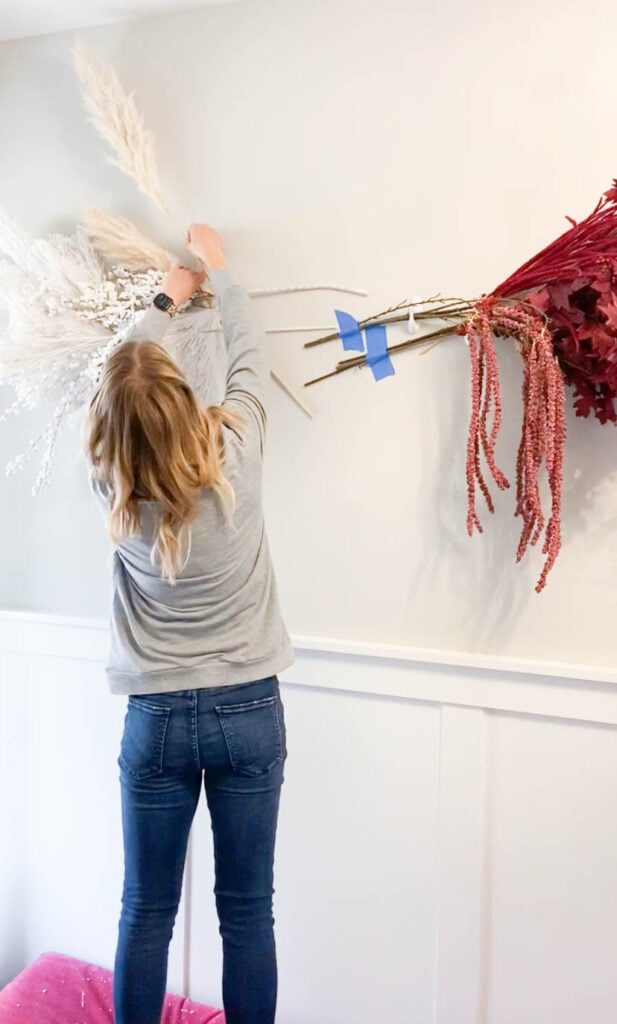
Next you’ll want to add more florals from the outside to the inside. Try to make sure that both sides have the same height to keep a similar vibe.
5. Keep going!
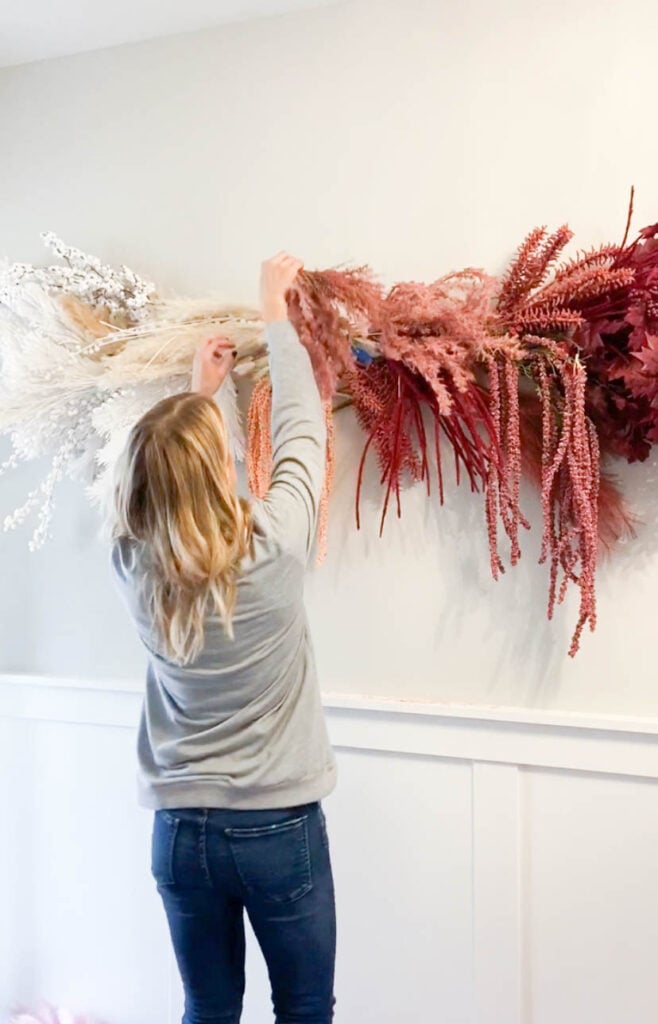
Keep adding and adding until you’re all set! My best tip is to take a step back after you add each item to make sure it looks right. You don’t want to add a ton of things only to realized one side looks too different from the other.
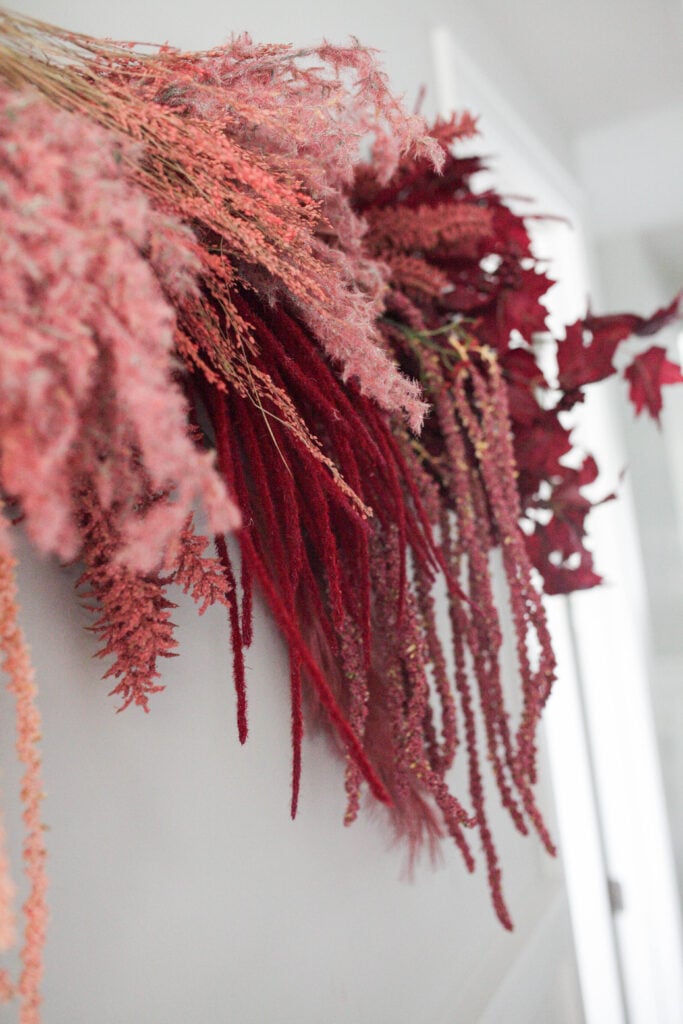
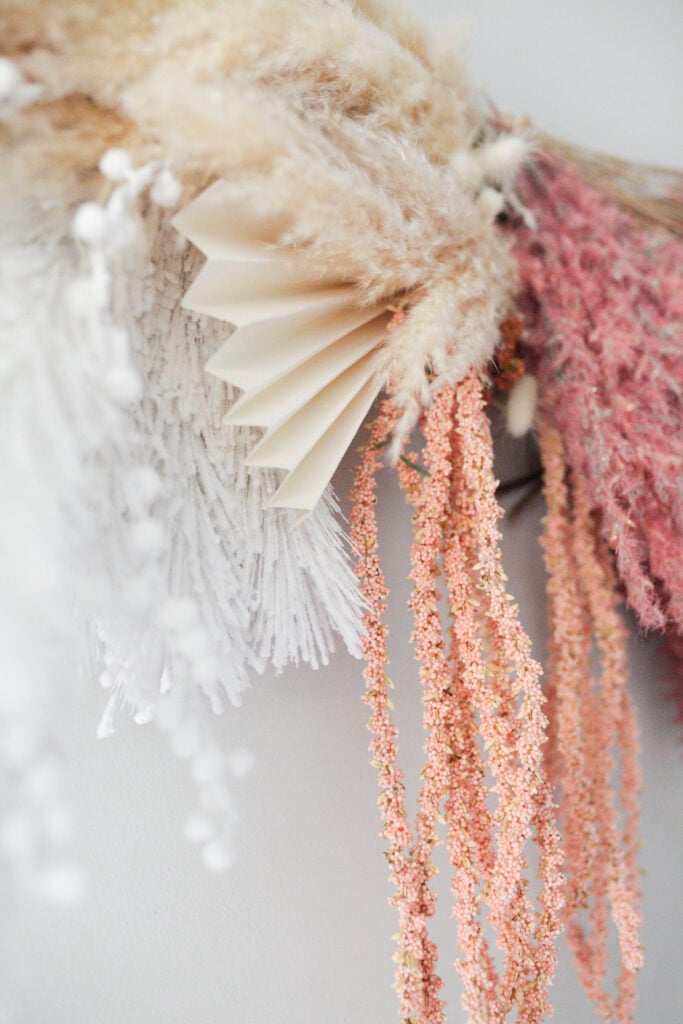
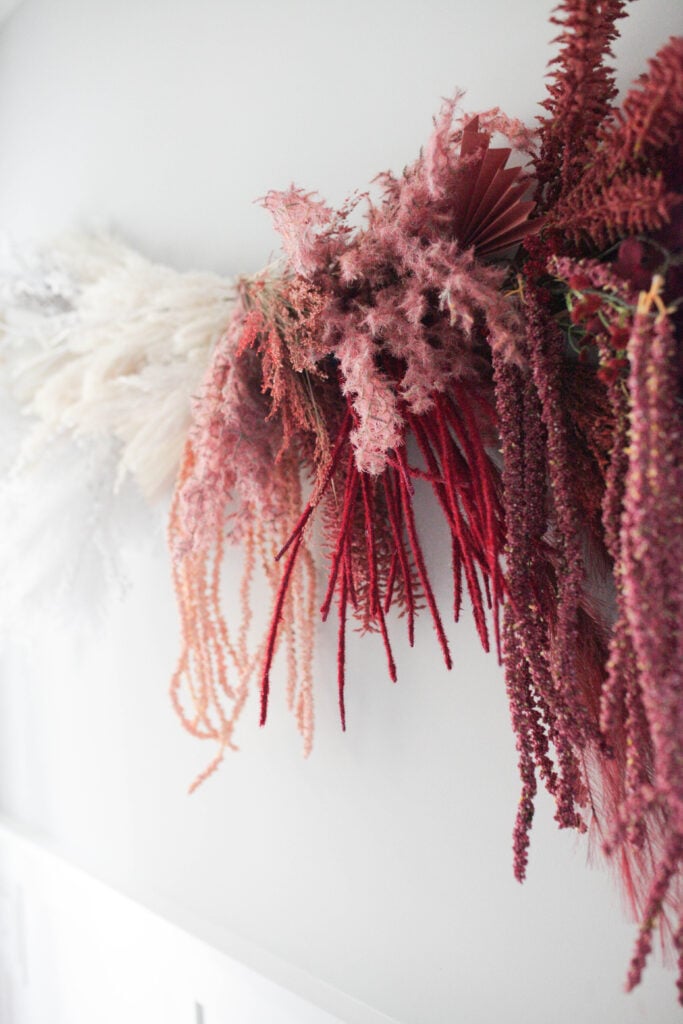
And that’s it! ENJOY!
I am so happy with how it turned out and hopefully this inspires you to make your own!
Shop the post
Since I created this one I’ve made it two more times! This is a similar one for that I made for summer. And my latest one I realized that using chicken wire makes it all so easy!
For more DIY fun be sure to check out how to make a balloon garland!

Thank you for the gorgeous inspo. I don’t have a good wall for this, but I am going to make a holiday version for the outside of my house/on my porch bannister! Where did you find all of these beautiful faux flowers? My craft stores are meh. Just curious if you have any suggestions for online retailers. ❤️
That sounds amazing! Let me do some searching for online stores that might have some good options and I’ll update the post if I find some!
This is beautiful!
Pinned this. I am 100% making one. Thanks for always inspiring 🙂