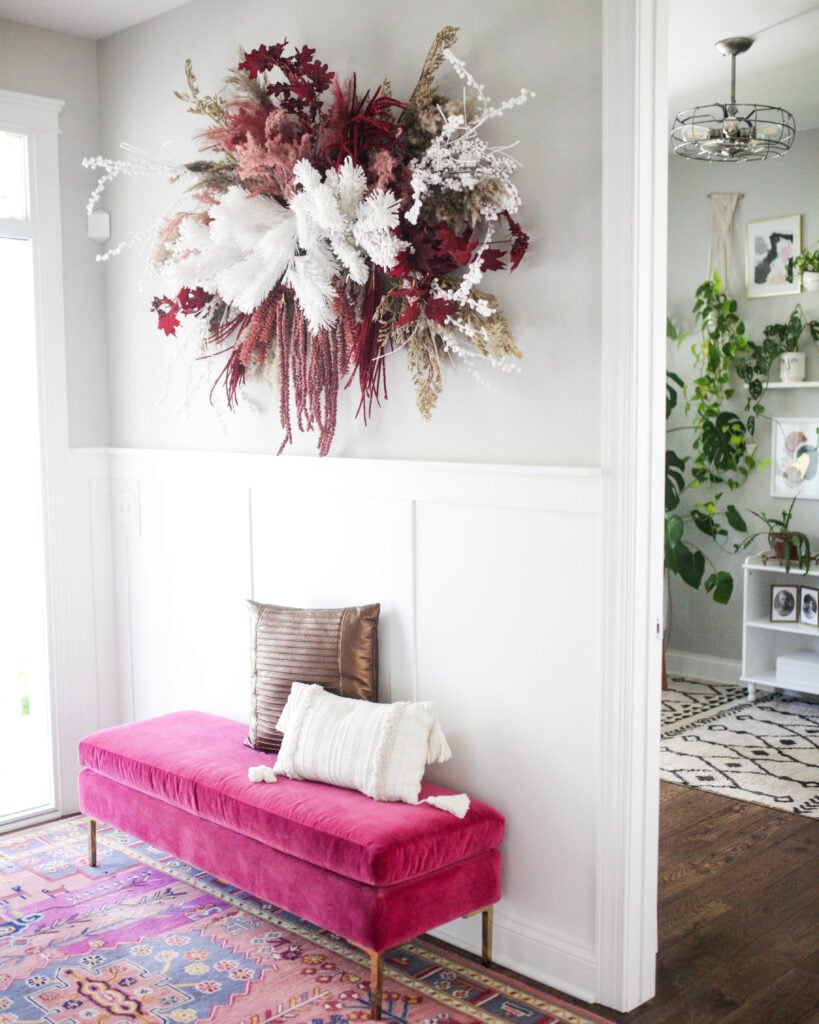
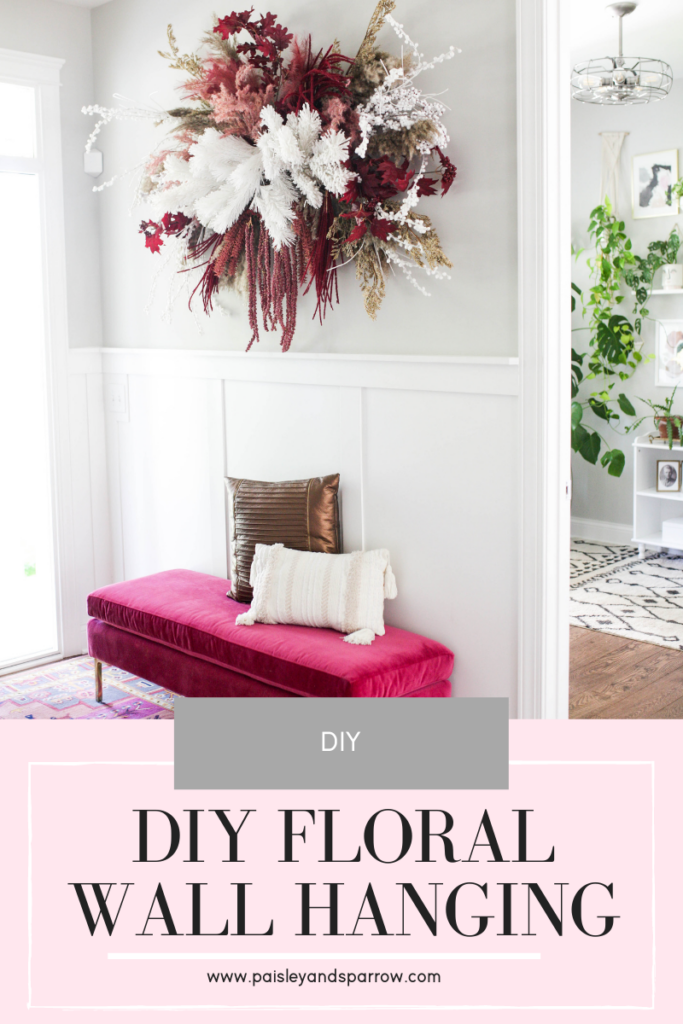
About a year ago I did a fun floral wall hanging in my entryway. It was so fun to create and I loved how unique it was. Nobody would ever have replica in their home!
Well, since it was very heavy focused on fall/winter florals, I decided I needed a new, summer one with summer decor. So I did a little upgrade and made a new, summery one that was all greenery with a splash of flowers.
Now that fall is quickly approaching, I’m back at it again! Instead of buying all new items, I tried to reuse most of the florals from the first one I did with a few additions of tan ones.
Seeing as though this is my third wall hanging, I’ve learned a thing or two. Most important thing is how I hang it!
The first two that I made I put them up with command hooks. While that worked for the first one, the second one didn’t stay up quite as long as the I had hoped it would and fell down before I had planned.
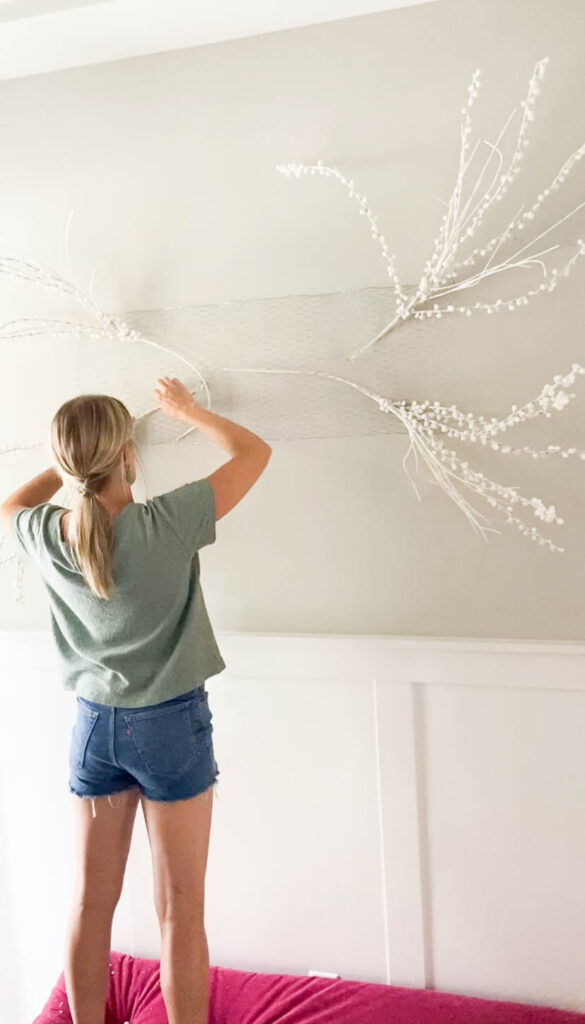
Enter, chicken wire!
Chicken wire made a HUGE difference in not only how well it held up but also the ease of actually putting it up!
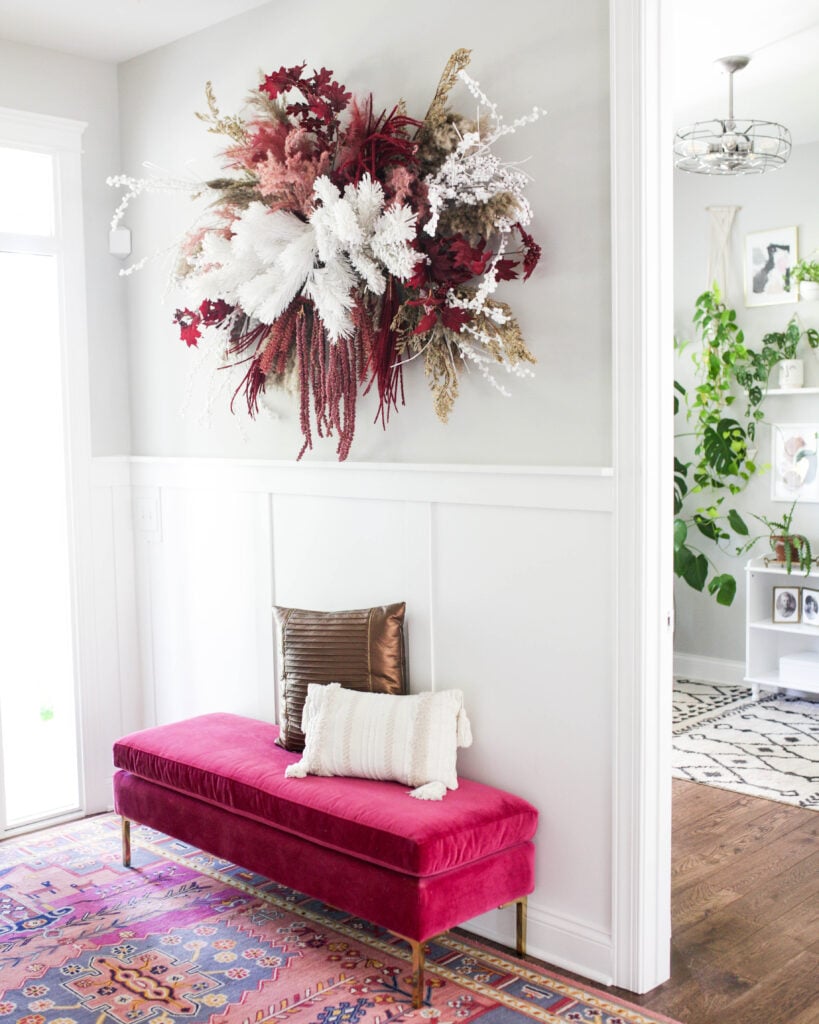
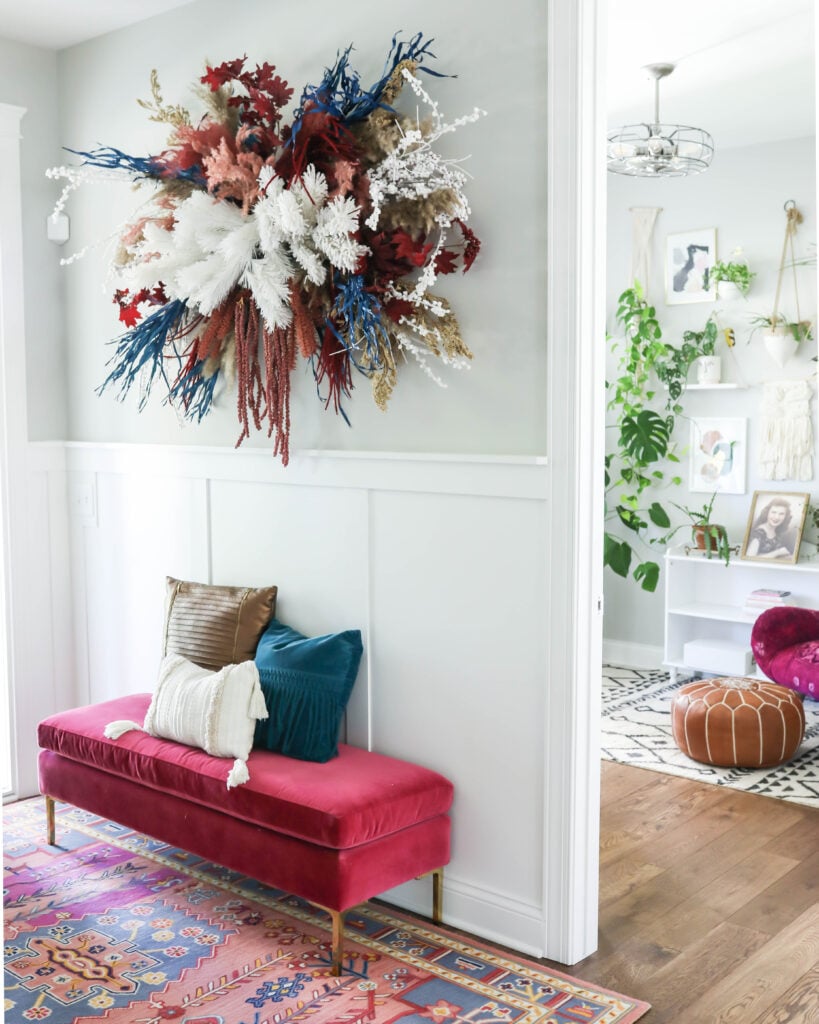
I actually have 2 variations of this wall hanging which you’ll see in this post. One with blue and one without. I know which one I like the most but which one is your fav?
This post contains affiliate links.
Supplies
Here’s what you’re going to need if you want to make one of these yourself.
1. Chicken Wire
This is the one big change from my other wall hangings. Skip the command hooks (like I used previously) and get chicken wire!
2. Hammer & Nails
You’ll need a hammer and small nails to nail the chicken wire to the wall. I used 6 total nails.
3. An Assortment of Dried Floral
You’ll want to get a LOT of this. I also picked up 2 or 4 of each kind of flower to give it a cohesive looks and feel.
I picked up mine from JoAnn Fabrics, Hobby Lobby and Etsy!
Wall Hanging Tutorial
And here is how you do it!
1. Measure the area of your wall
You’re going to want to first figure out how big you want your wall hanging. Mark it off on the floor so you can prep your design.
2. Plan Your Design
Before you just start things on the wall, it helps to plan out your design a bit! I always prep mine on the floor to give myself a general look and feel as to what it’s going to look like.
3. Cut and Hang Your Chicken Wire
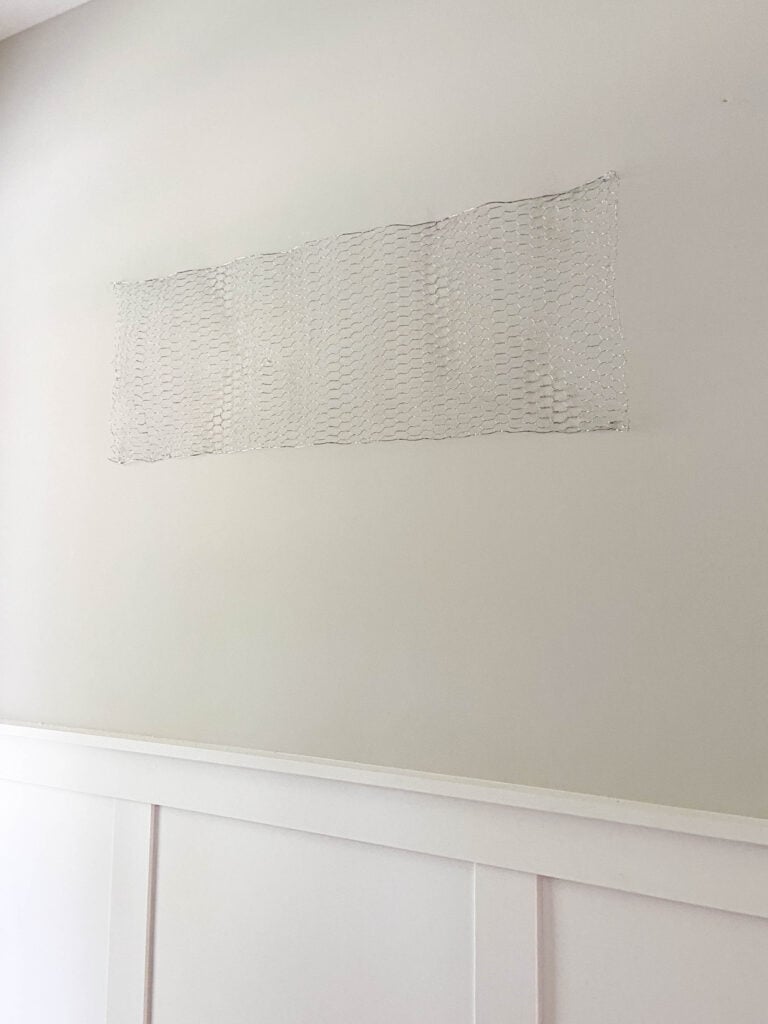
Keep in mind, you don’t need to have enough chicken wire to cover the entire spot you’re planning on covering. You will likely have pieces of floral hanging off the edges so plan for that.
I put nails on all the corners as well in the center to keep it tight. Just a note, mine didn’t lay totally flat but it totally worked!
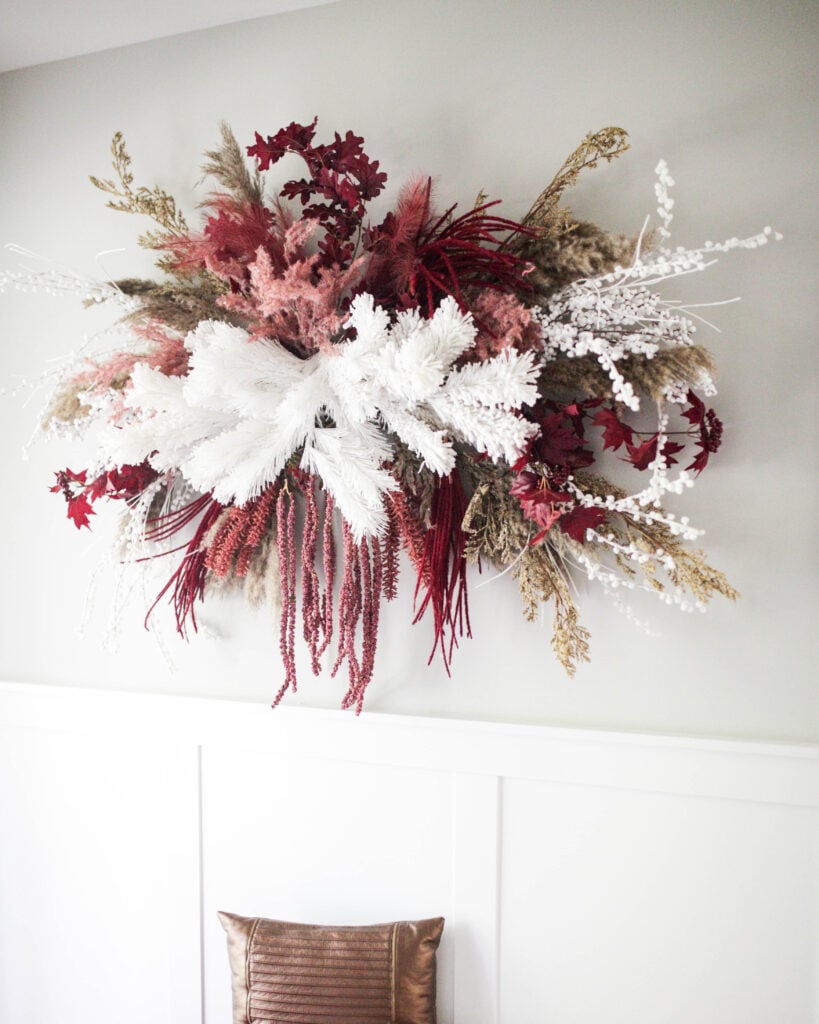
4. Start Hanging
Start with the outside pieces and move your way in. You’ll want to place a few florals in and then step back and look at it.
I did this with my sister and SIL and it was really helpful to have someone else look at it from further back.
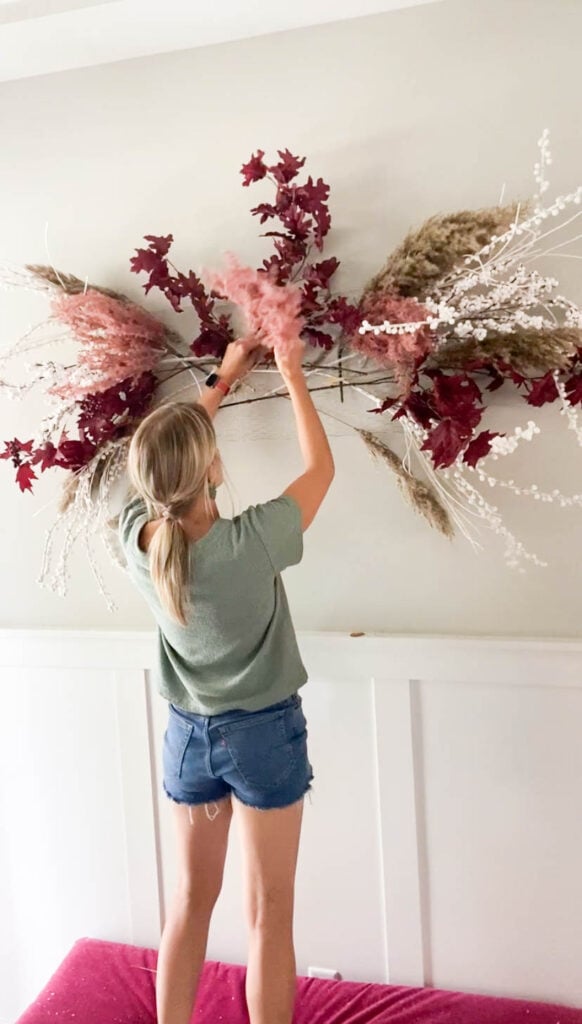
If you don’t have a buddy to help you, that’s ok too! Using the chicken wire makes it incredibly easy to remove it and put it in a different spot.
And that’s it! It’s really not that hard to do once you have all the of pieces to do it with.
Ok now you can see both variations of this one – the one with blue and the one without! Which do you prefer?
I hope this helps you make your very own unique wall hanging in your home! You can check out the other two posts for more inspiration as well – fall floral wall hanging (#1) and summery green floral wall hanging.
I love this Gorgeous.
Love this! Can you give pros and cons for dried versus faux florals to use in this kind of DYI project.