Toddlers + glue are a dangerous combination. But they love it and they have to learn somehow, right? My 4 year old is loving practicing using glue and my 2.5 year is so excited every time I let her try her hand at gluing something and what better what to practice than by doing a tissue paper craft!
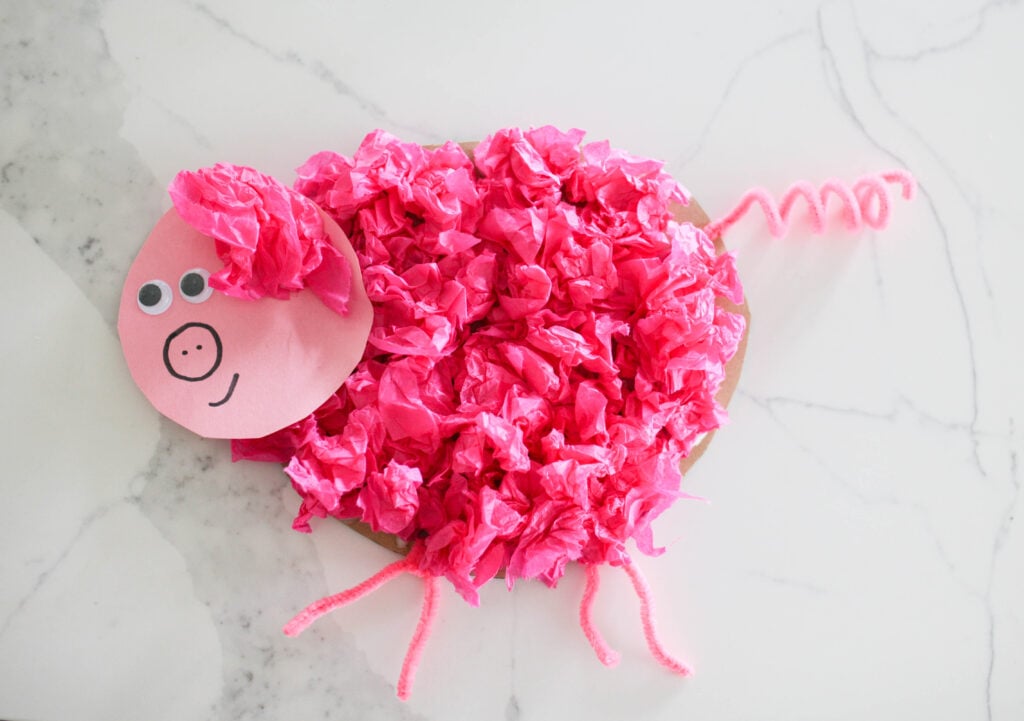
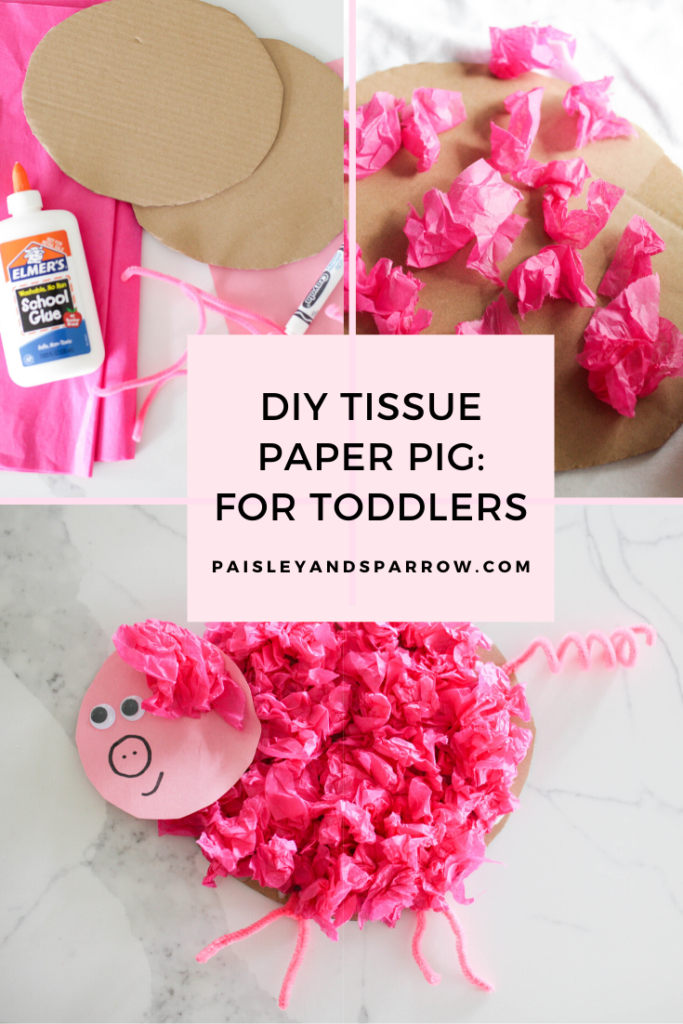
To practice gluing and to have some fun, try making this simple DIY tissue paper pig! It’ll be fun for your kids to rip, tear, crumple and glue and end up with a super cute pink pig to play with!
If you don’t have pink tissue paper, you can always switch this up and make a sheep if you have white (or any kind of animal depending on what color tissue paper you have on hand).
I’m all about using what you have and letting your kids do the bulk of the work. Nobody likes doing a craft with your kid only to end up doing all of the work!
Pig Tissue Paper Craft
Here’s what you need to make this Pig Tissue Paper Craft.
Materials
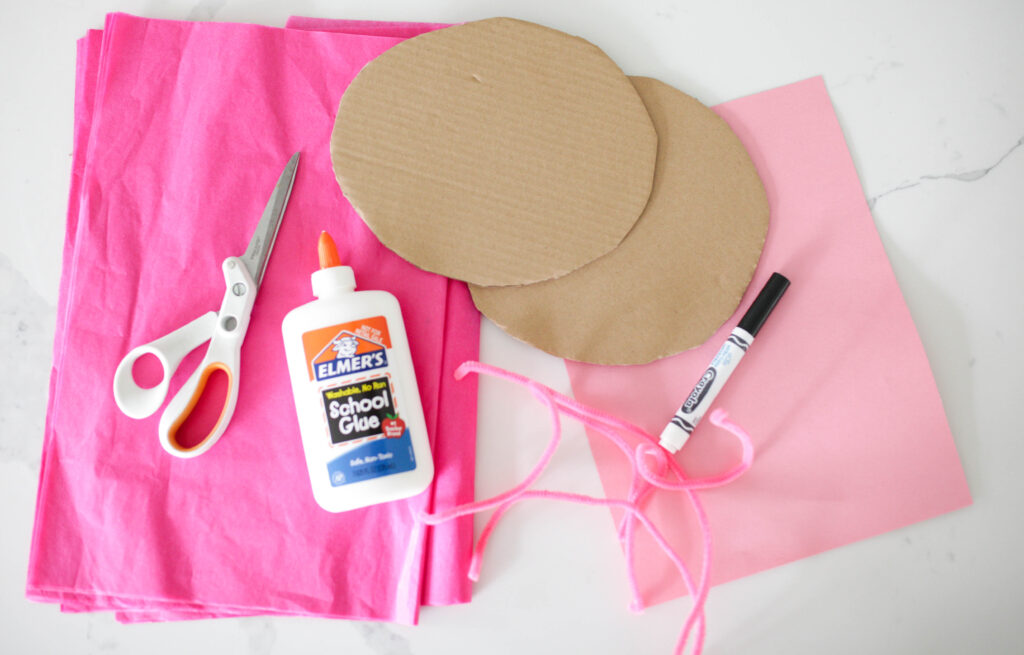
- Pink Tissue Paper
- Pink Construction Paper
- Scissors
- Hole Punch
- Glue
- Cardboard
- 3 Pink Pipe Cleaners
- Googly Eyes (optional)
Instructions
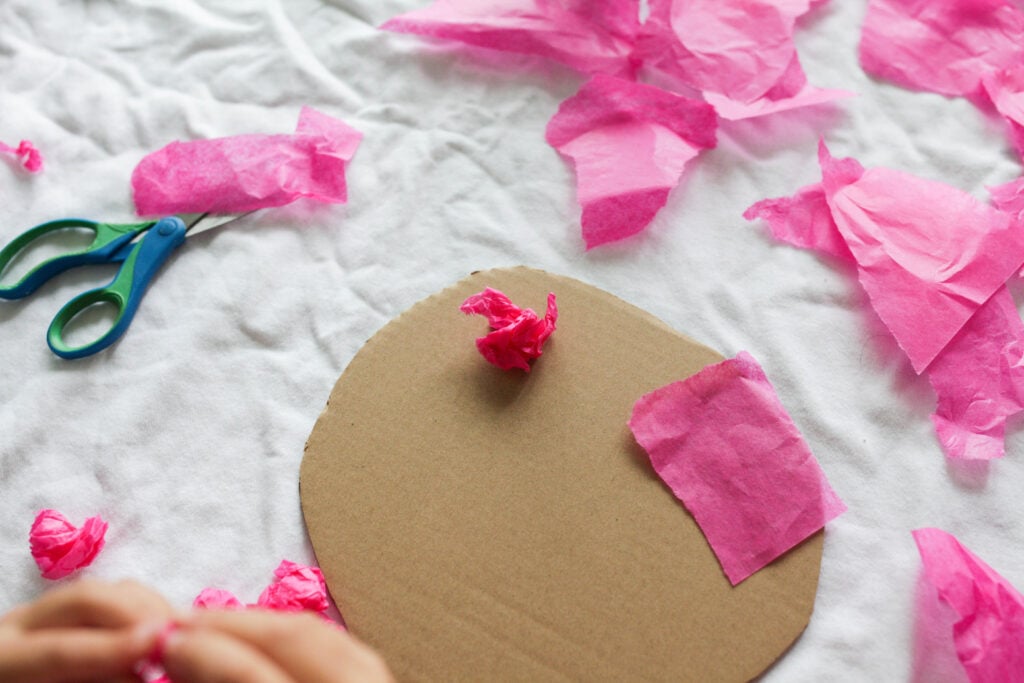
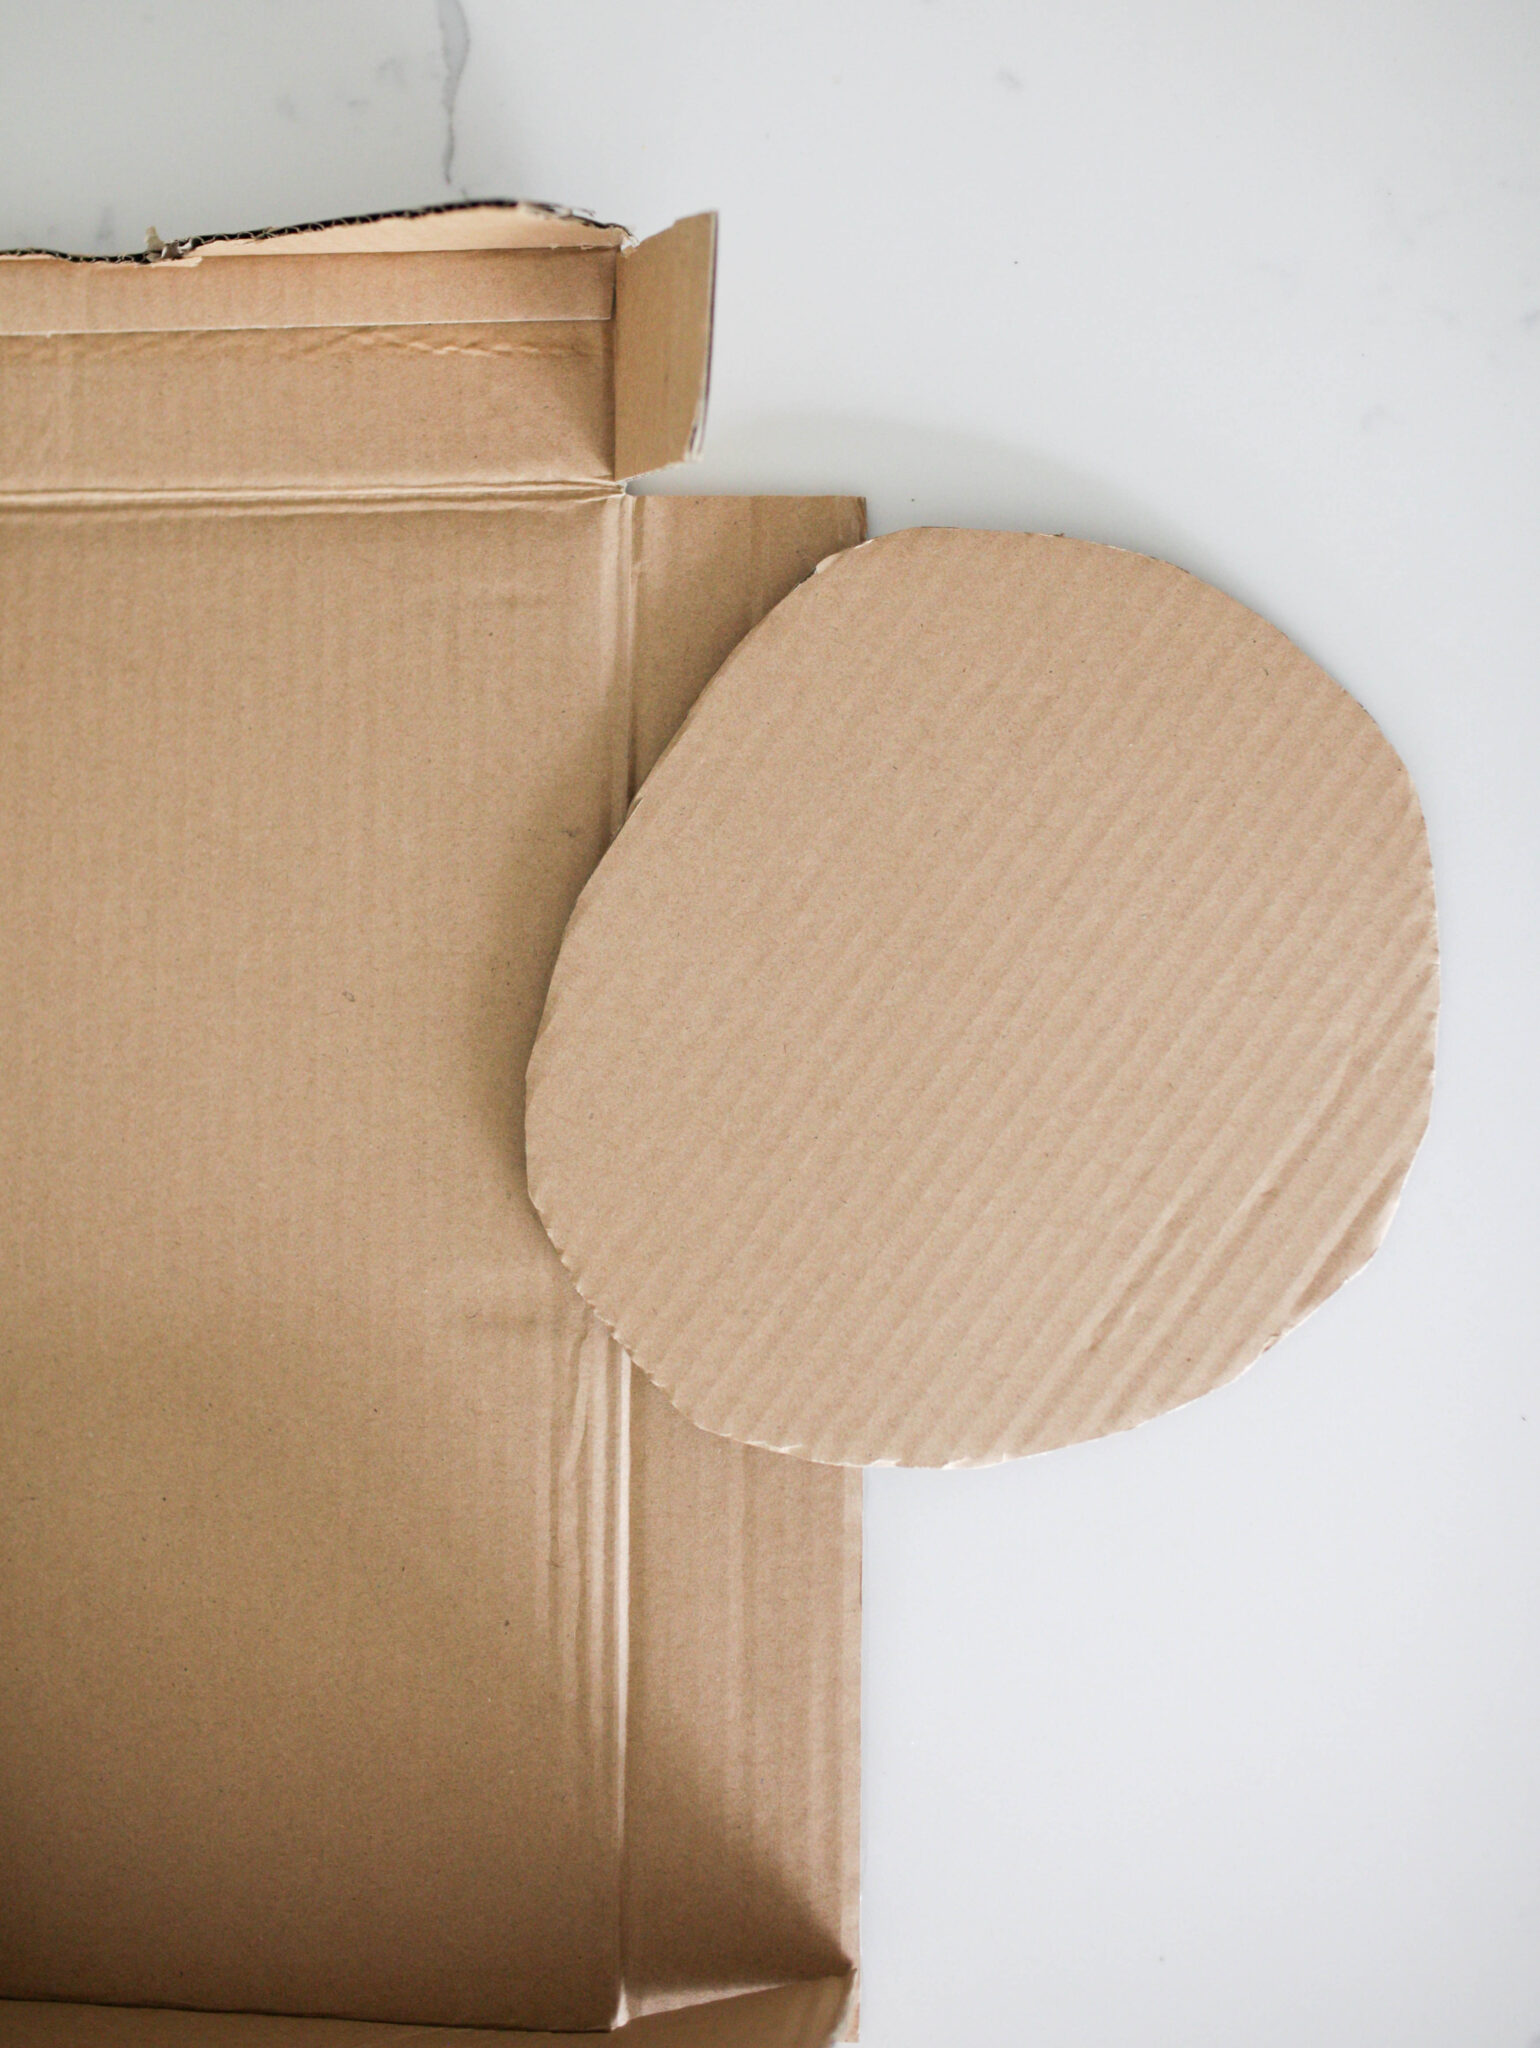
1. Cut cardboard into a circle.

This will be the body of your pig! I like using cardboard so it gives the pig a bit of a heavier weight to it so it doesn’t flop around while the kids play with it.
I just cut circles from some Amazon boxes we got. This doesn’t need to be anything fancy!
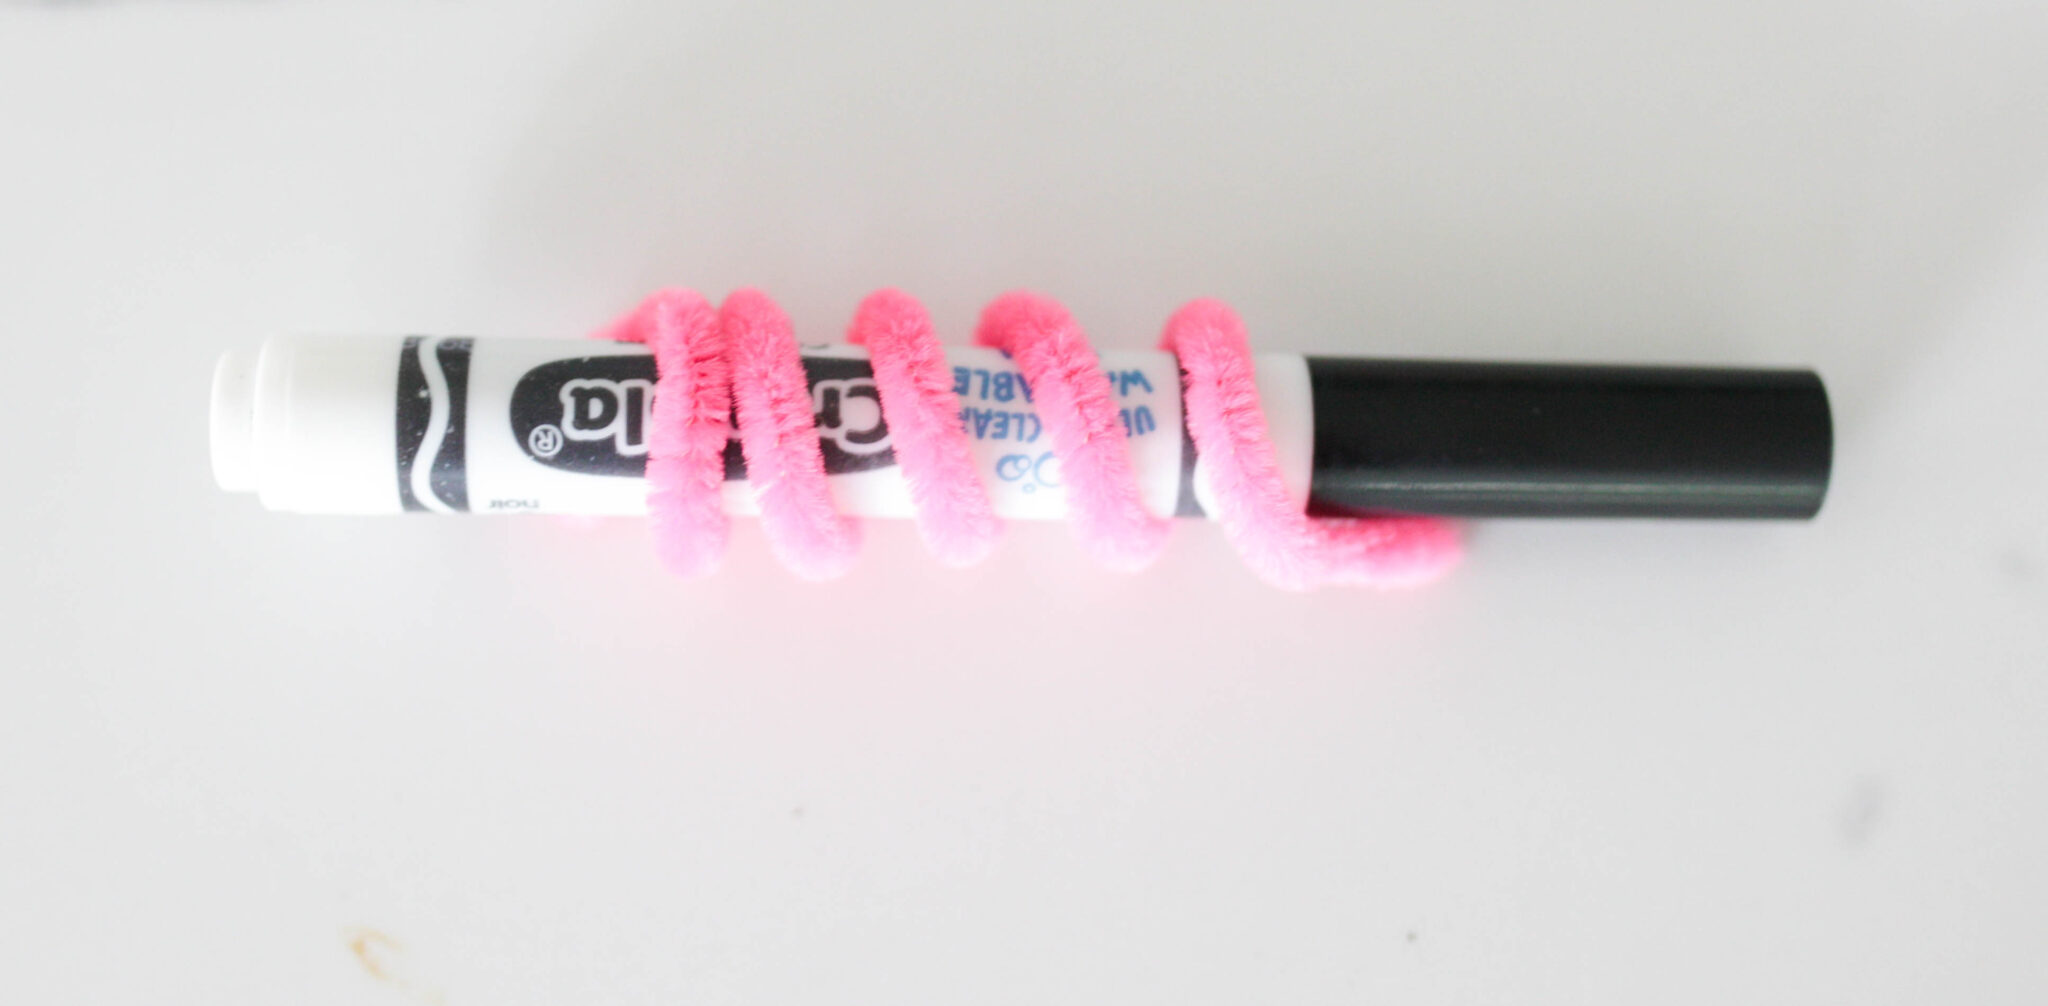
2. Create the tail.

Curl the pipe cleaner around a marker or pen (or your finger or whatever!) to create a curly pigs tail. You only need to do one pipe cleaner like this since the other 2 will be for the legs.
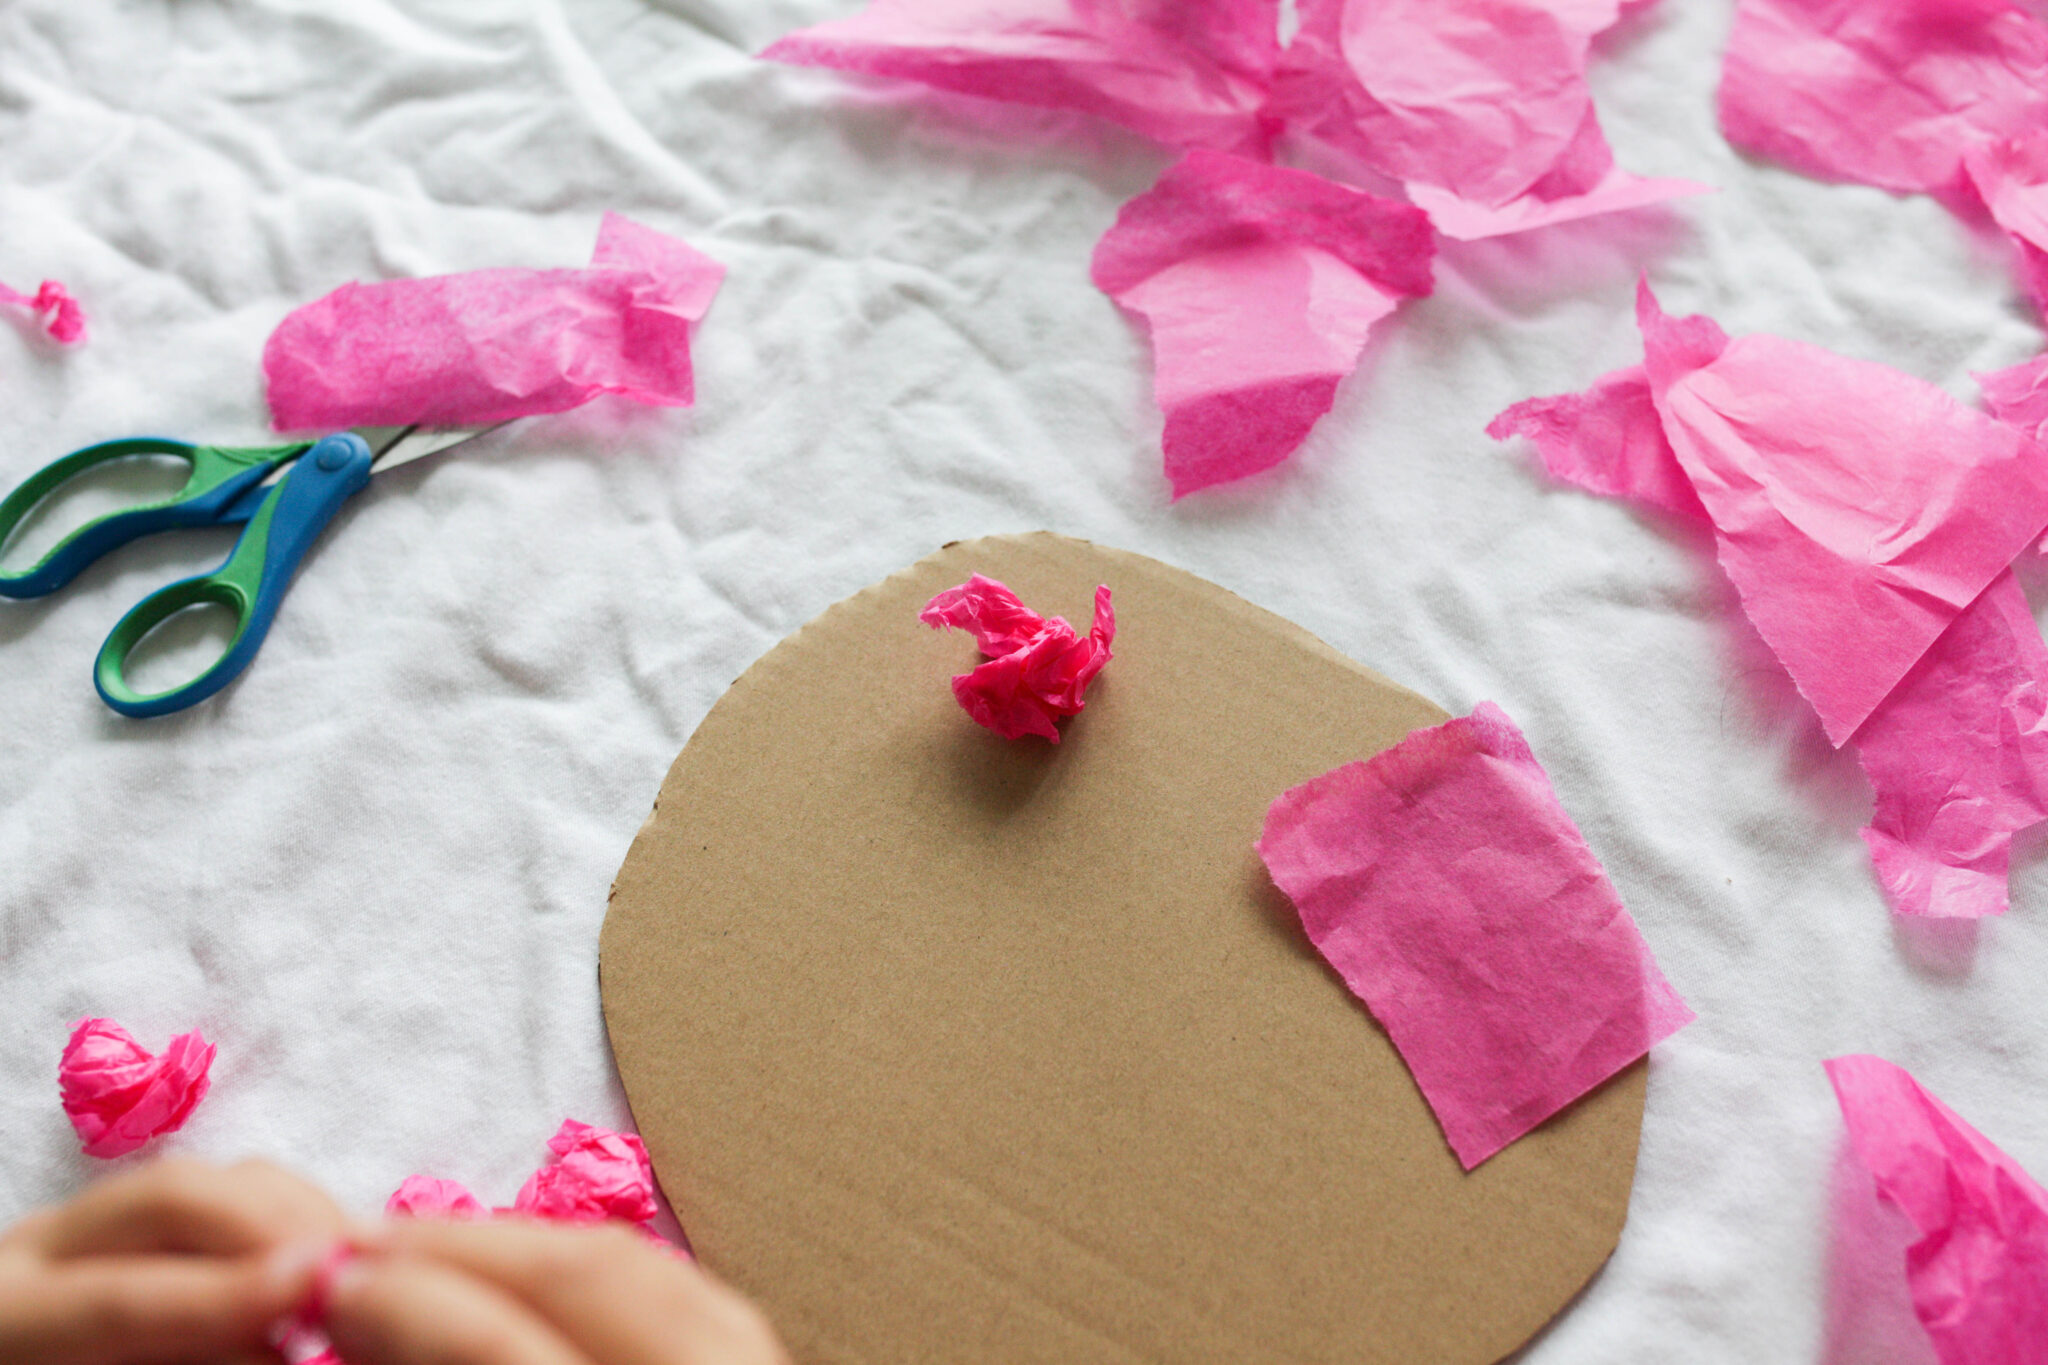
3. Rip or cut tissue paper
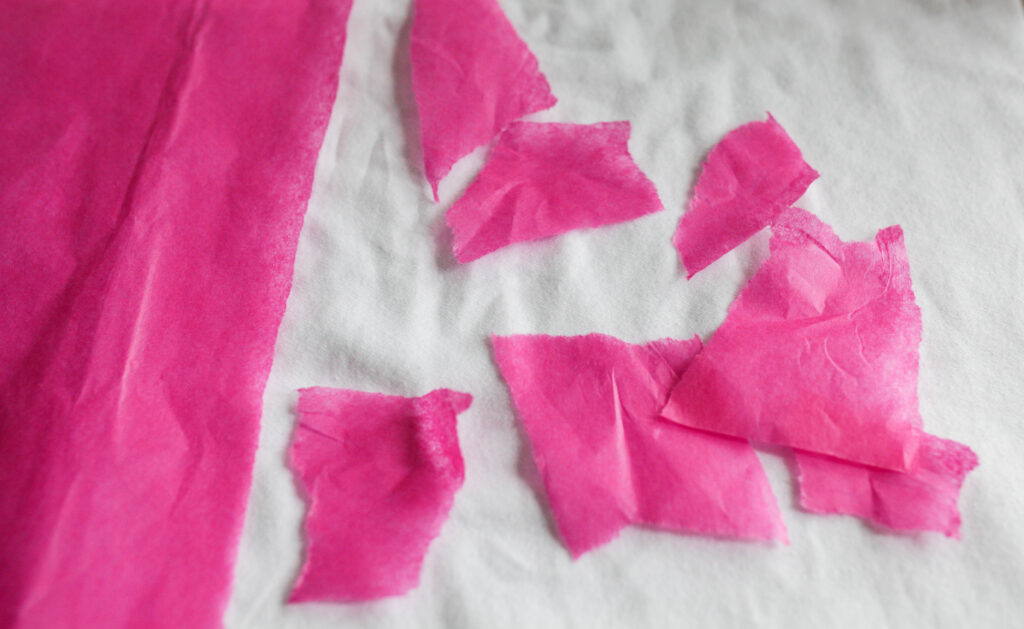
Depending on the age and skills of your child, encourage them to rip or cut up the tissue paper into smaller chunks. This doesn’t need to be exact, just smaller pieces that they will glue to the cardboard.
4. Crumple up paper
This is the fun part! Crumble up each of the pieces of tissue paper! This will be glued on to the cardboard.
Let your kids do this however the want! One of my kids crumpled the tissue paper nice and tight while the other loosely crumpled it. There’s no right or wrong way tot do it!
5. Glue paper on to the cardboard
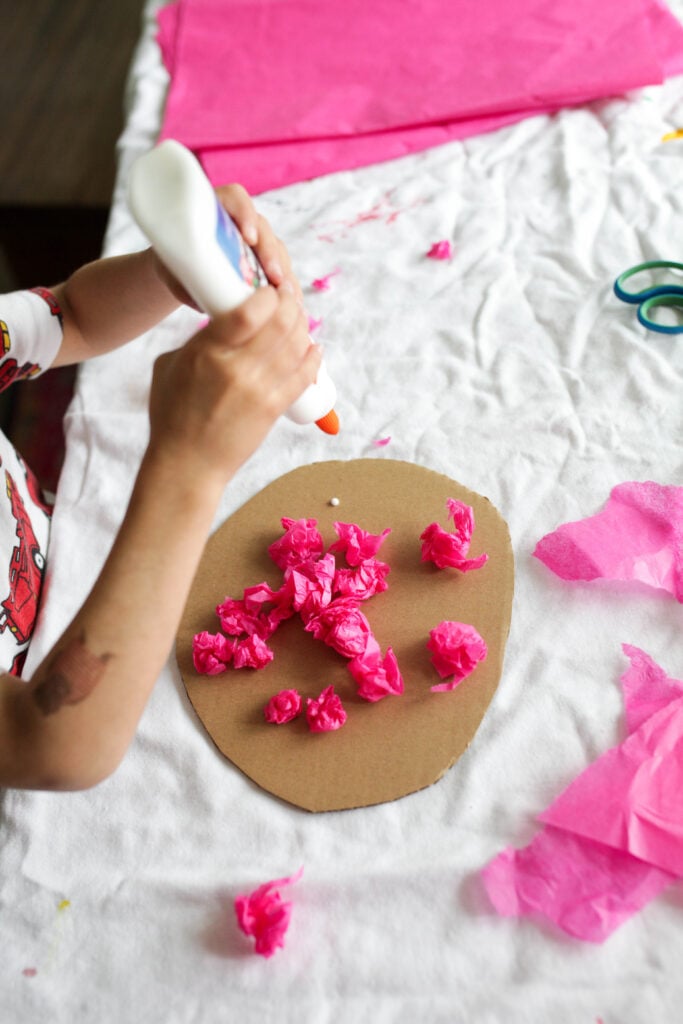
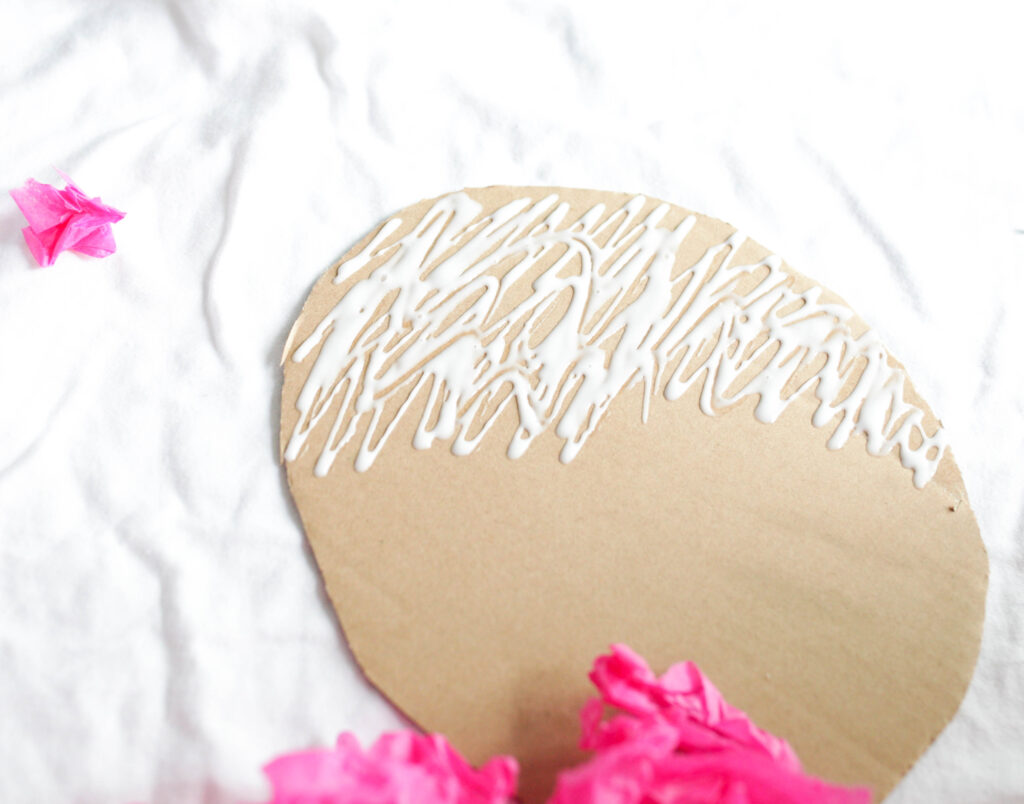
Again, depending on the ability of your kids, the next step is to glue the tissue paper on to the body of the pig. I let my oldest do it himself by putting a small glue dot down on the cardboard and adding the tissue paper to it.
For my daughter, I just created a strip of glue on the cardboard and had her add the tissue paper on to the glue.
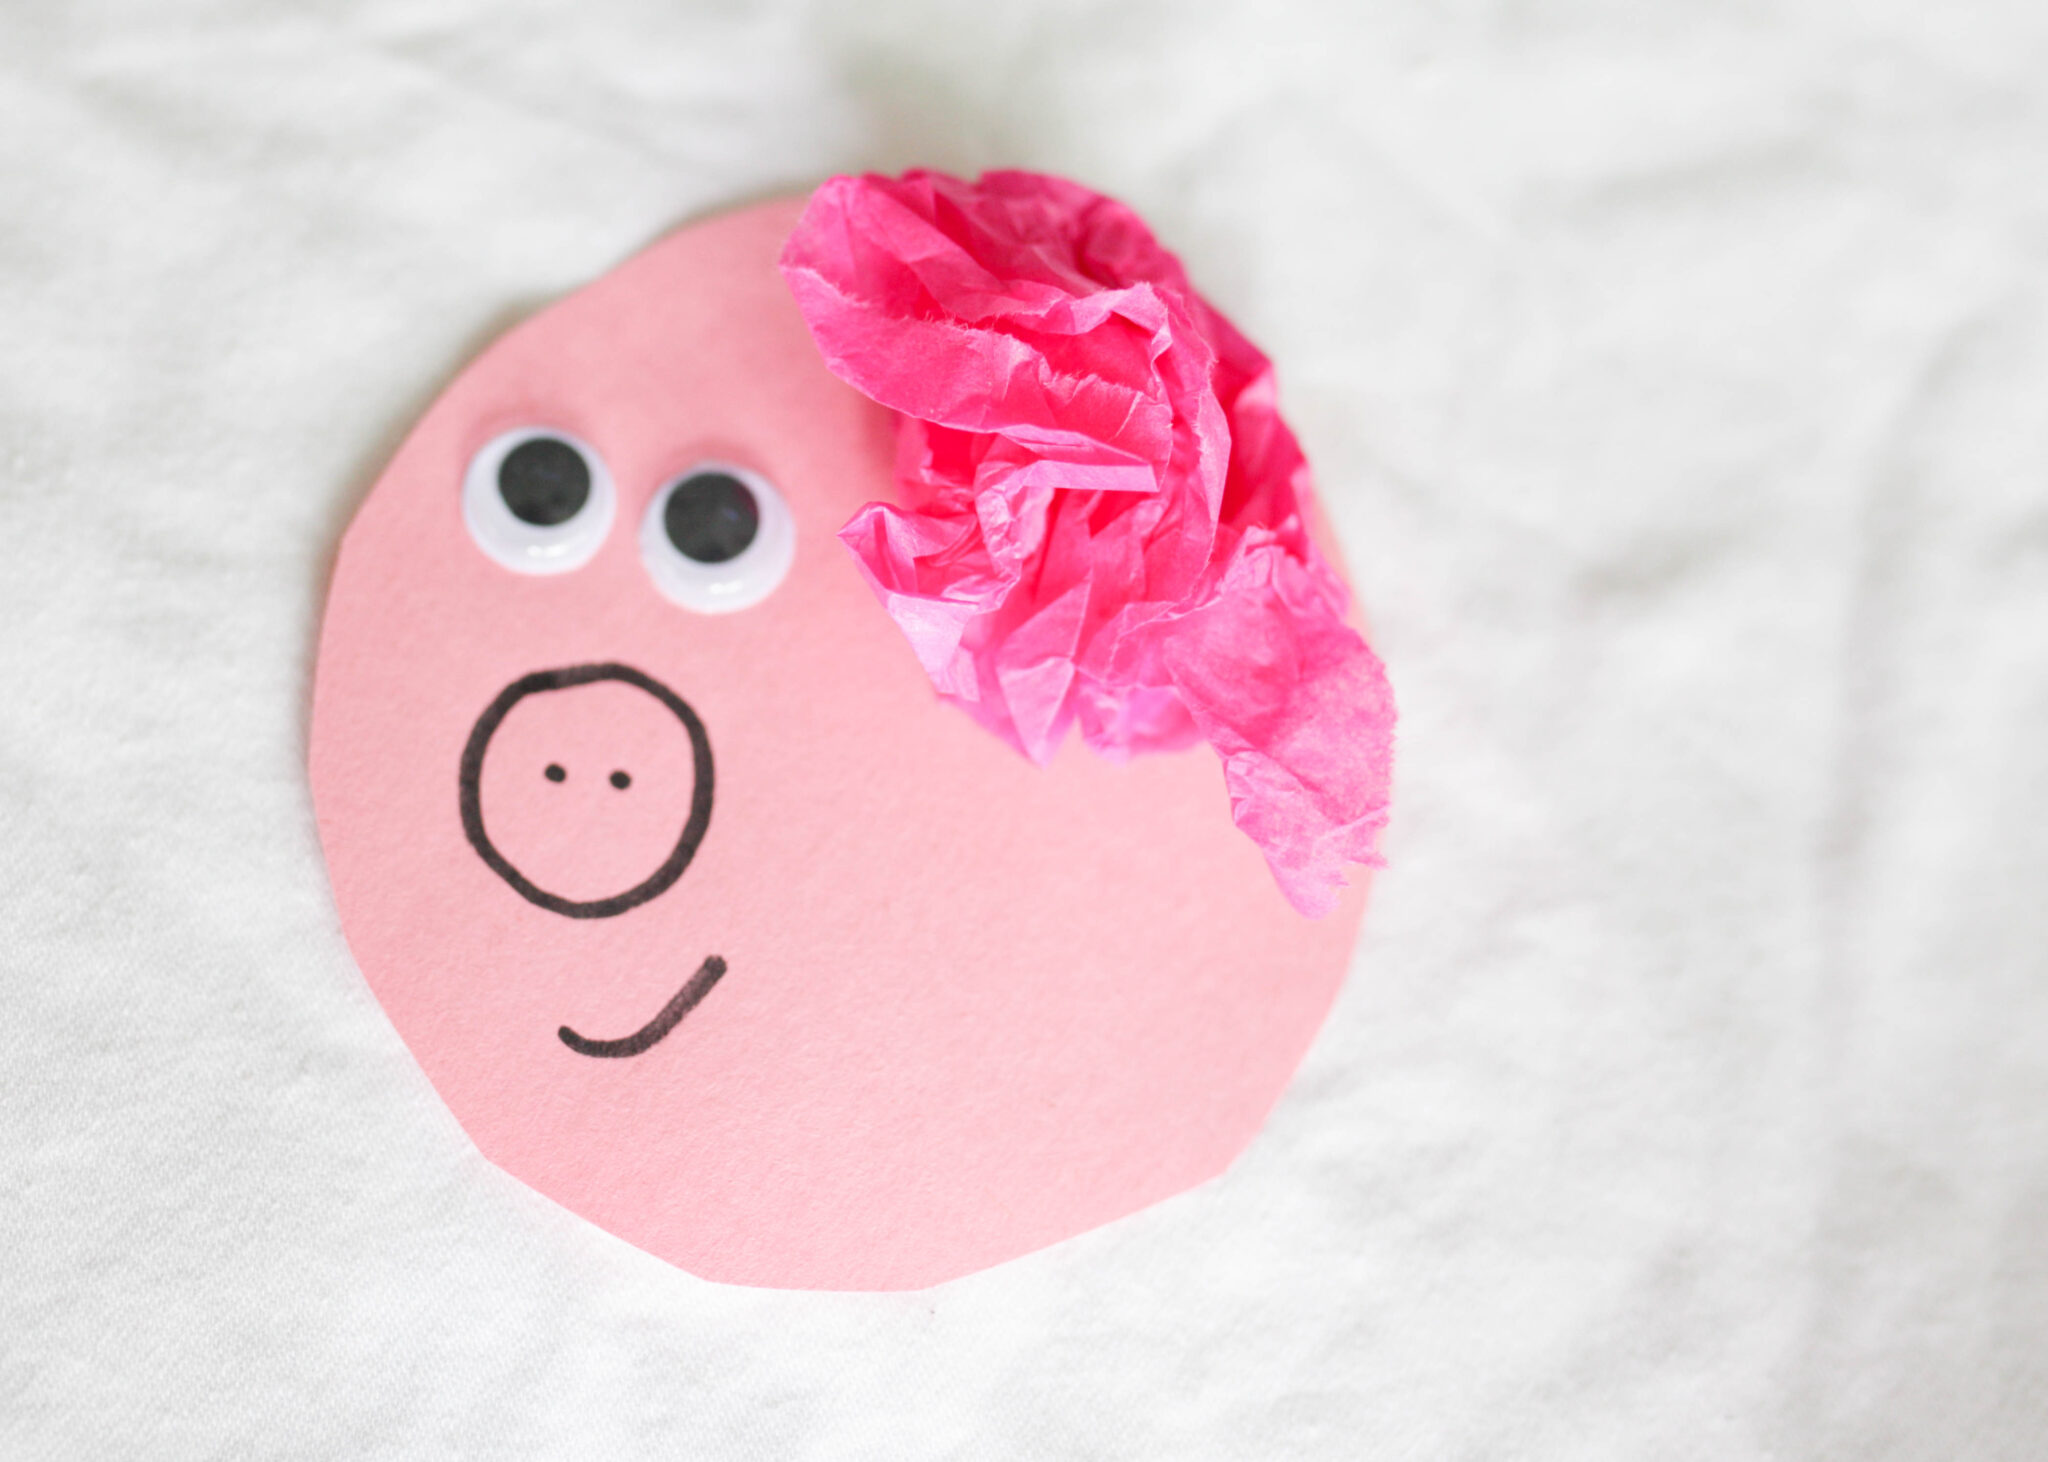
6. Make the face

Draw on a nose and mouth and glue on googly eyes (or just draw them on if you don’t have on hand). I also had each kid glue on a piece of crumpled up tissue paper for the pig’s ear!
7. Glue the head on to the body

Simply add glue to half of the pig’s face and press it firmly on to the body. You’ll need to hold this for a little bit to help it stick together!
8. Attach the tail
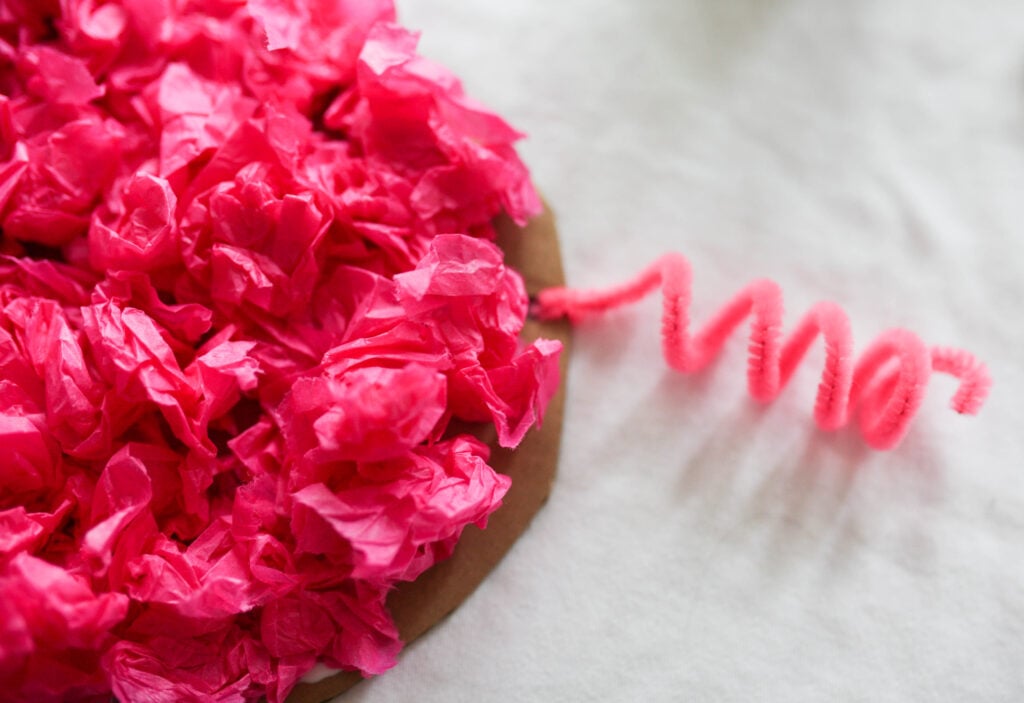
Using a hole punch, create a hole for the tail and legs. For the tail, slide the very end of the pipe cleaner through the hole and twist it to itself to attach it.
For the legs, slide the pipe cleaner so it’s halfway through the hole. Give it a twist or 2 to secure it and there you have the legs!
9. Let it dry + enjoy!
That’s all there is to it! Let the pig dry for a few hours so you’re not at risk of getting glue everywhere or losing tissue paper
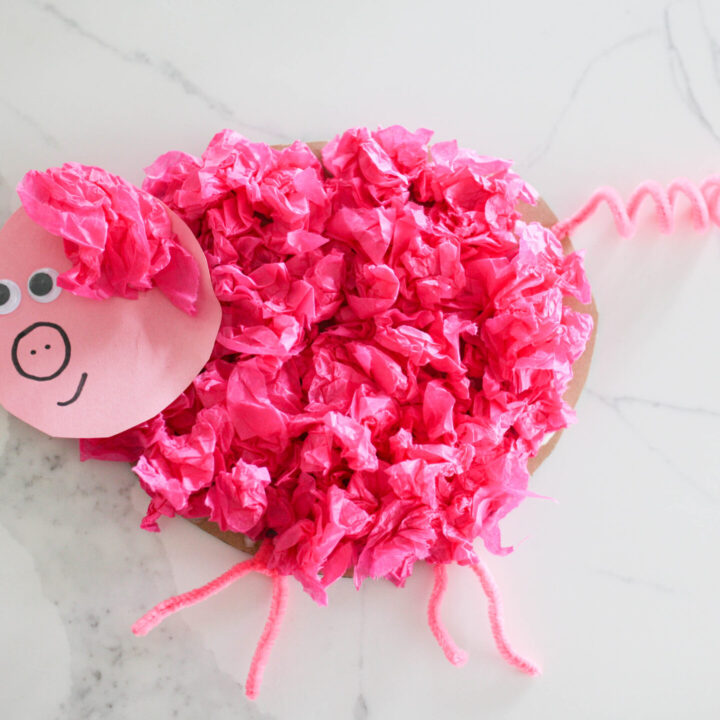
Once it’s all secure, it’s time to play! Now you’re kids can enjoy their fun tissue paper craft pig!
I hope this simple DIY Pig Tissue Paper Craft brings tons of joy to you and your toddlers! Be sure to tag me on Instagram if you create this craft – I’d love to see!
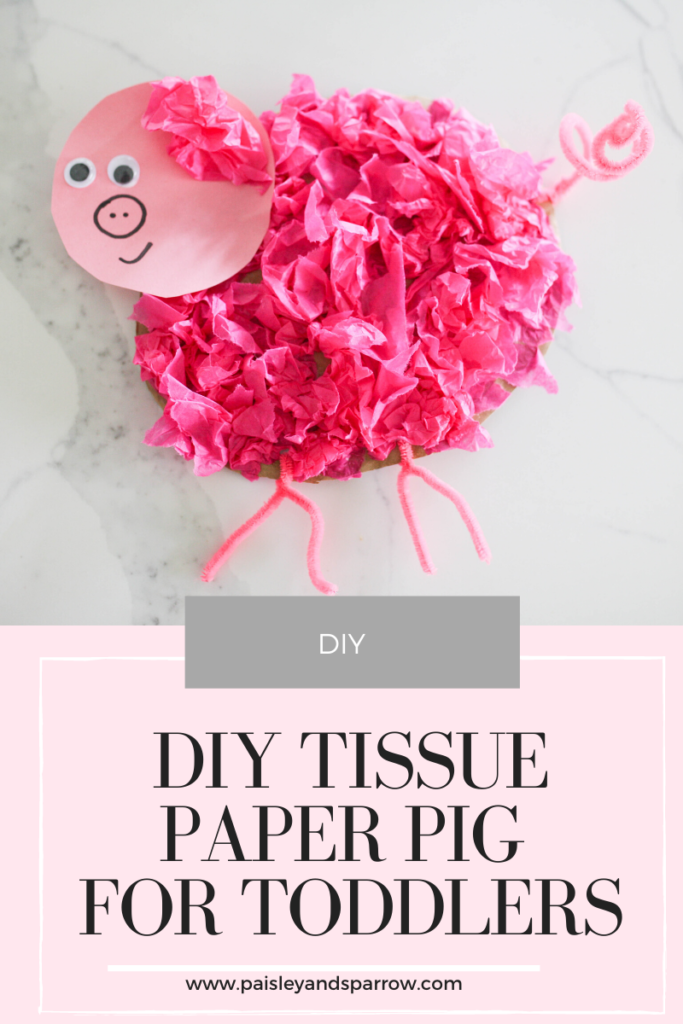
Pig Tissue Paper Craft
A simple tissue paper craft for toddlers! Make a fun pink pig with leftover cardobard, tissue paper and pipe cleaner!
Materials
- Pink Tissue Paper
- Pink Construction Paper
- Glue
- Cardboard
- Pink Pipe Cleaner
- Googly Eyes
Tools
- Hole Punch
- Scissor
Instructions
1. Cut cardboard into a circle.
This will be the body of your pig! I like using cardboard so it gives the pig a bit of a heavier weight to it so it doesn't flop around while the kids play with it.
I just cut circles from some Amazon boxes we got. This doesn't need to be anything fancy!
2. Create the tail. 
Curl the pipe cleaner around a marker or pen (or your finger or whatever!) to create a curly pigs tail. You only need to do one pipe cleaner like this since the other 2 will be for the legs.
3. Rip or cut tissue paper 

Depending on the age and skills of your child, encourage them to rip or cut up the tissue paper into smaller chunks. This doesn't need to be exact, just smaller pieces that they will glue to the cardboard.
4. Crumple up paper 
This is the fun part! Crumble up each of the pieces of tissue paper! This will be glued on to the cardboard.
Let your kids do this however the want! One of my kids crumpled the tissue paper nice and tight while the other loosely crumpled it. There's no right or wrong way tot do it!
5. Glue paper on to the cardboard 

Again, depending on the ability of your kids, the next step is to glue the tissue paper on to the body of the pig. I let my oldest do it himself by putting a small glue dot down on the cardboard and adding the tissue paper to it.
For my daughter, I just created a strip of glue on the cardboard and had her add the tissue paper on to the glue.
6. Make the face 
Draw on a nose and mouth and glue on googly eyes (or just draw them on if you don't have on hand). I also had each kid glue on a piece of crumpled up tissue paper for the pig's ear!
7. Glue the head on to the body 

Simply add glue to half of the pig's face and press it firmly on to the body. You'll need to hold this for a little bit to help it stick together!
8. Attach the tail 

Using a hole punch, create a hole for the tail and legs. For the tail, slide the very end of the pipe cleaner through the hole and twist it to itself to attach it.
For the legs, slide the pipe cleaner so it's halfway through the hole. Give it a twist or 2 to secure it and there you have the legs!
9. Let it dry + enjoy! 

That's all there is to it! Let the pig dry for a few hours so you're not at risk of getting glue everywhere or losing tissue paper
If you’re looking for more kids crafts check out these fun superhero masks or these unicorn and dinosaur crafts!