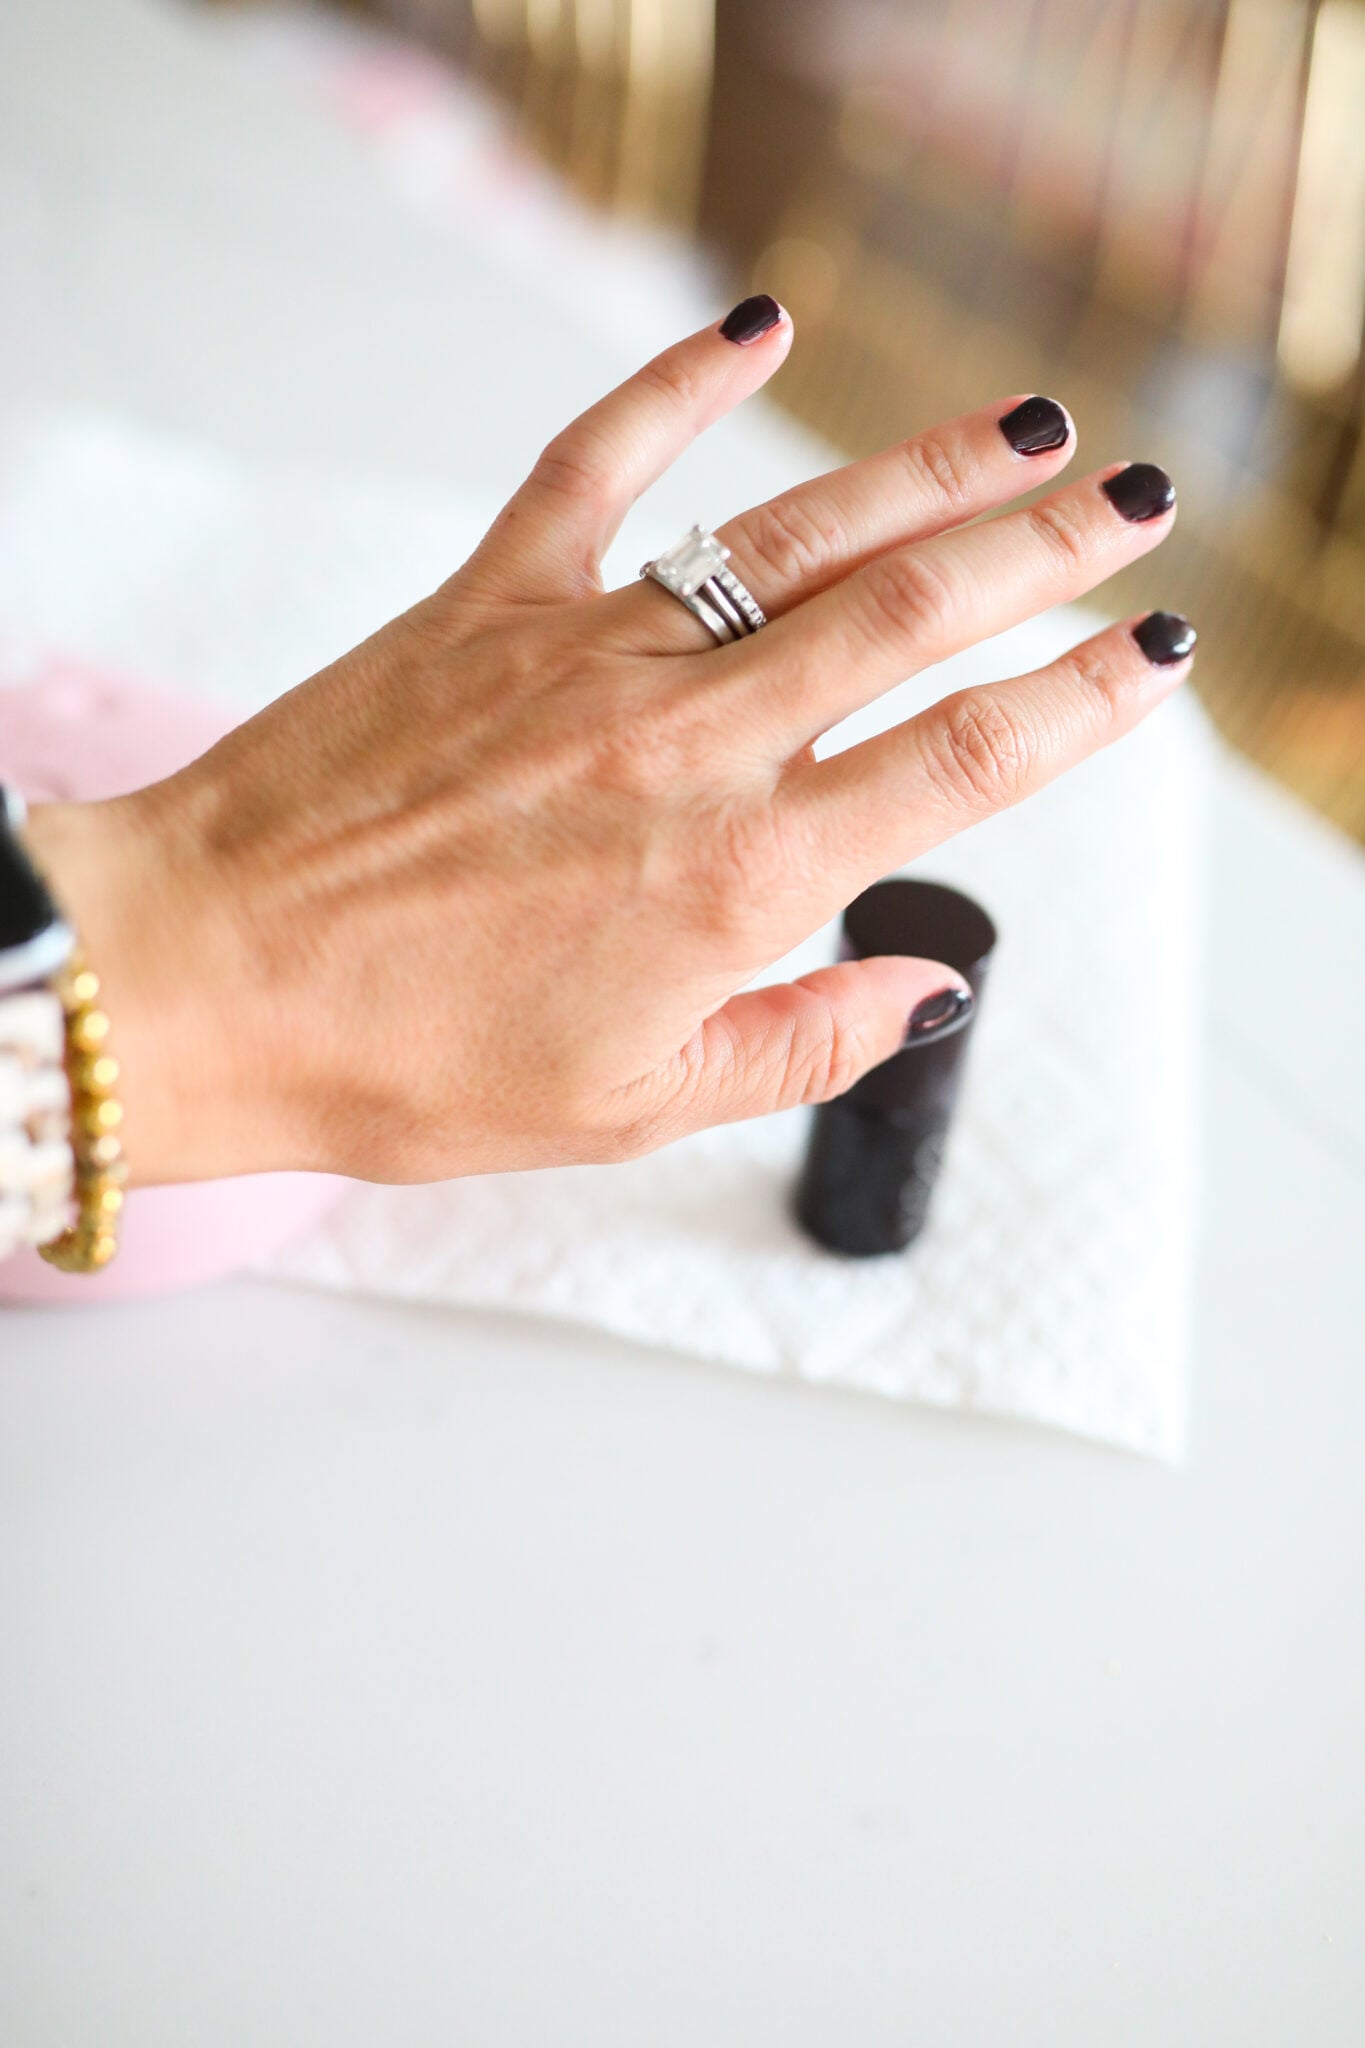
As a busy mom, I don’t always have the time (or patience!) to sneak away for a salon appointment, but that doesn’t mean I want to skip having pretty nails. That’s where Olive & June comes in. Their gel system makes it so easy to get a salon-quality manicure from home, and trust me, if I can do it in between school drop off, snack refills, and bedtime routines, so can you!
I’ve been using their gel nail polish since it launched and I love it! It takes a bit of practice to get that perfect nail (my first ones were too thick and the second one I used too much of the peel off base) but within a few tries I was getting that salon worthy manicure from my home.
This post will give you a peek inside the box along with my honest opinion and personal tips that I’ve learned along the way.
My Honest Review of Olive & June’s Gel Nail Polish
This post contains affiliate links.
Before we get into the review, let’s quick chat about HEMA and bis-HEMA. When it comes to gel polish ingredients, you may have heard of HEMA and bis-HEMA. Both are commonly used in gel nail products, but there’s an important difference. HEMA is a smaller molecule that can more easily penetrate the skin and sometimes cause irritation or allergic reactions.
Bis-HEMA, on the other hand, has a larger molecular structure, making it less likely to absorb into the skin and generally considered a gentler, safer option. Olive & June only uses bis-HEMA in their gel system, so you can feel good knowing their formulas are designed to be kinder to your nails and cuticles while still delivering a strong, long-lasting manicure.
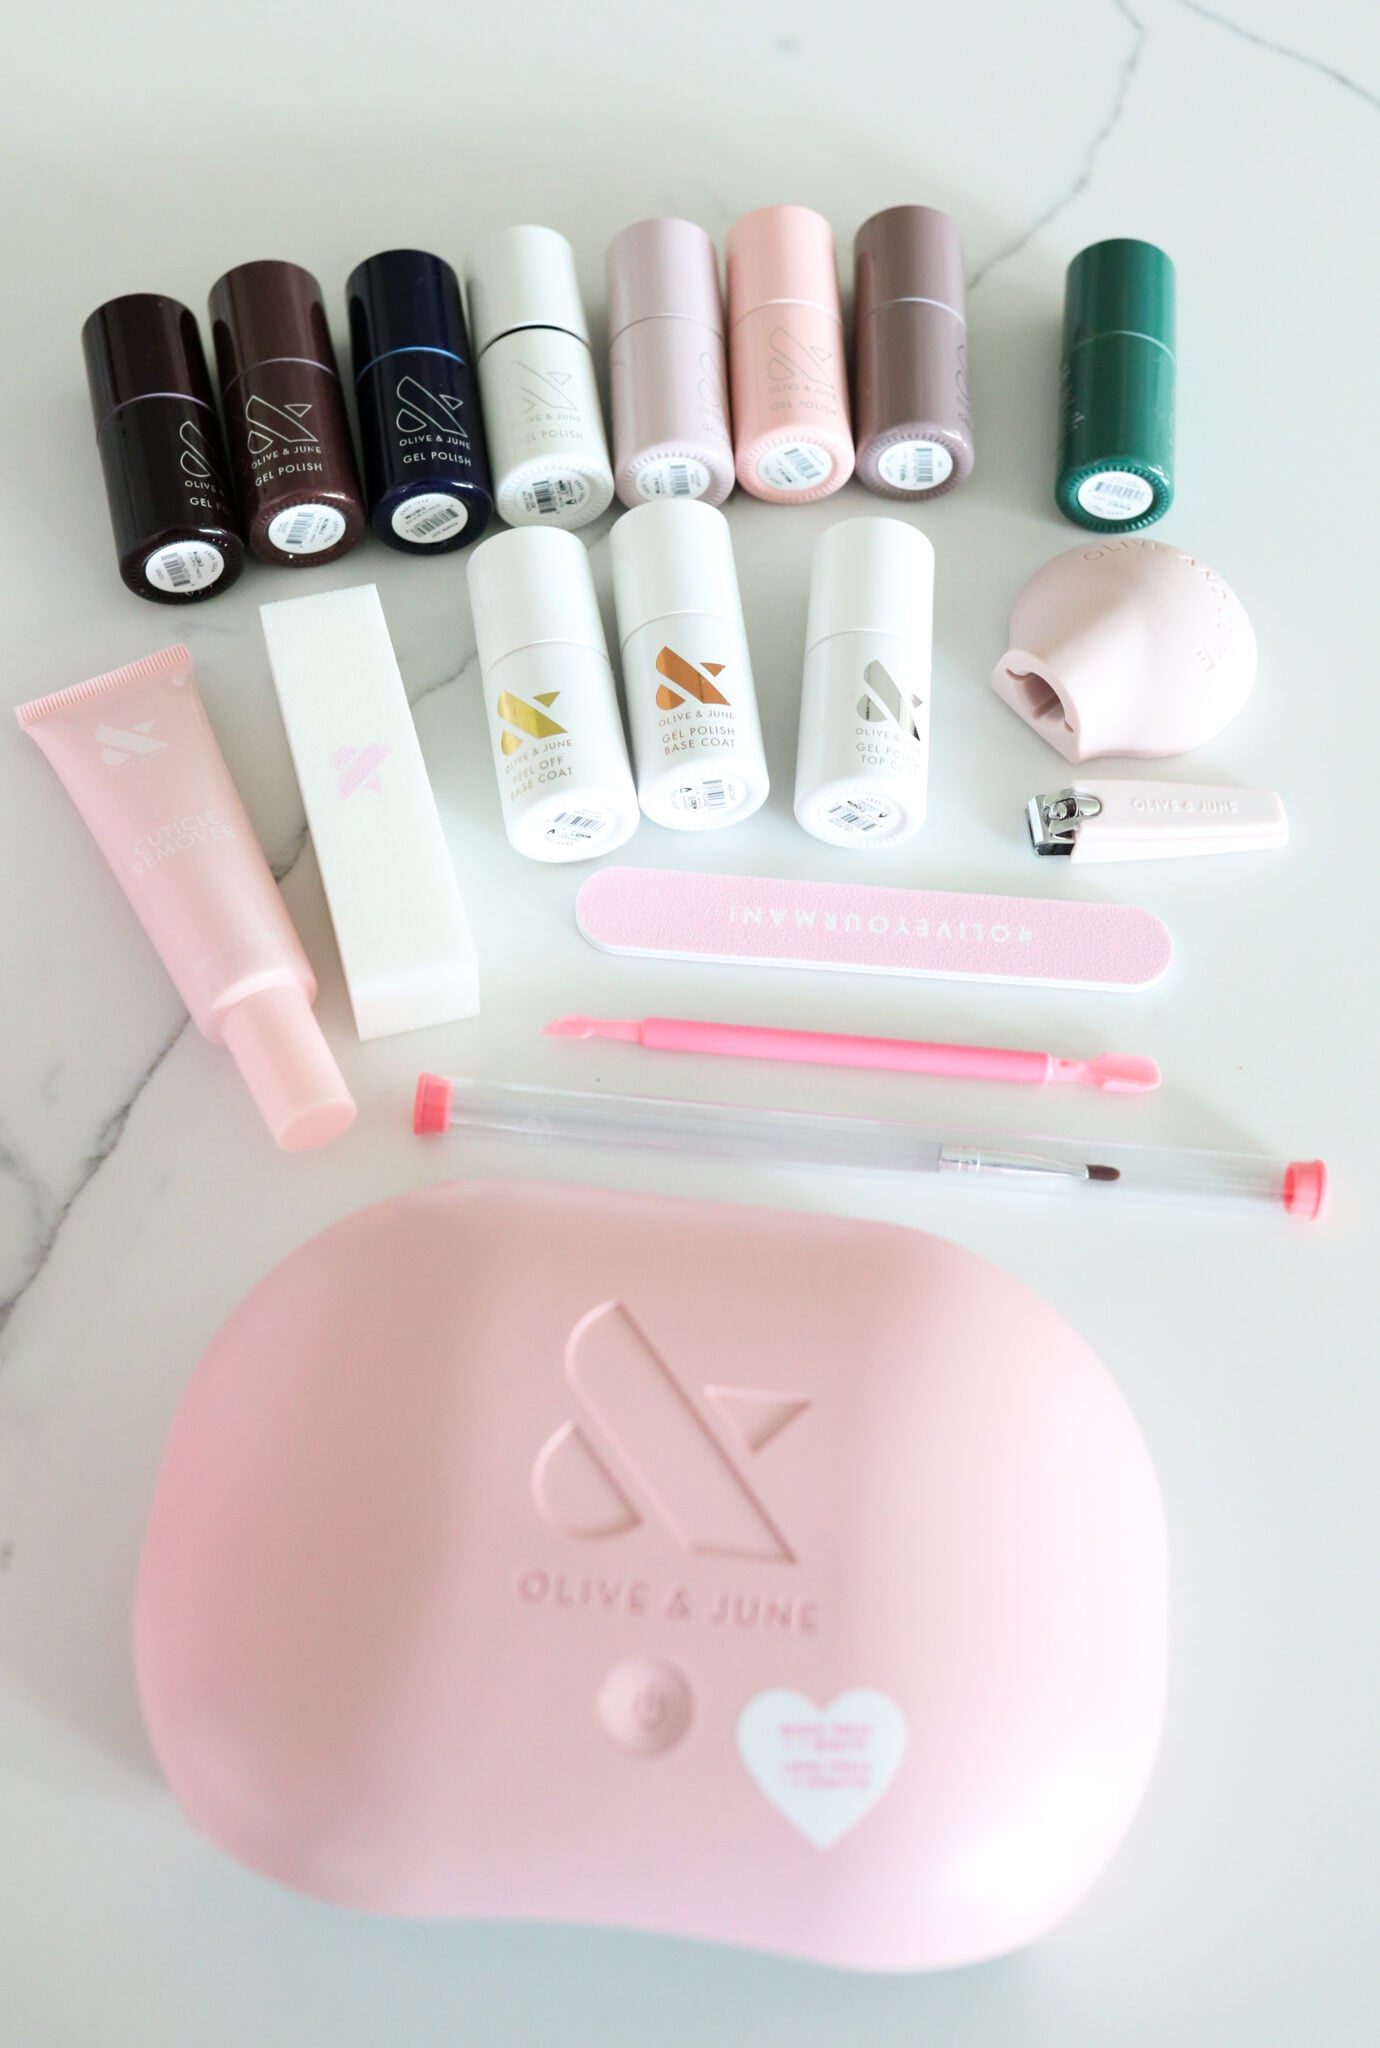
What’s Inside the Olive & June Gel Mani System
The gel system truly feels like having your own little salon in a box. It comes with everything you need for a flawless at-home manicure. Inside the box you’ll find:
- 5 Finger LED Gel Lamp
- Peel Off Base Coat
- Gel Plish Base Coat
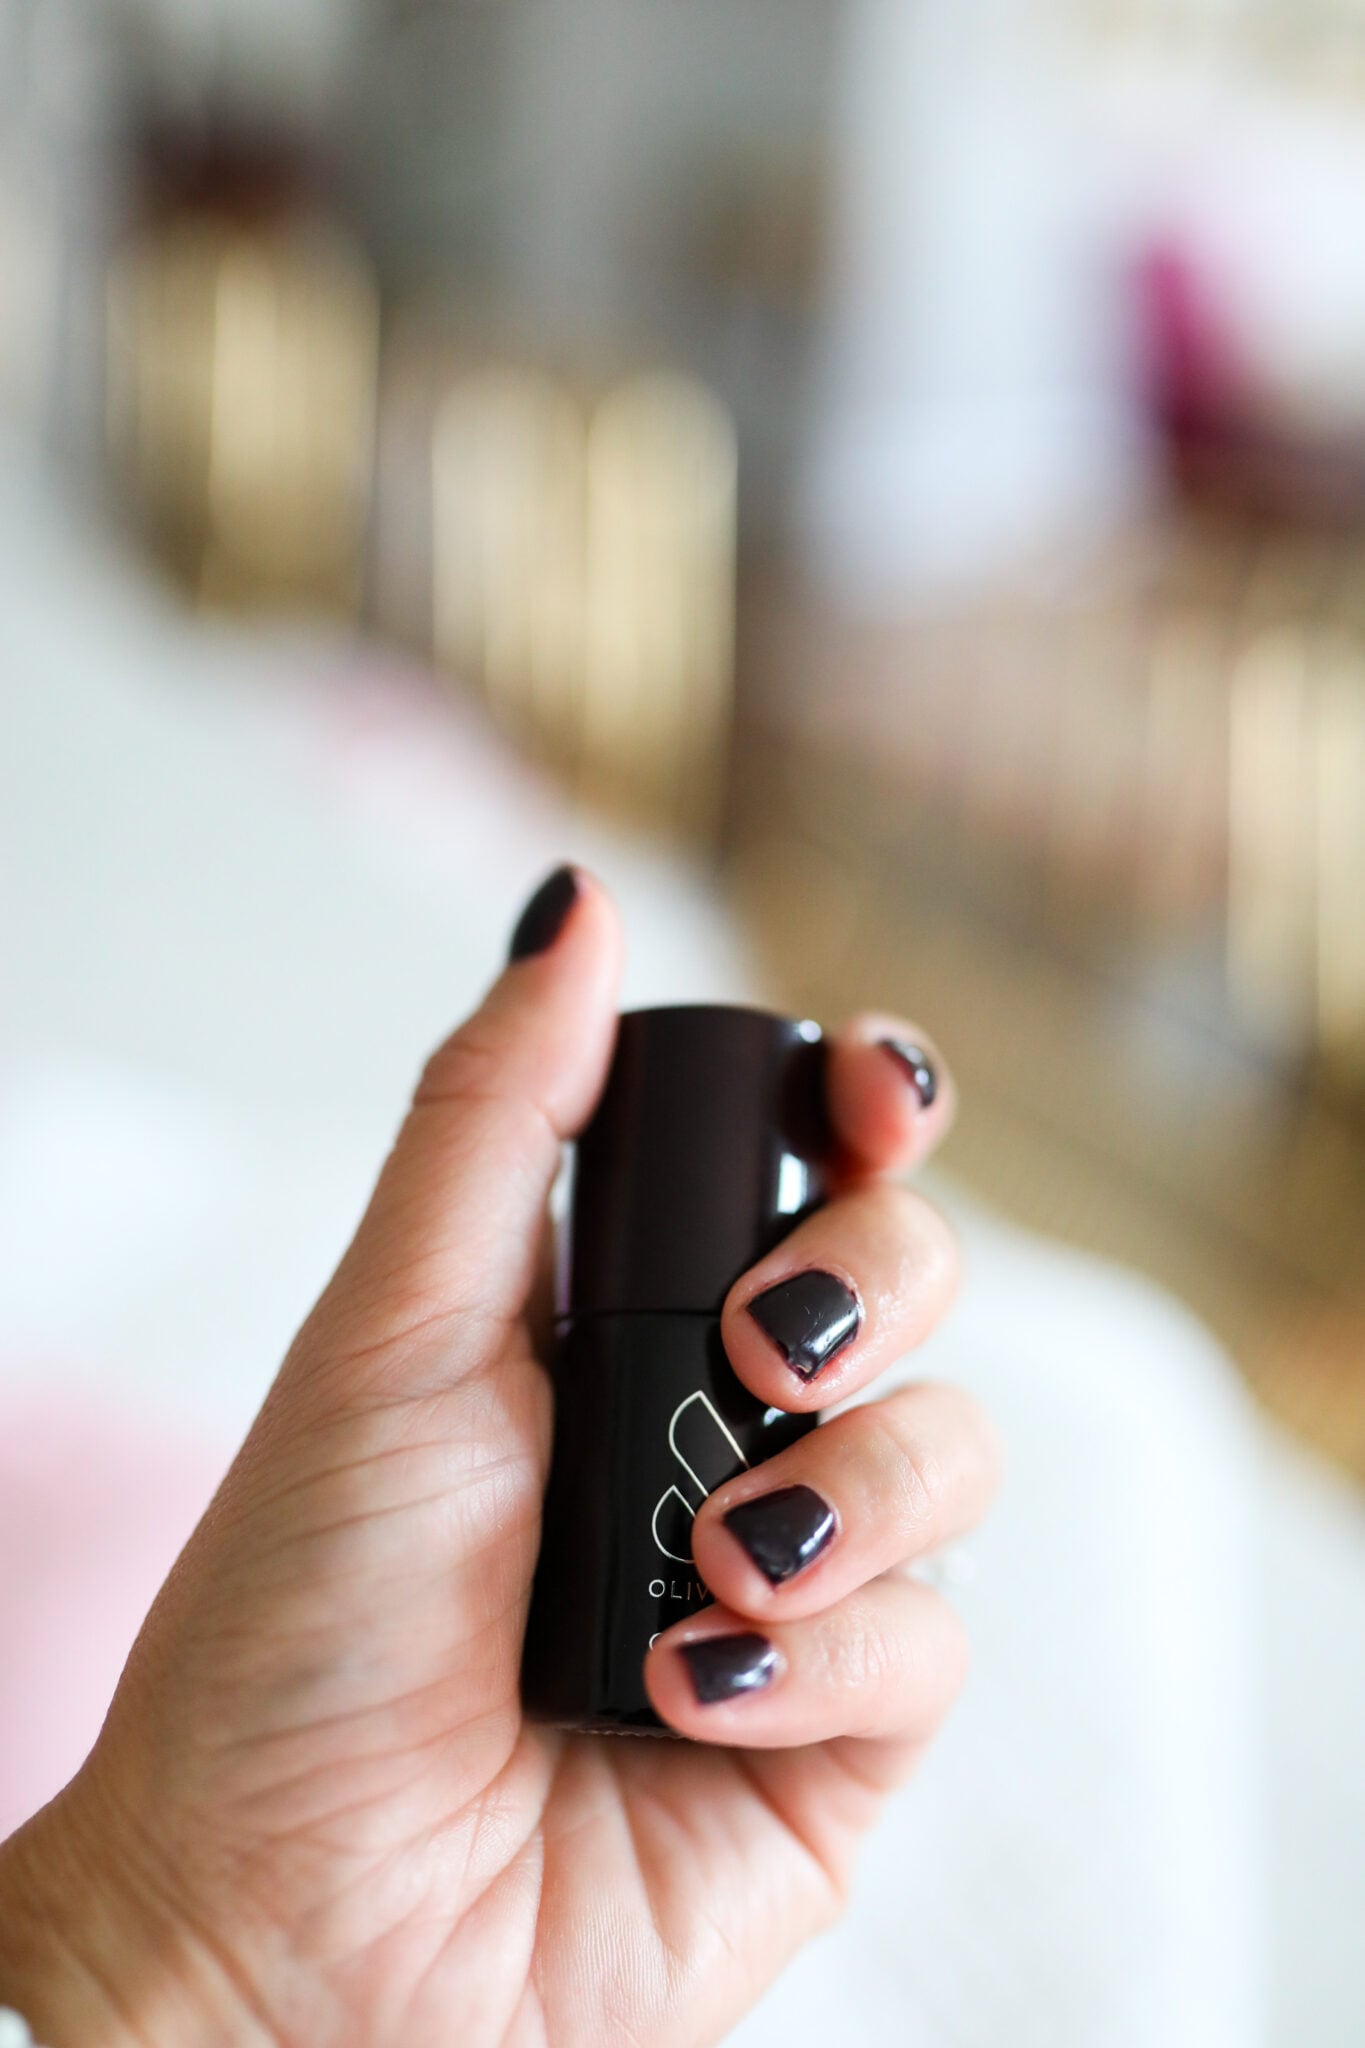
- Gel Polish Color
- Gel Polish Top Coat
- Poppy
- Mani Cuticule Pusher
- Nail File
- Nail Clipper
- Nail Buffer
- Cuticle Serum
- Cuticle Remover
- Clean-Up Brush
- Acetone Remover Pot
The LED curing lamp makes each layer set perfectly, and the clean-up brush and remover tools help keep things neat and easy. You can also add on their salon-speed soak-off system for when you’re ready to switch up your color at a discount which I highly recommend.
With the system you can pick one polish or a set of 6 polish (prices differ depending on which one you choose). In addition to the soak off system, you can also adding a nail strengthener (which I LOVE), nail primer, cuticle balm or overnight hand serum all at a discount. I really love all of them especially the strengthener and the balm.
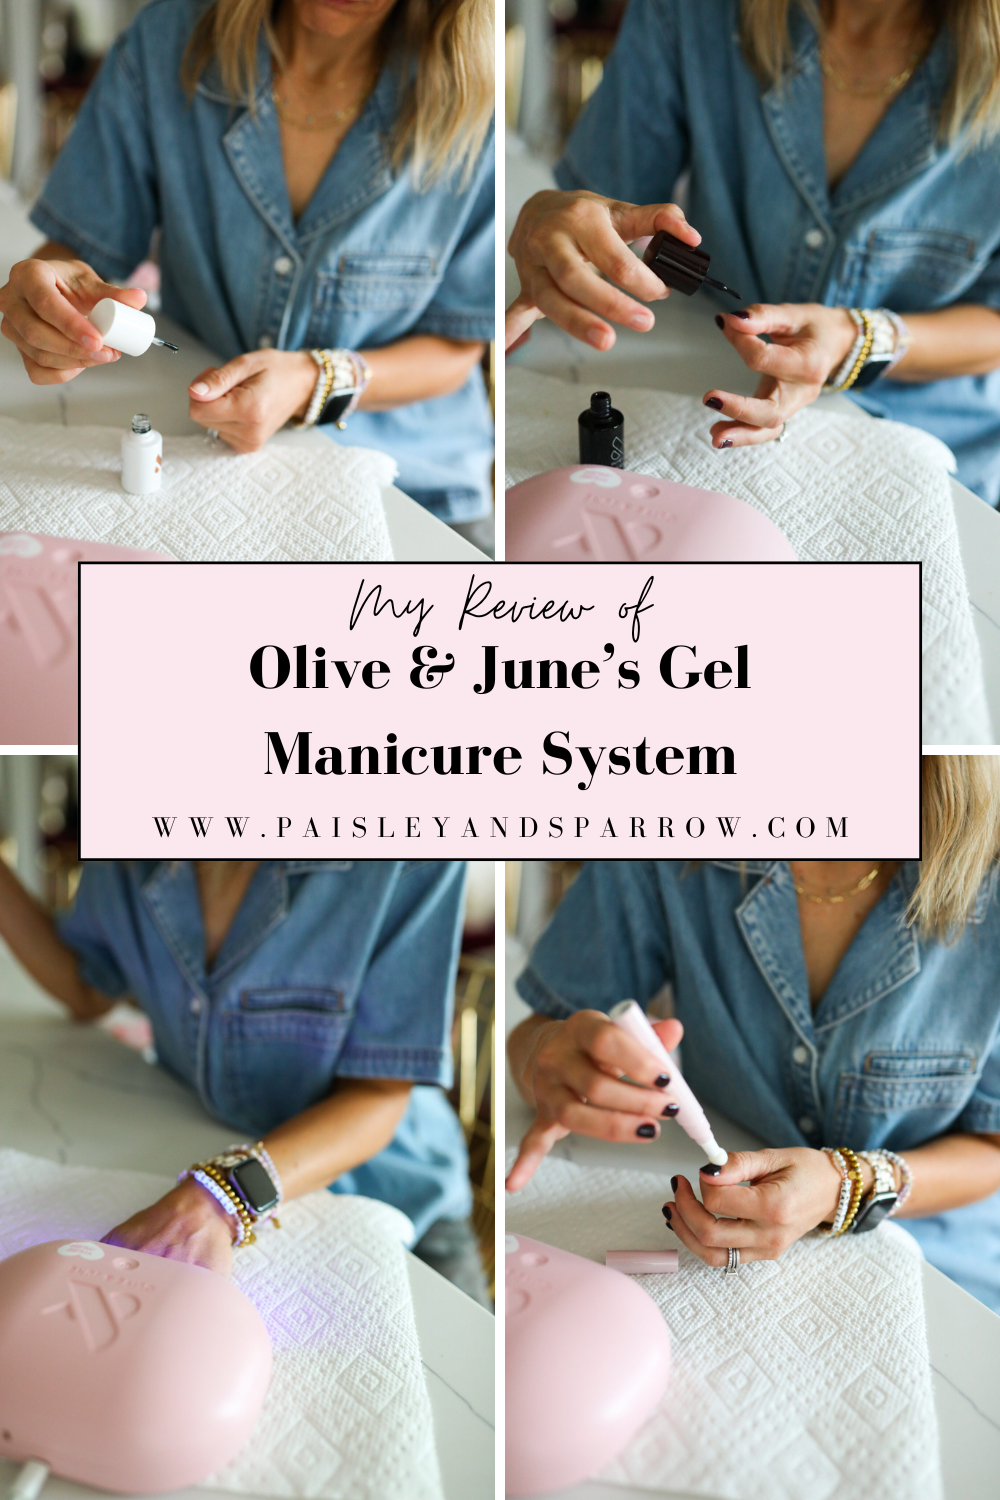
Let’s move on to the process of doing your gel nails at home.
How to Do Gel Nails at Home
1. Nail Prep
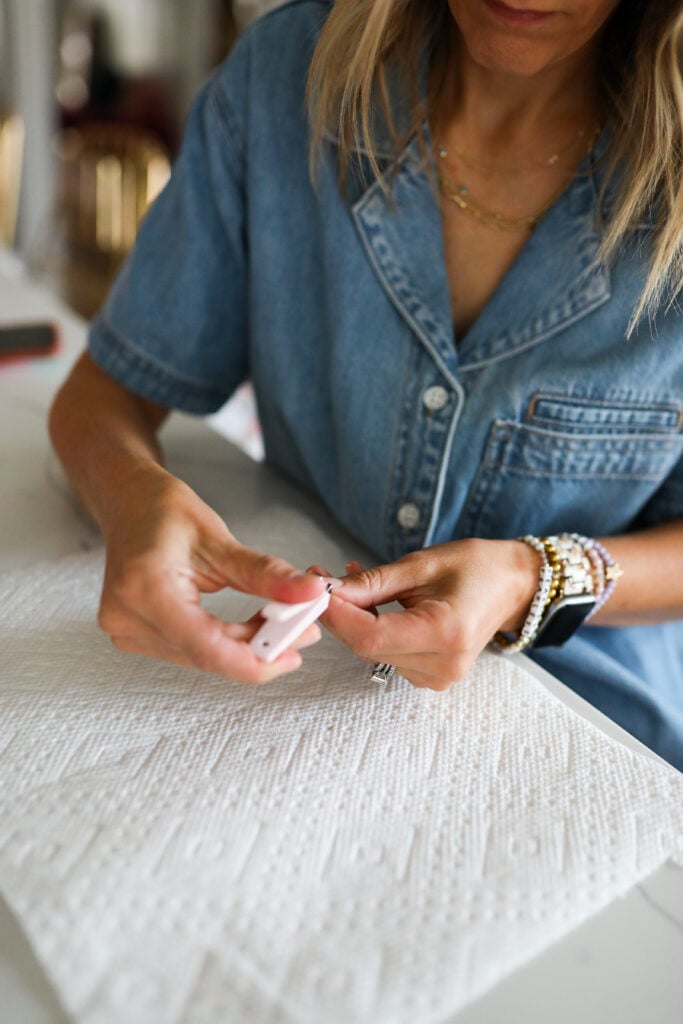
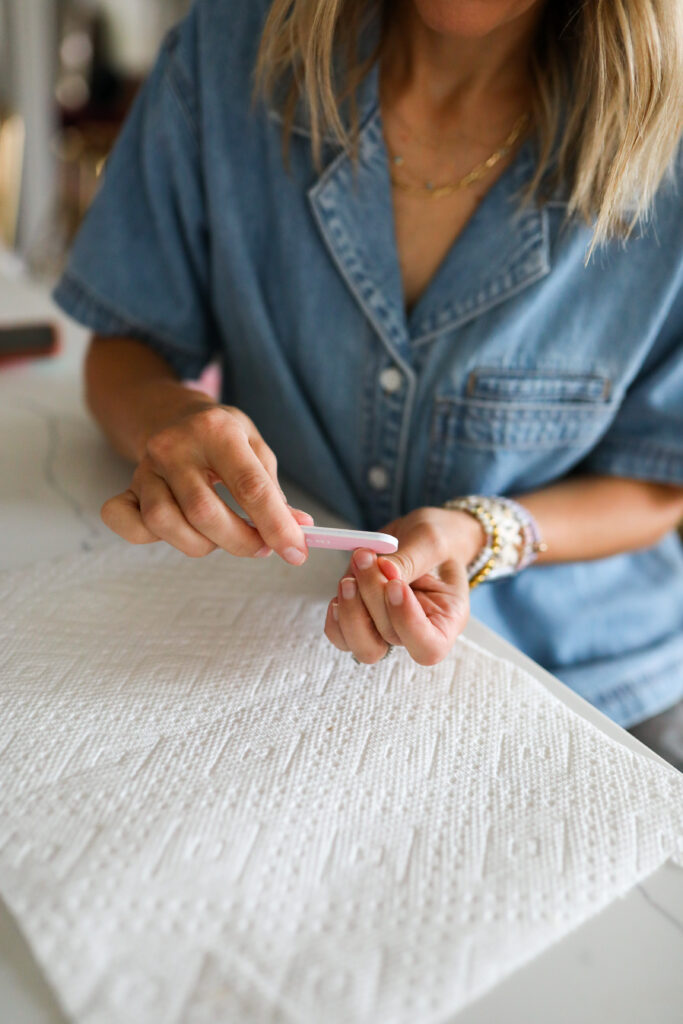
The secret to a long-lasting, chip-free mani is all in the prep! Shape, buff, and clean nails to remove any oils or old polish.
2. The Gel Base Coat
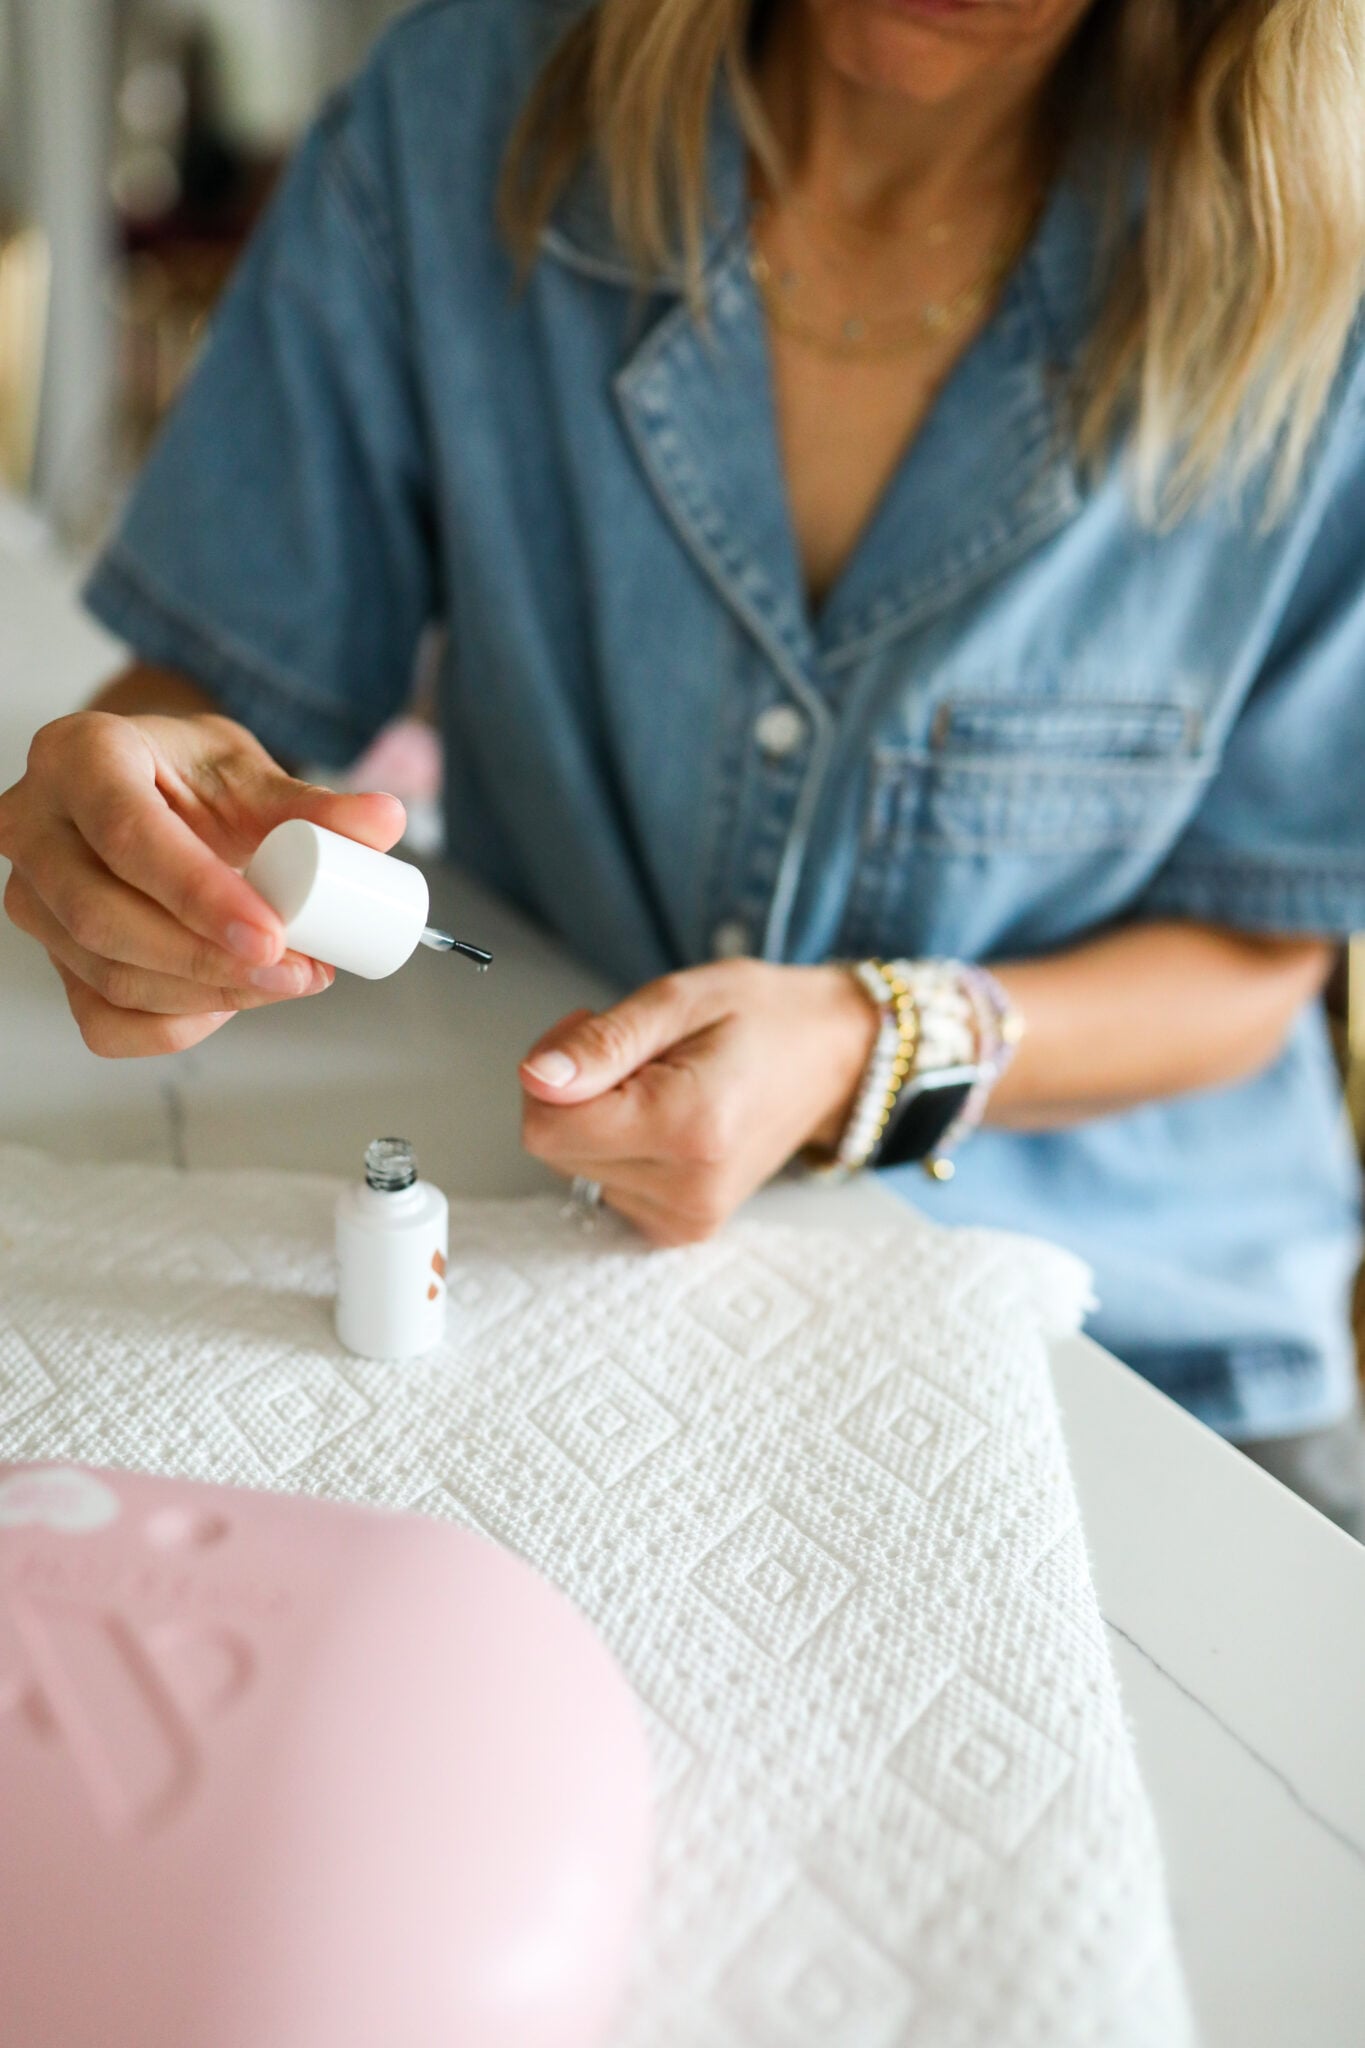
Apply a very thin layer and cure under the lamp. Using thin layers will ensure an even cure and longer wear. It also helps to wipe your nails clean after each cure to keep the polish smooth and long-lasting.

3. Gel Color
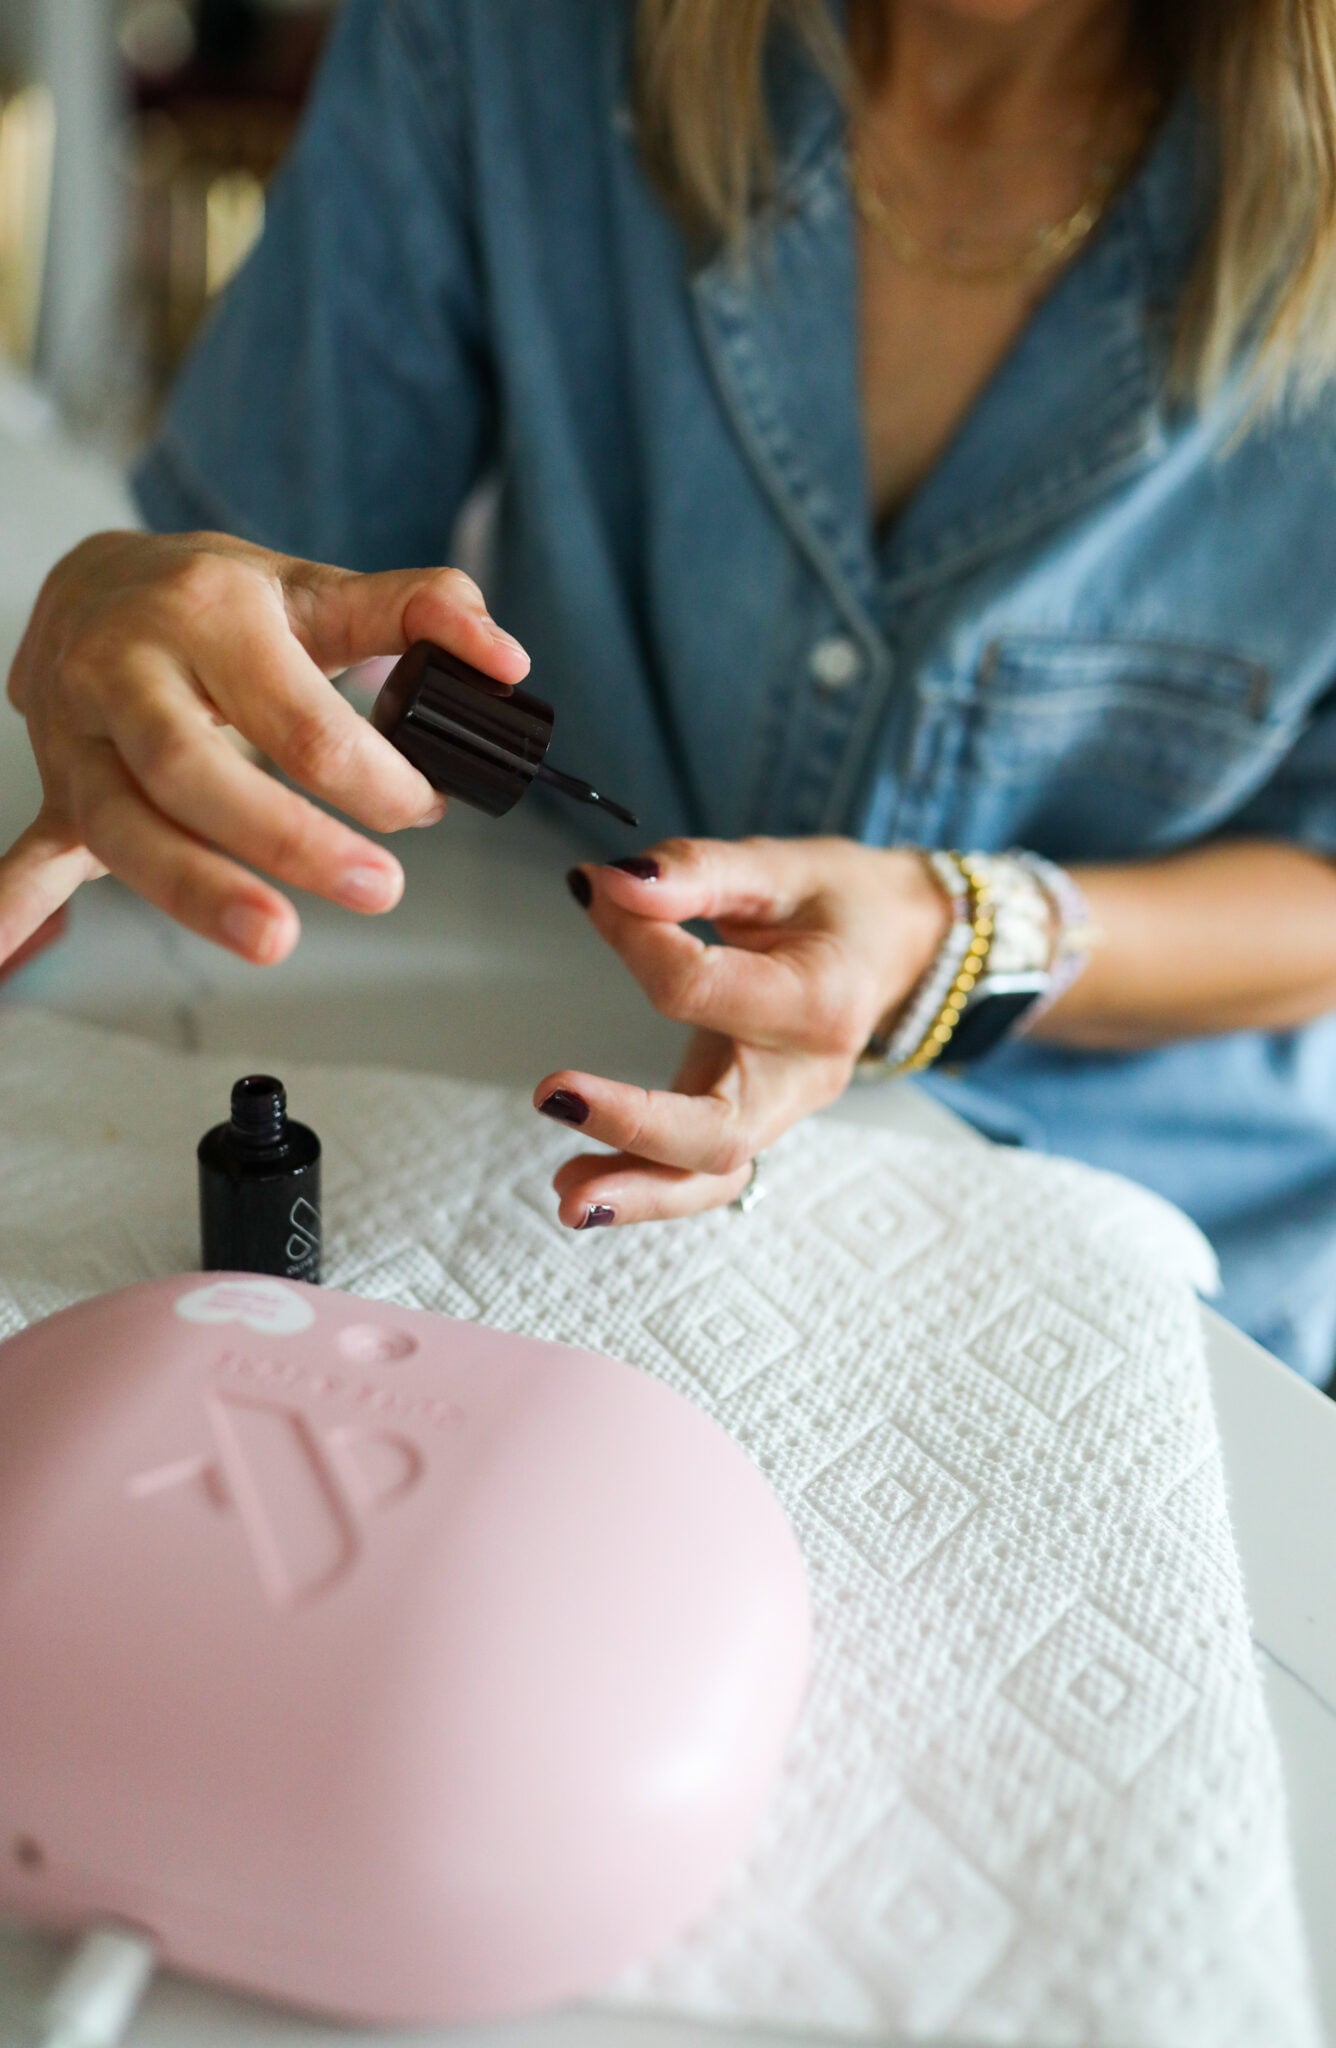
Apply a thin coat of polish and cure. Then, apply another thin layer, and cure again. Again, the thinner the better. Gel polish is much thicker than regular polish so get as much off of the brush as possible before applying. A little bit goes a long way!
Also be sure to cap your nails (getting the very front of your nail). This will help so it doesn’t create a gap which can cause chipping.
4. Gel Top Coat
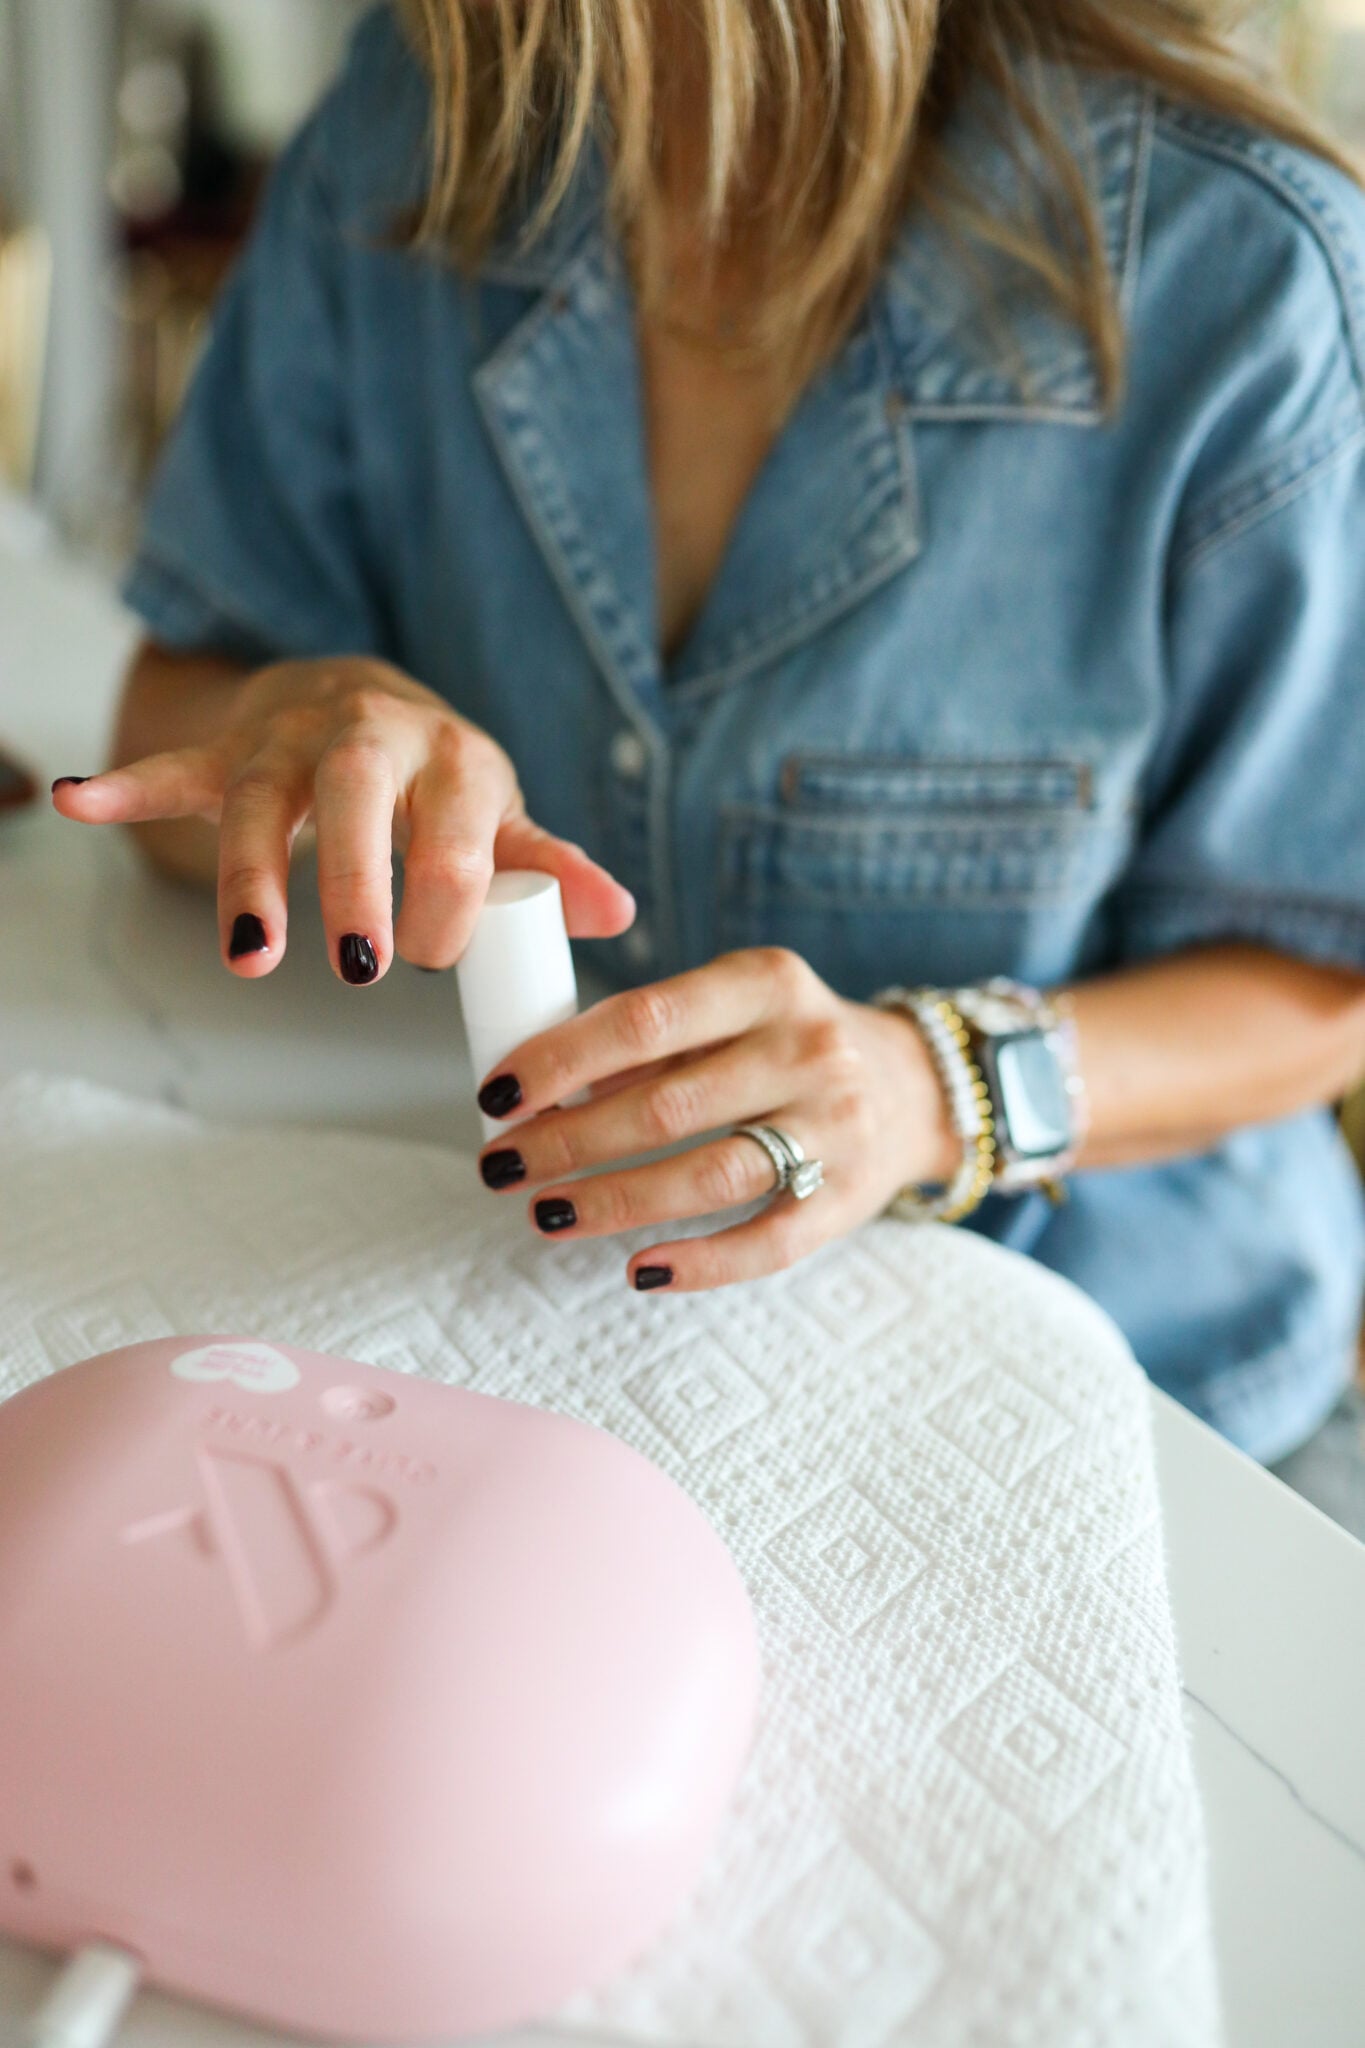
Seal it all in with a thin layer of the gel top coat, then cure one last time. Every single layer should be paper-thin because it will ensure each layer cures fully and stays put.
For the best results, remember that less is more, always apply thin coats so each layer cures properly.
5. The Finishing Touch
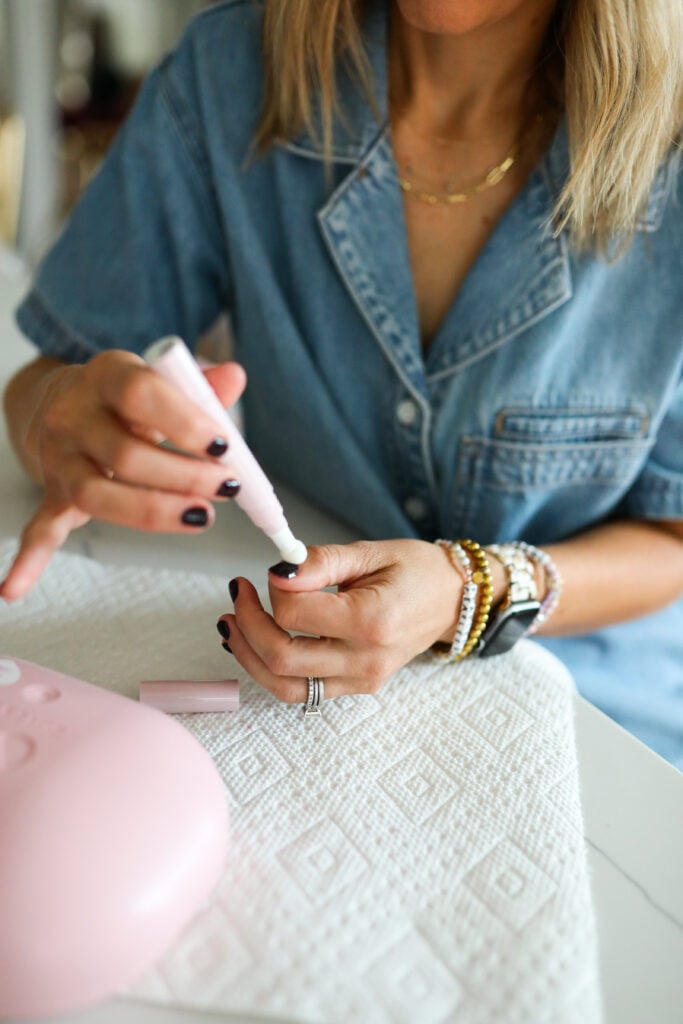
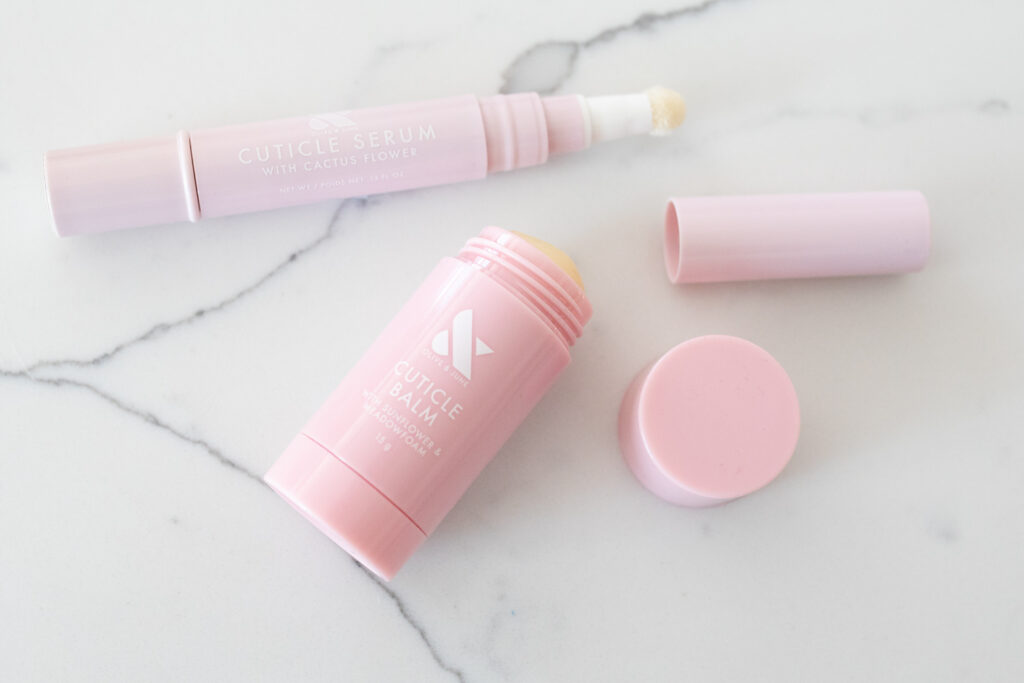
The cuticle serum and cuticle balm are the perfect finishing touches to any at-home manicure. I love using them right after I finish my nails and before bed every night because it hydrates, softens, and keeps my cuticles looking fresh without feeling greasy.
Why I Love The Olive & June Gel System
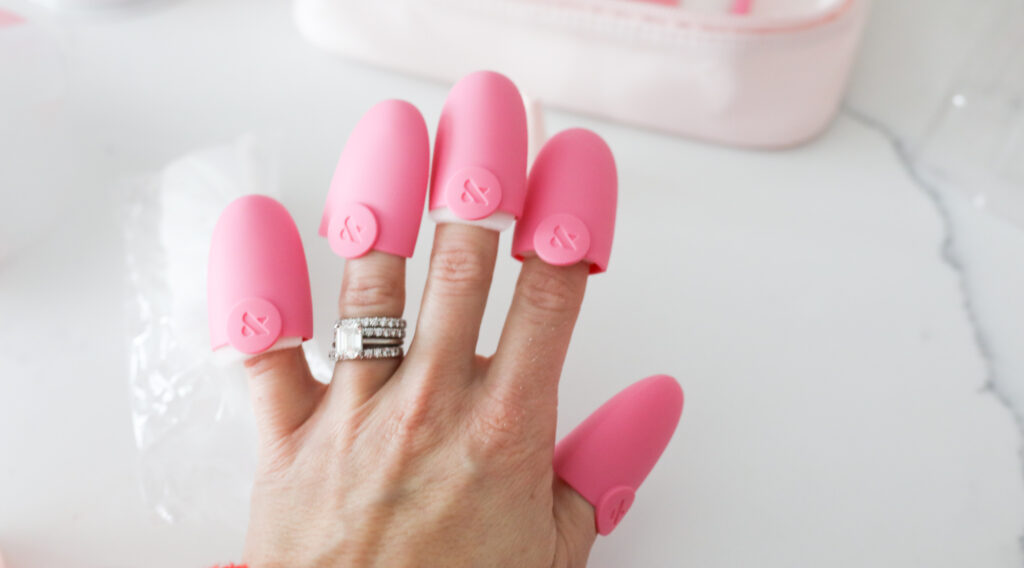
One of the things I love most about this kit is how easy it is to use, even if you’re brand new to at-home manicures, the process is super straightforward. The peel-off option makes removal quick and effortless when you don’t feel like soaking, while the salon-speed soak-off kit is perfect for when you do. Plus, the manicures are incredibly long-lasting; mine easily go well over a week, and I usually remove them around the two-week mark even though they still look great.
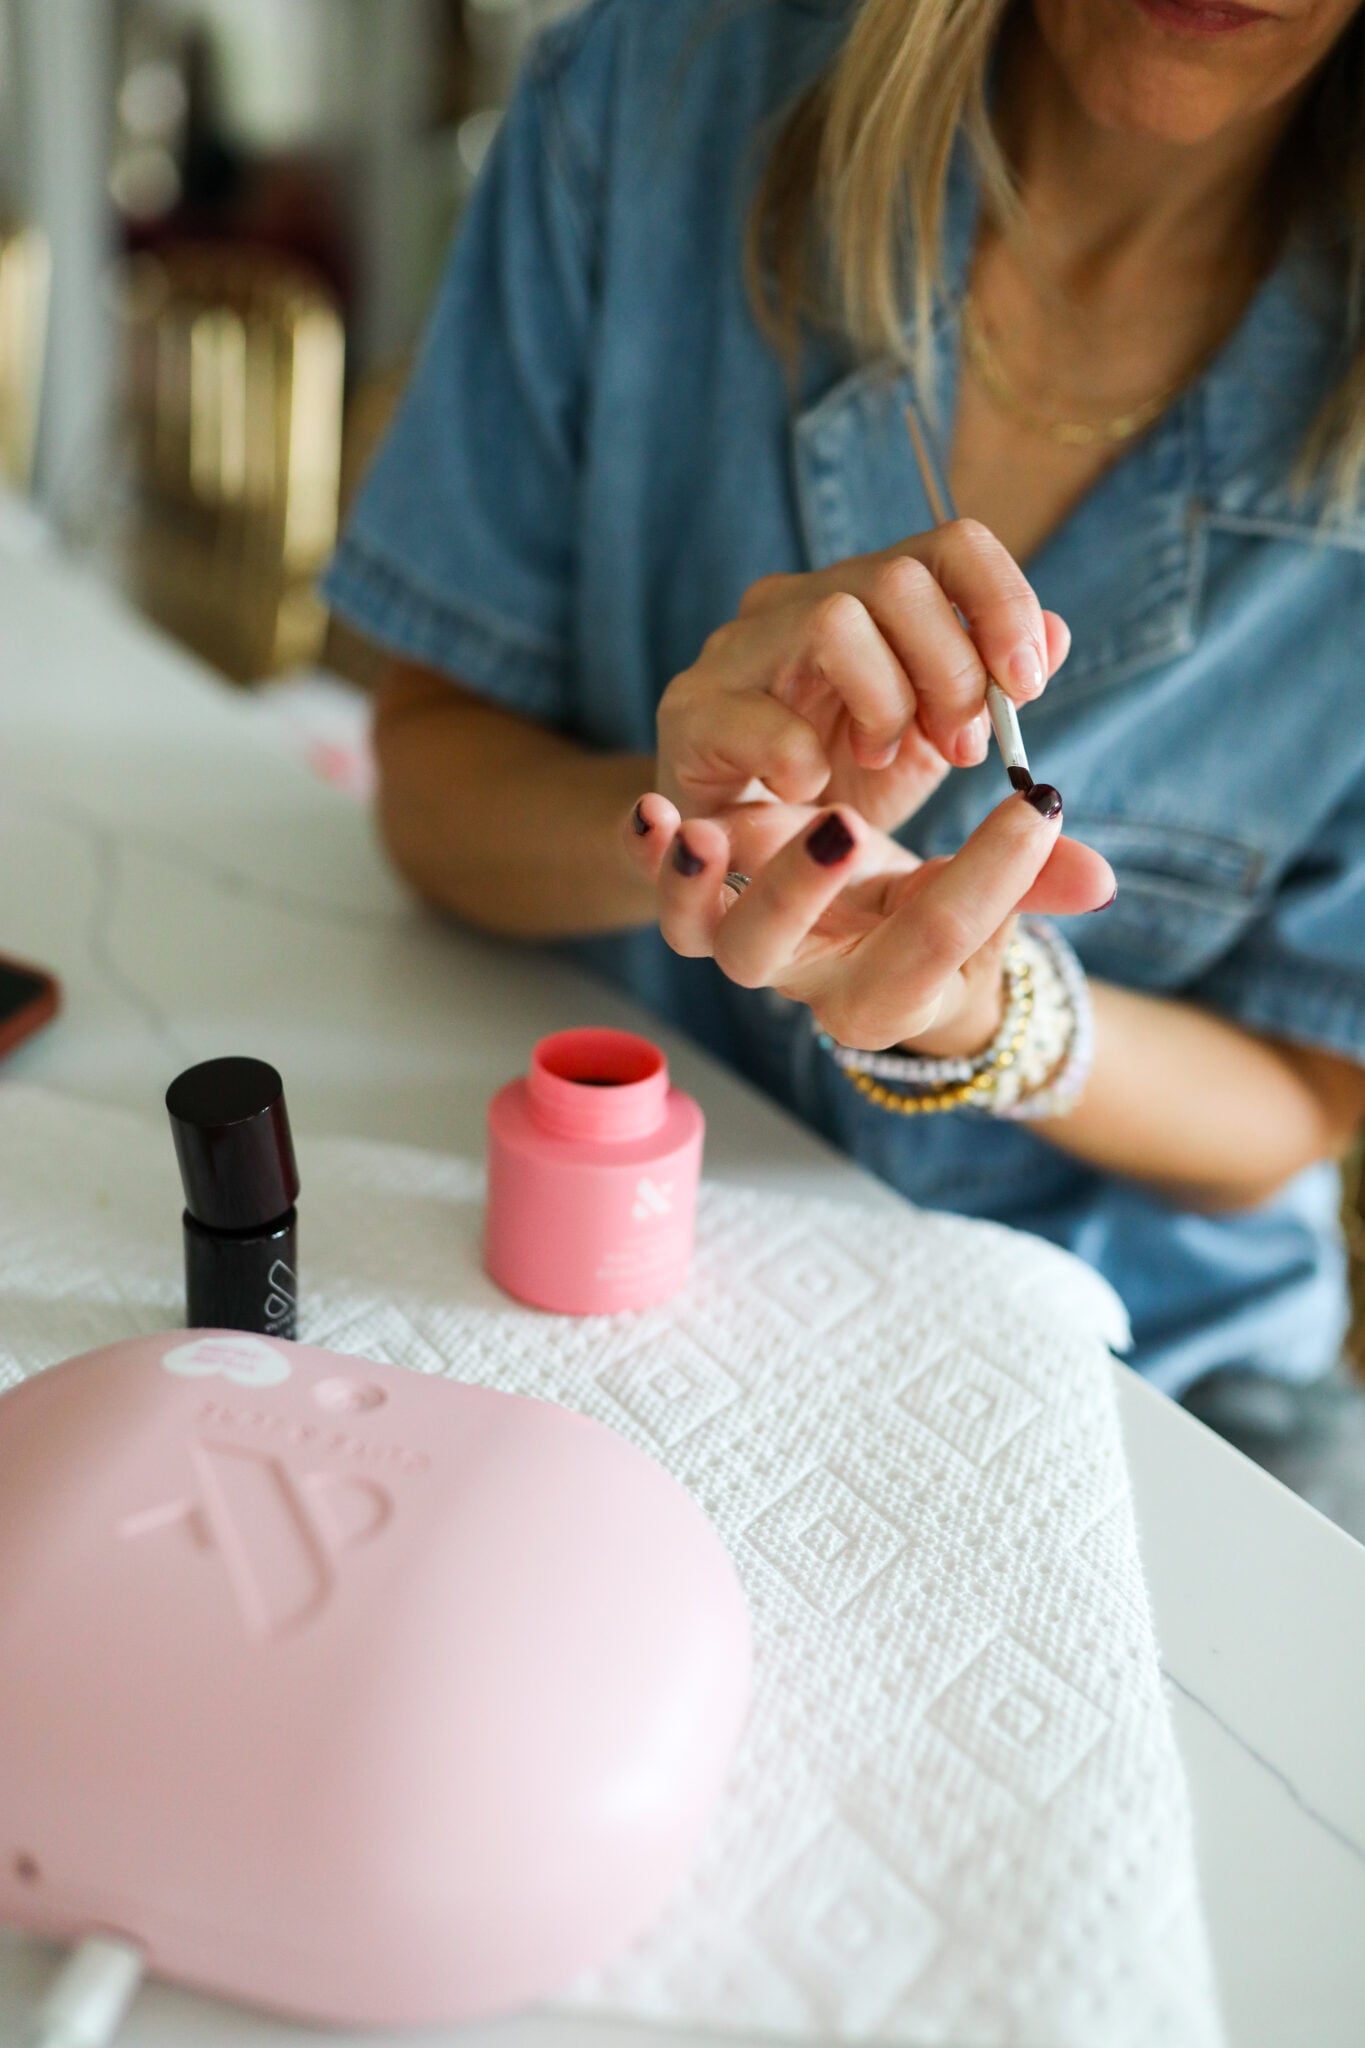
I like using their nail polish remover with the clean-up brush between each layer. It helps wipe away any oils or tiny mistakes, making sure every coat goes on smooth and cures perfectly.
This quick step keeps the polish neat, prevents lifting, and gives the manicure that crisp, salon-quality finish right at home. Be careful not to let the polish flood your cuticles either, since that can cause lifting as well.
Olive & June has made at-home gel manicures so much easier and more affordable for me. I love that I can sit down after the kids are in bed, do my nails in under 30 minutes, and wake up the next morning feeling a little more put together. If you’ve been on the fence about trying at-home gel, this is the system to start with.
Check out my other Olive & June Reviews:
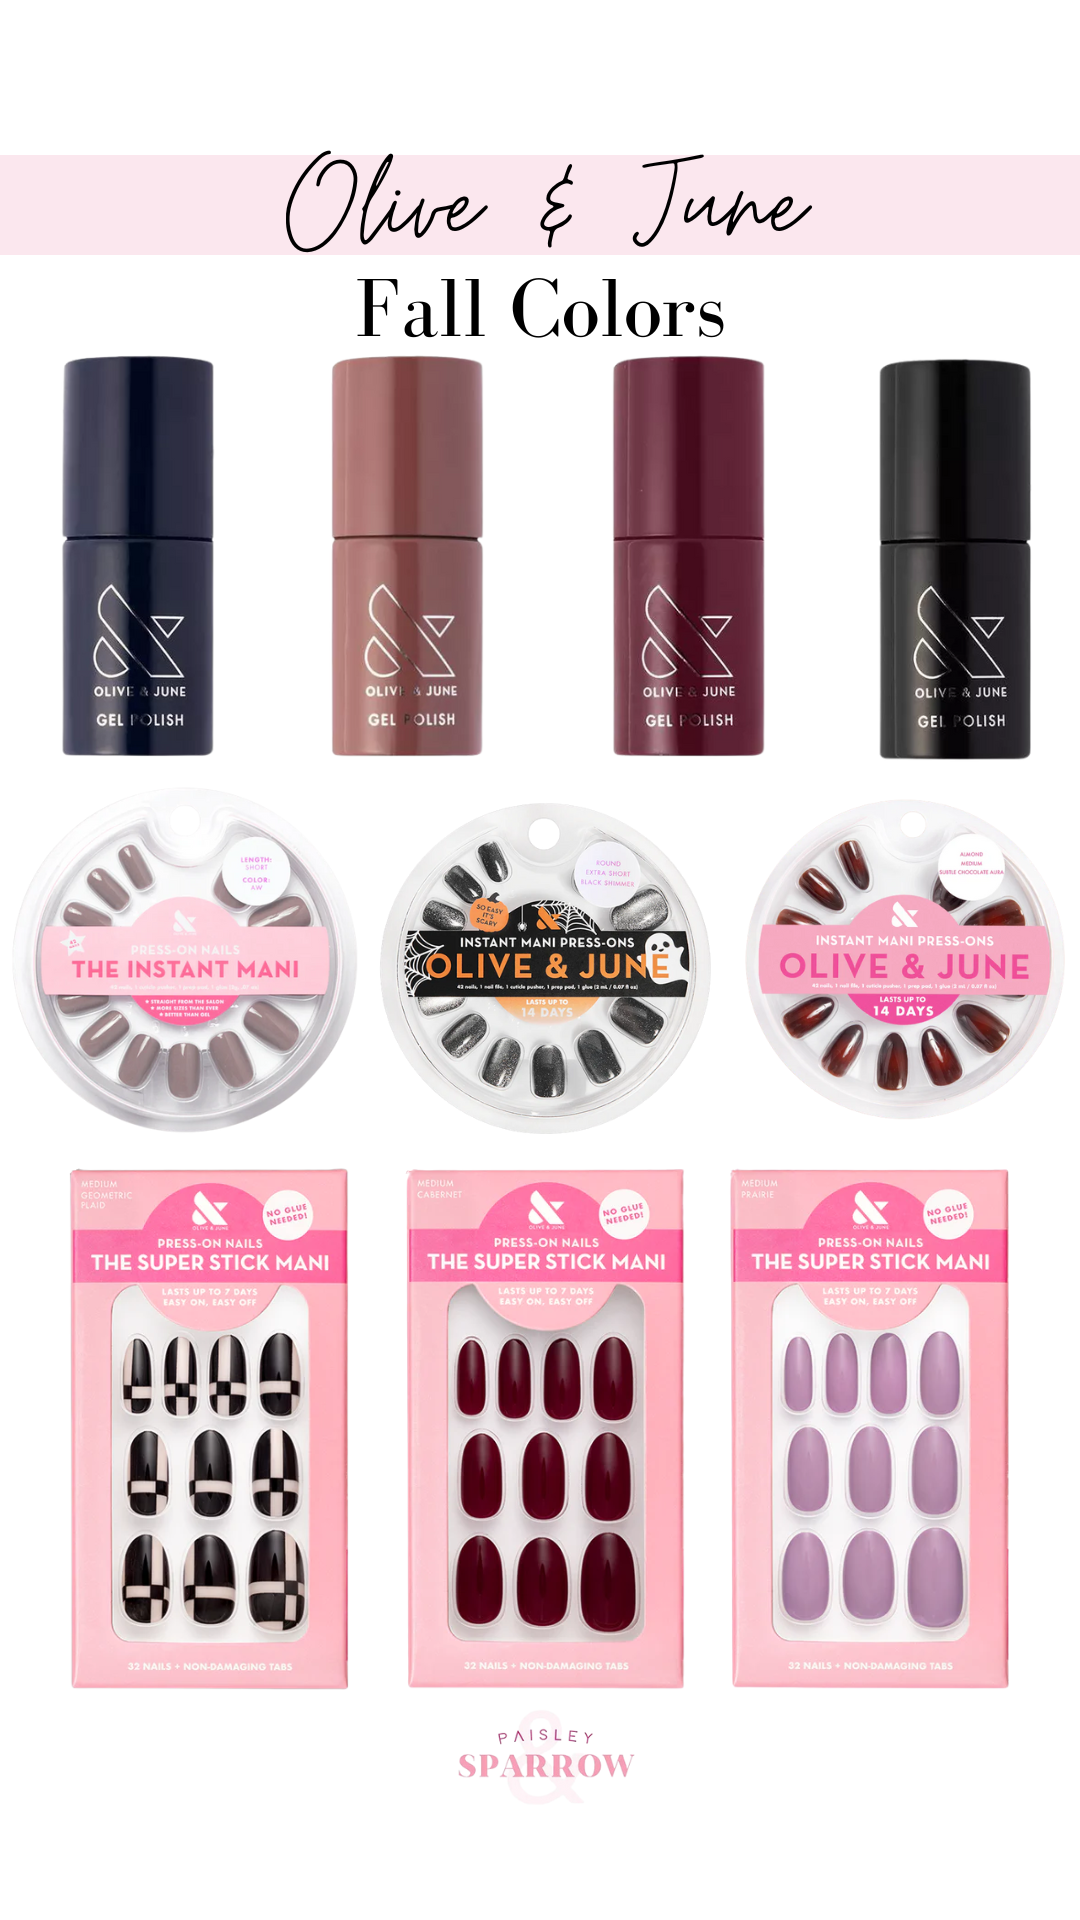
Dark Blue Polish | Brown Polish | Red Polish | Black Polish | Grey Press Ons | Shimmery Press Ons | Shiny Red Press Ons | Black & Cream Press Ons | Matte Red Press Ons | Purple Press Ons
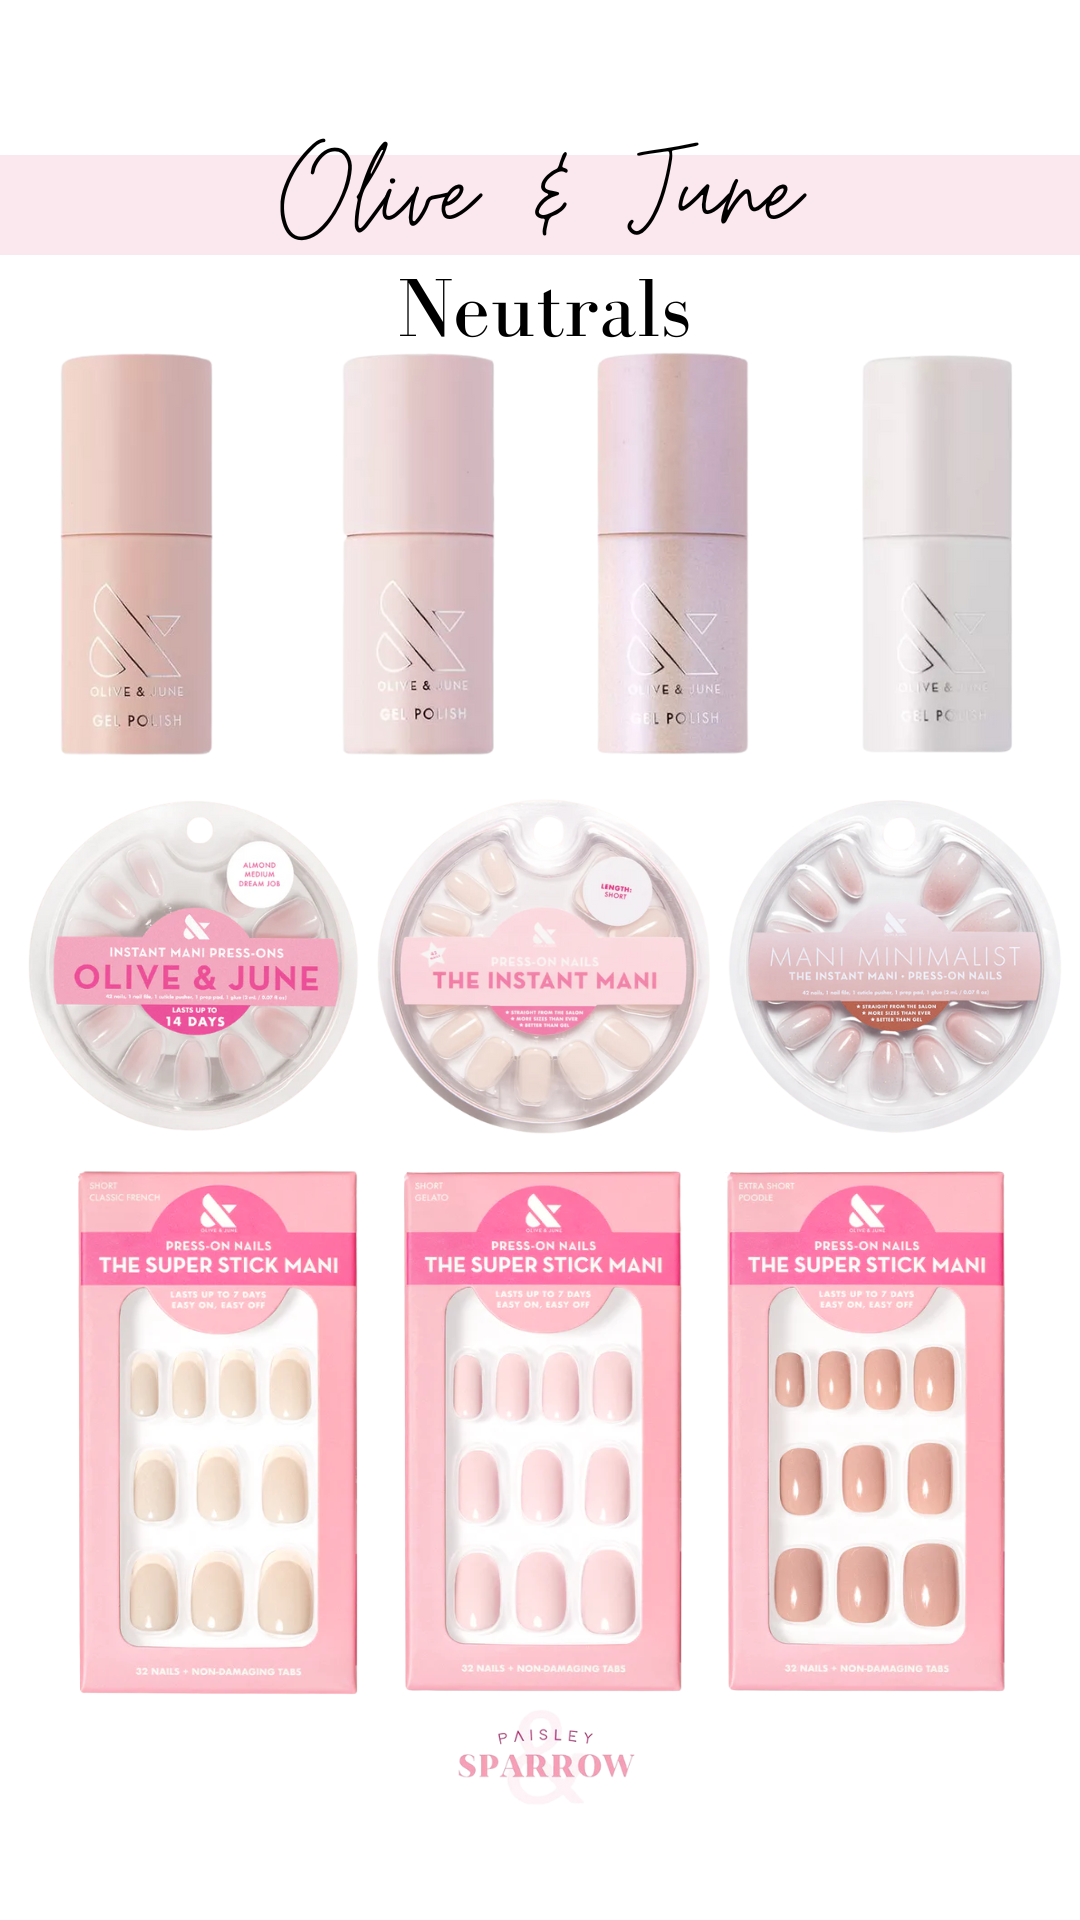
Nude Polish | Pinky White Polish | Shimmery Pink Polish | Off White Polish | Almond Press Ons | Squoval Press Ons | Ombre Press Ons | French Tip Press Ons | Pale Pink Press Ons | Nude Press Ons
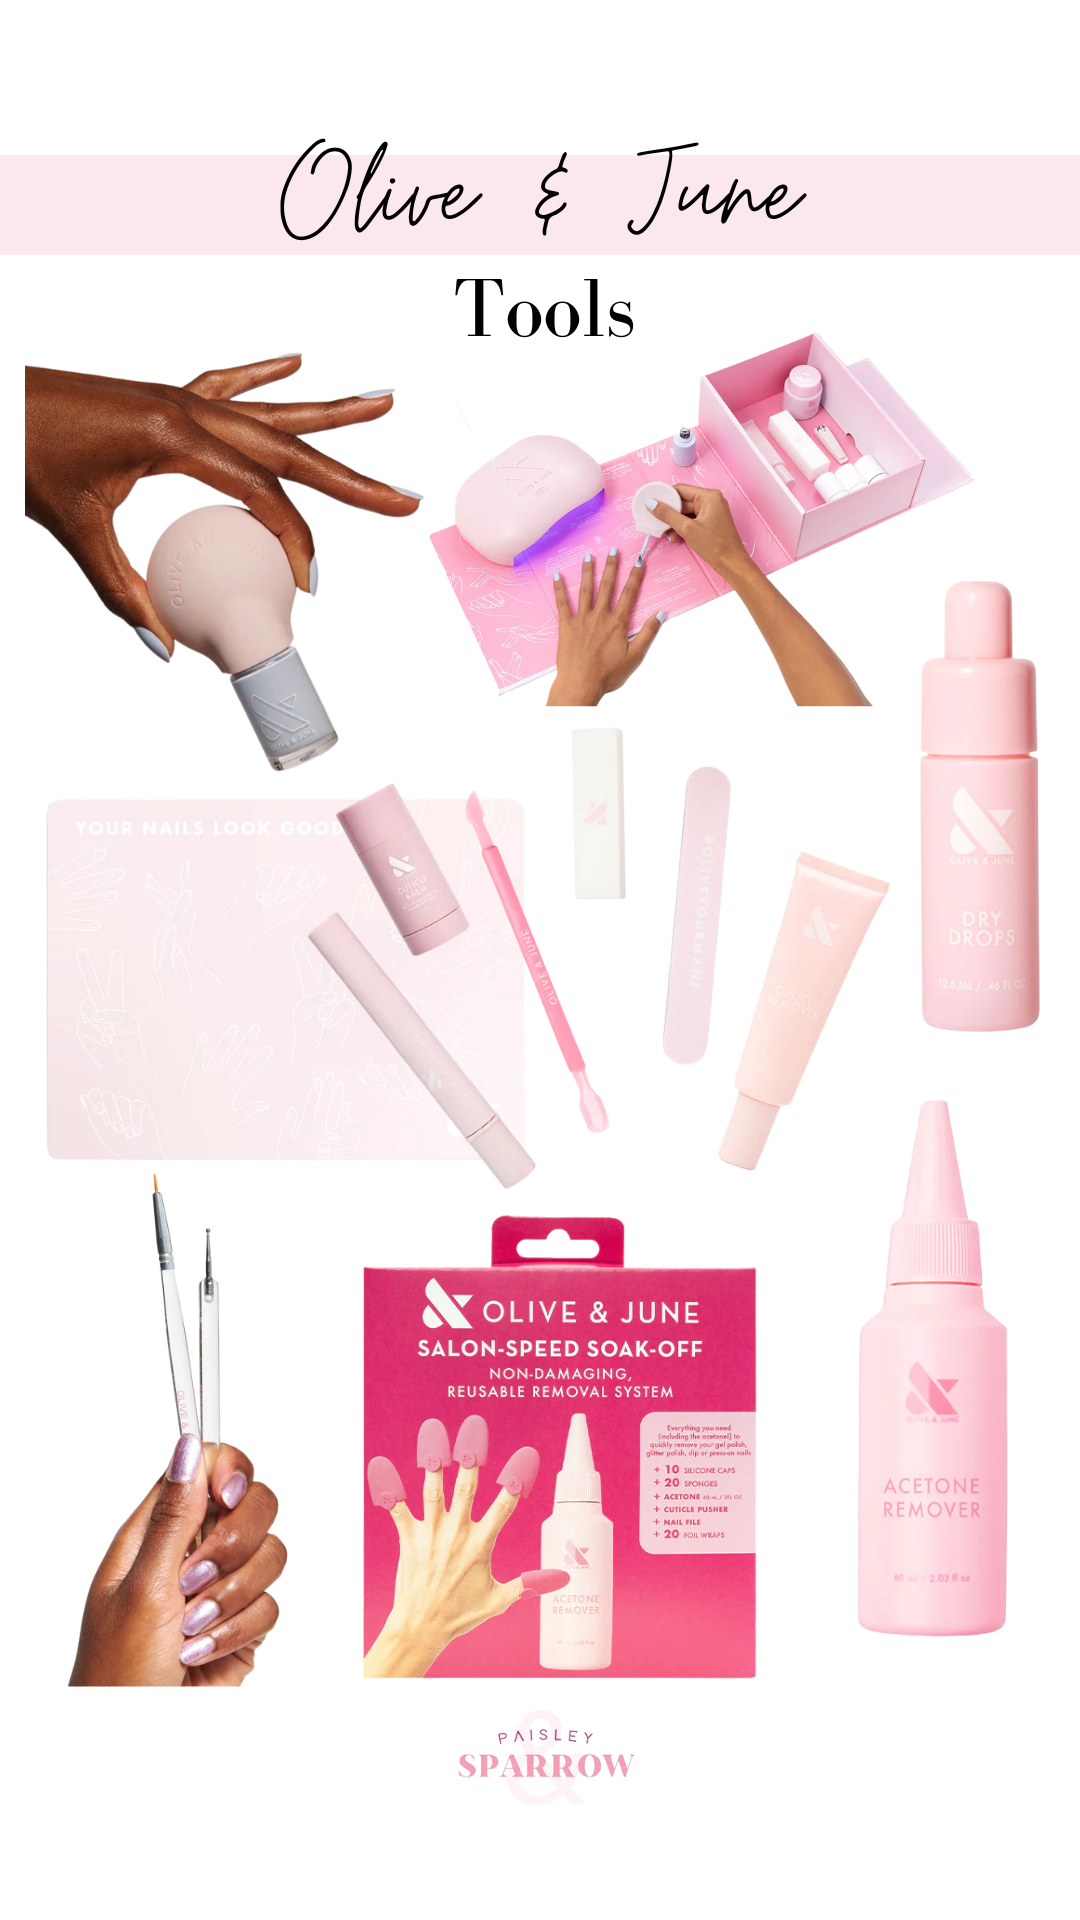
The Poppy | Gel Mani System | Painting Mat | Cuticle Care Set | Dry Drops | Nail Art Tool Set | Soak Off Kit | Acetone Remover