Love the look of fresh beachy waves after a day at the beach? Looking to save money on hair products, but can’t live without your sea salt spray?
Today I’m showing exactly how to make an easy DIY sea salt spray to keep money in your pocket without sacrificing style. Making 4oz. of your own salt spray costs ~$0.13 vs buying for ~$25, which is ~200x more! And it takes less than 5 minutes! I promise it’s easier than you think.
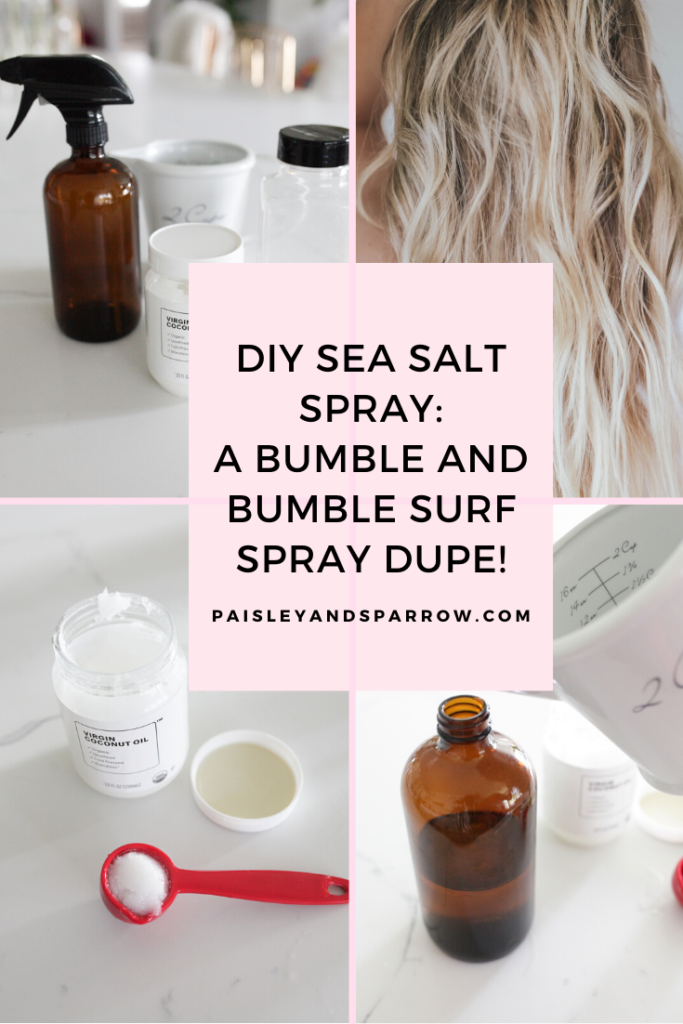
I’ve been using Bumble and Bumble’s Sea Salt Spray for years and love it. The cost of it can add up quickly, especially with long hair, so I wanted to share a super easy tutorial for your own DIY Sea Salt Spray.
Making your own sea salt spray at home not only saves you money, but what you make at home will be as good if not better than what you buy in the store. AND it’s really easy to do; you likely already have all the ingredients you need in your cupboard!
Also, you’ll also be able to make much more at once than the amount in the tiny bottles you normally buy.
What does salt water spray do to your hair?
Sea salt spray is super popular for creating beachy wavy hair. It can, however, dry out the hair due to the sea salt so be warned and don’t overuse it!
Sea salt spray is great to add some texture and volume to your hair without all the chemicals. It also makes it easier for your hair to hold waves or curls and also braids.
If you want to a salt spray that’s not as drying, use epsom salt. It will give you the same look but won’t dry your hair out like sea salt will!
How much salt water spray should I use?
Like I said, salt water spray dries out hair, so be careful not to use too much.
If you have fine or thin hair, using a generous amount of sea salt spray will help your hair thicken up and get a good amount of volume. If you’re someone with straight hair you won’t see as much as an impact as someone with natural waves will see.
On the other hand, if you have naturally curly hair, you won’t need to use as much to get the same effect!
DIY Sea Salt Spray for Beachy Waves
Paisley + Sparrow is a participant in the Amazon Services LLC Associates Program This post may include affiliate links which means I may earn a small commission if you shop using the links below at no additional cost to you. Thanks so much for supporting me and this blog!
You can make your own sea salt spray in just 3 easy steps using only 3 ingredients! You can literally do it in less than 5 minutes.
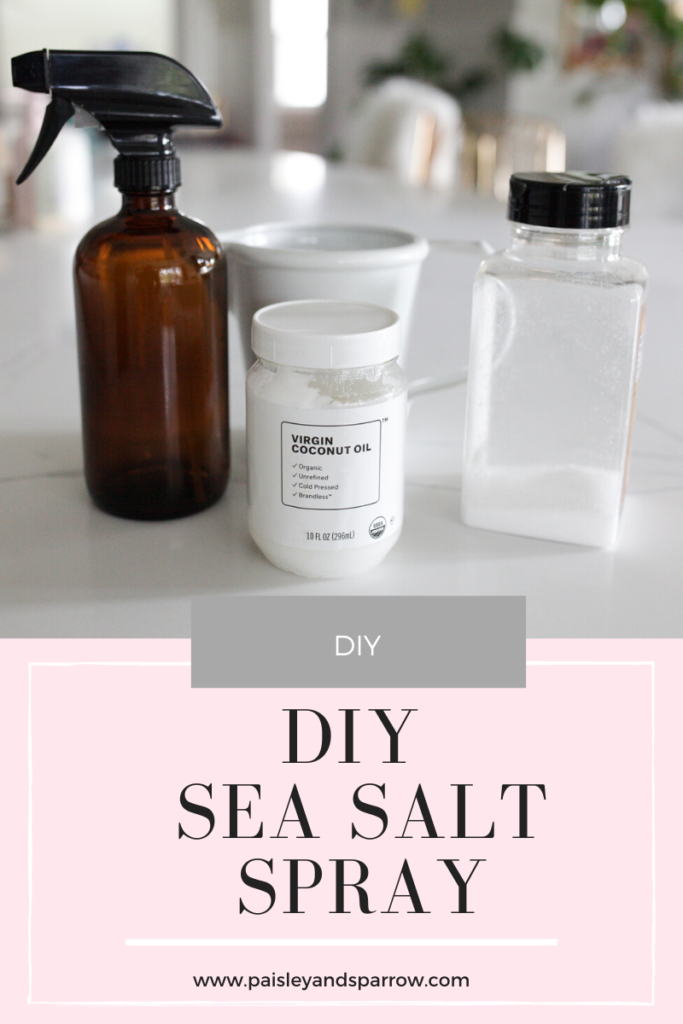
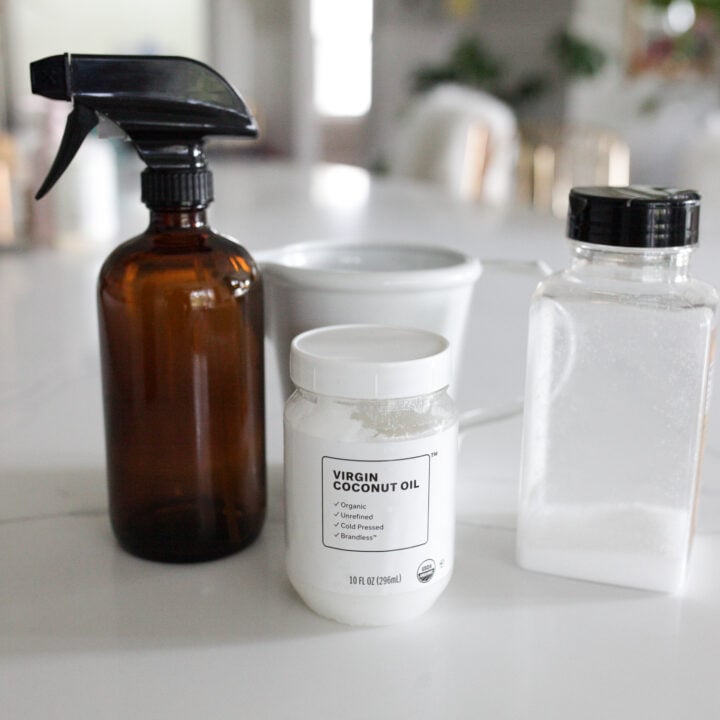
Ingredients for DIY Sea Salt Spray
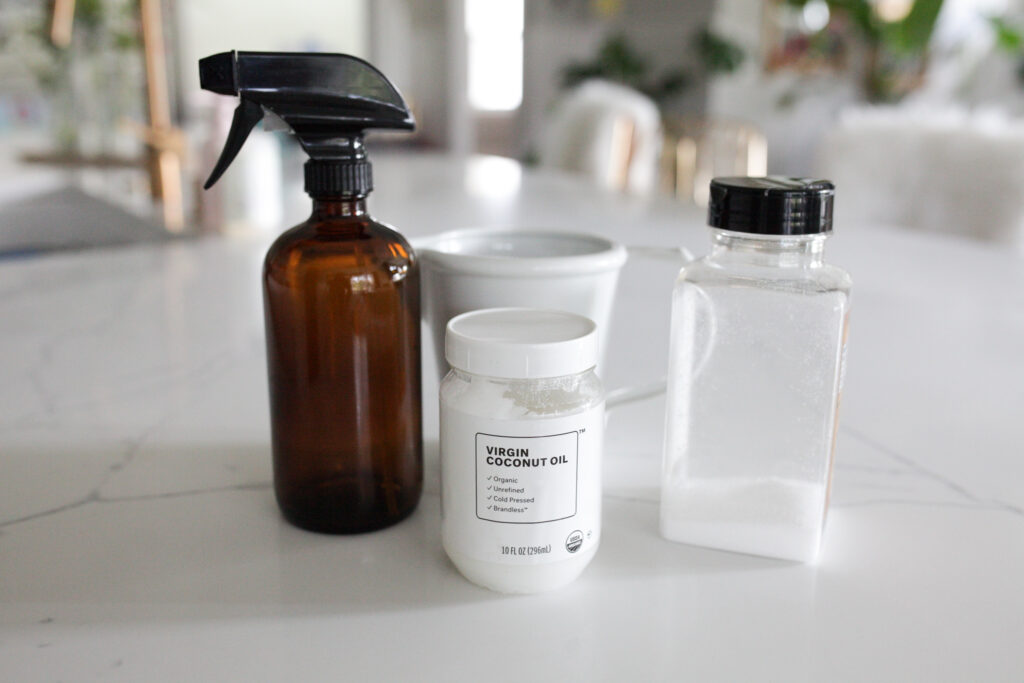
- 1-2 tsp sea salt* (the more salt you add, the more texture it will give)
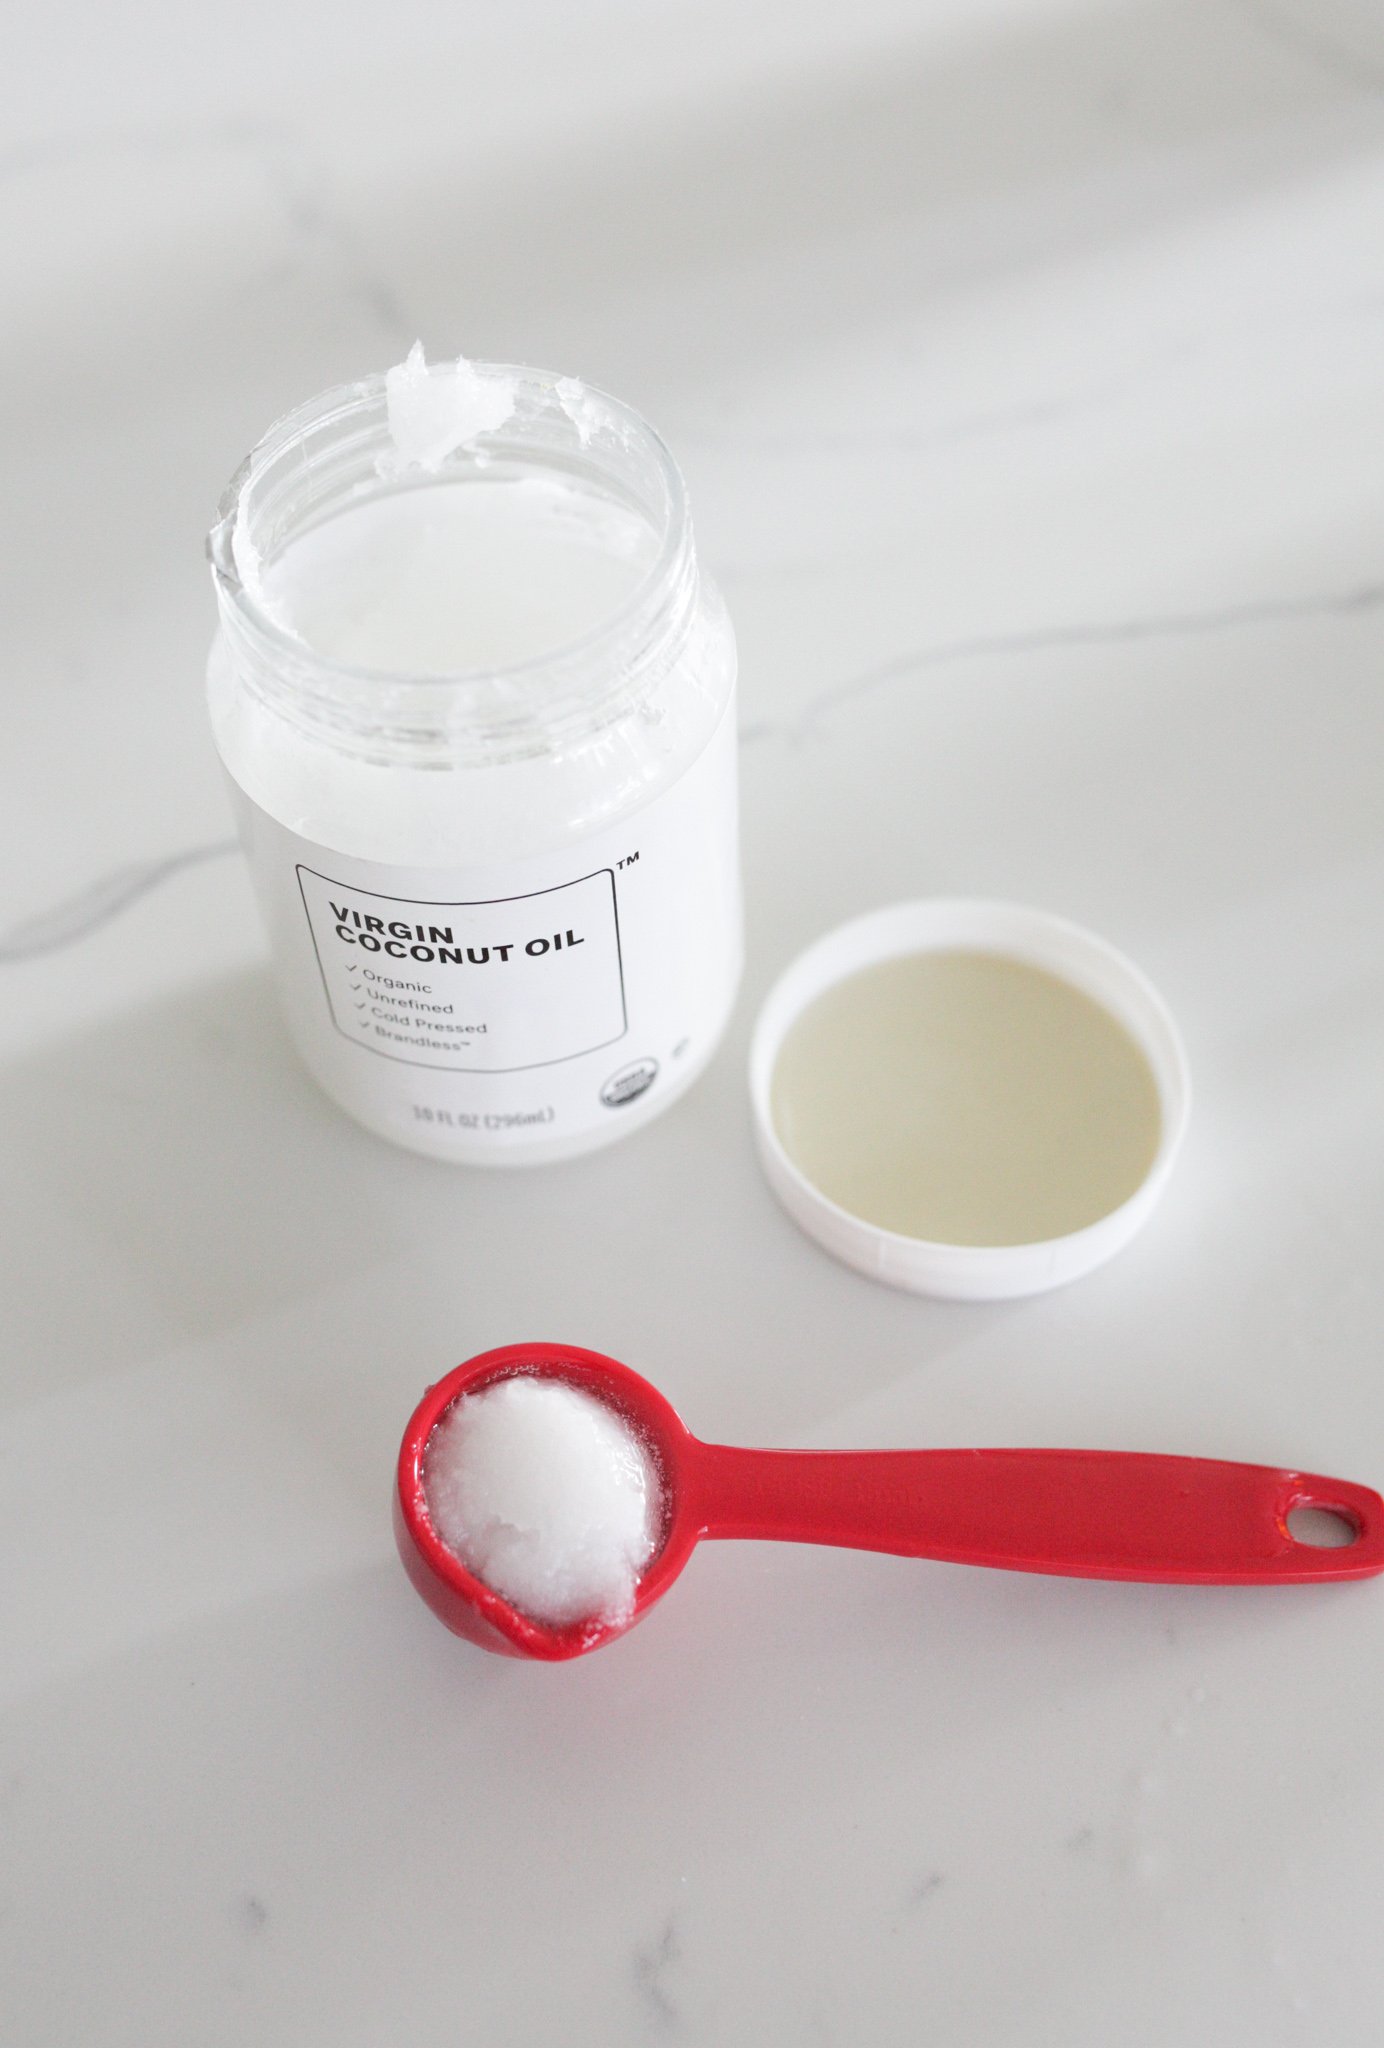
- 1 tbsp virgin coconut oil (can also use olive oil, argan oil or jojoba oil)
- 1 cup warm water (I use tap water but you can also use filtered or distilled water)
- Empty spray bottle (you can get an inexpensive plastic spray bottle or a more durable glass bottle!)
Type of Coconut Oil
Be sure to use virgin (not refined) coconut oil. Virgin is much better for hair and skin. You don’t want the bleach or other additives in refined coconut oil that help prolong shelf stability. Both are good for cooking.
Where To Buy Virgin Coconut Oil
If you don’t have virgin coconut oil in your pantry, Amazon has some for less than $0.50 a fluid ounce. One tbsp is half a fluid ounce, meaning we’re using less than $0.25 worth of coconut oil for 8 fluid ounces of our homemade sea salt spray. You can pay half that if you’re willing to buy a larger size.
You shouldn’t have any trouble finding it at your local grocery store if you’d rather go that route.
Directions for sea salt spray
1. Warm up 1 cup of water.
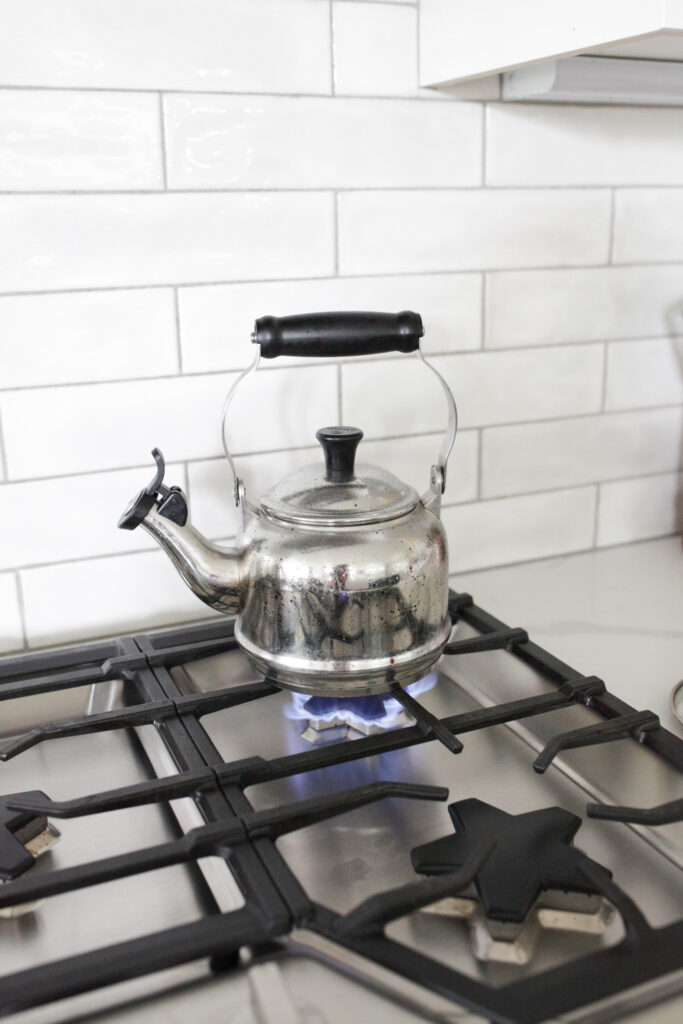
You can choose if you use a microwave or the stove but heat up 1 cup of water. This part is super easy and only takes about 2 minutes.
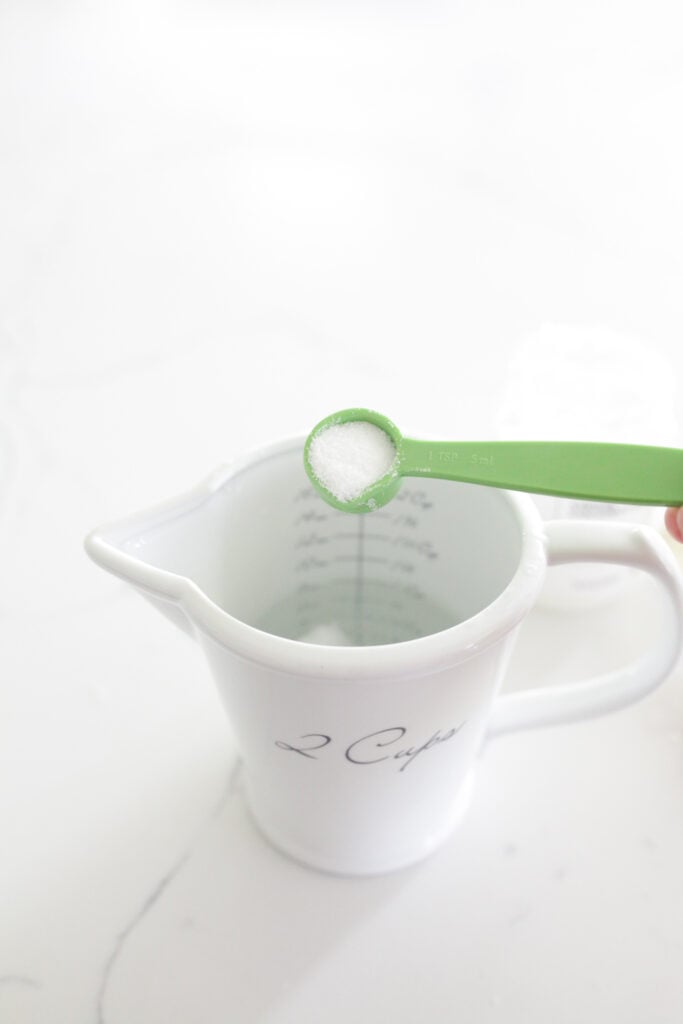
2. Add coconut oil and sea salt.
After the water is warm, add in 1 tablespoon of virgin coconut oil and 1 to 2 teaspoon of sea salt to it. I typically just stir the ingredients together directly in the measuring cup with the hot water.

Don’t worry if it’s not exactly perfect! After you make a batch or two, you can always adjust the measurements to your hair. If you have more oily hair, you may want less coconut oil.
On the other hand, if you want additional texture, add in a bit more sea salt! Or if you notice your hair is getting more dry after using it, swap the sea salt for epsom salt! Play around with different amounts!
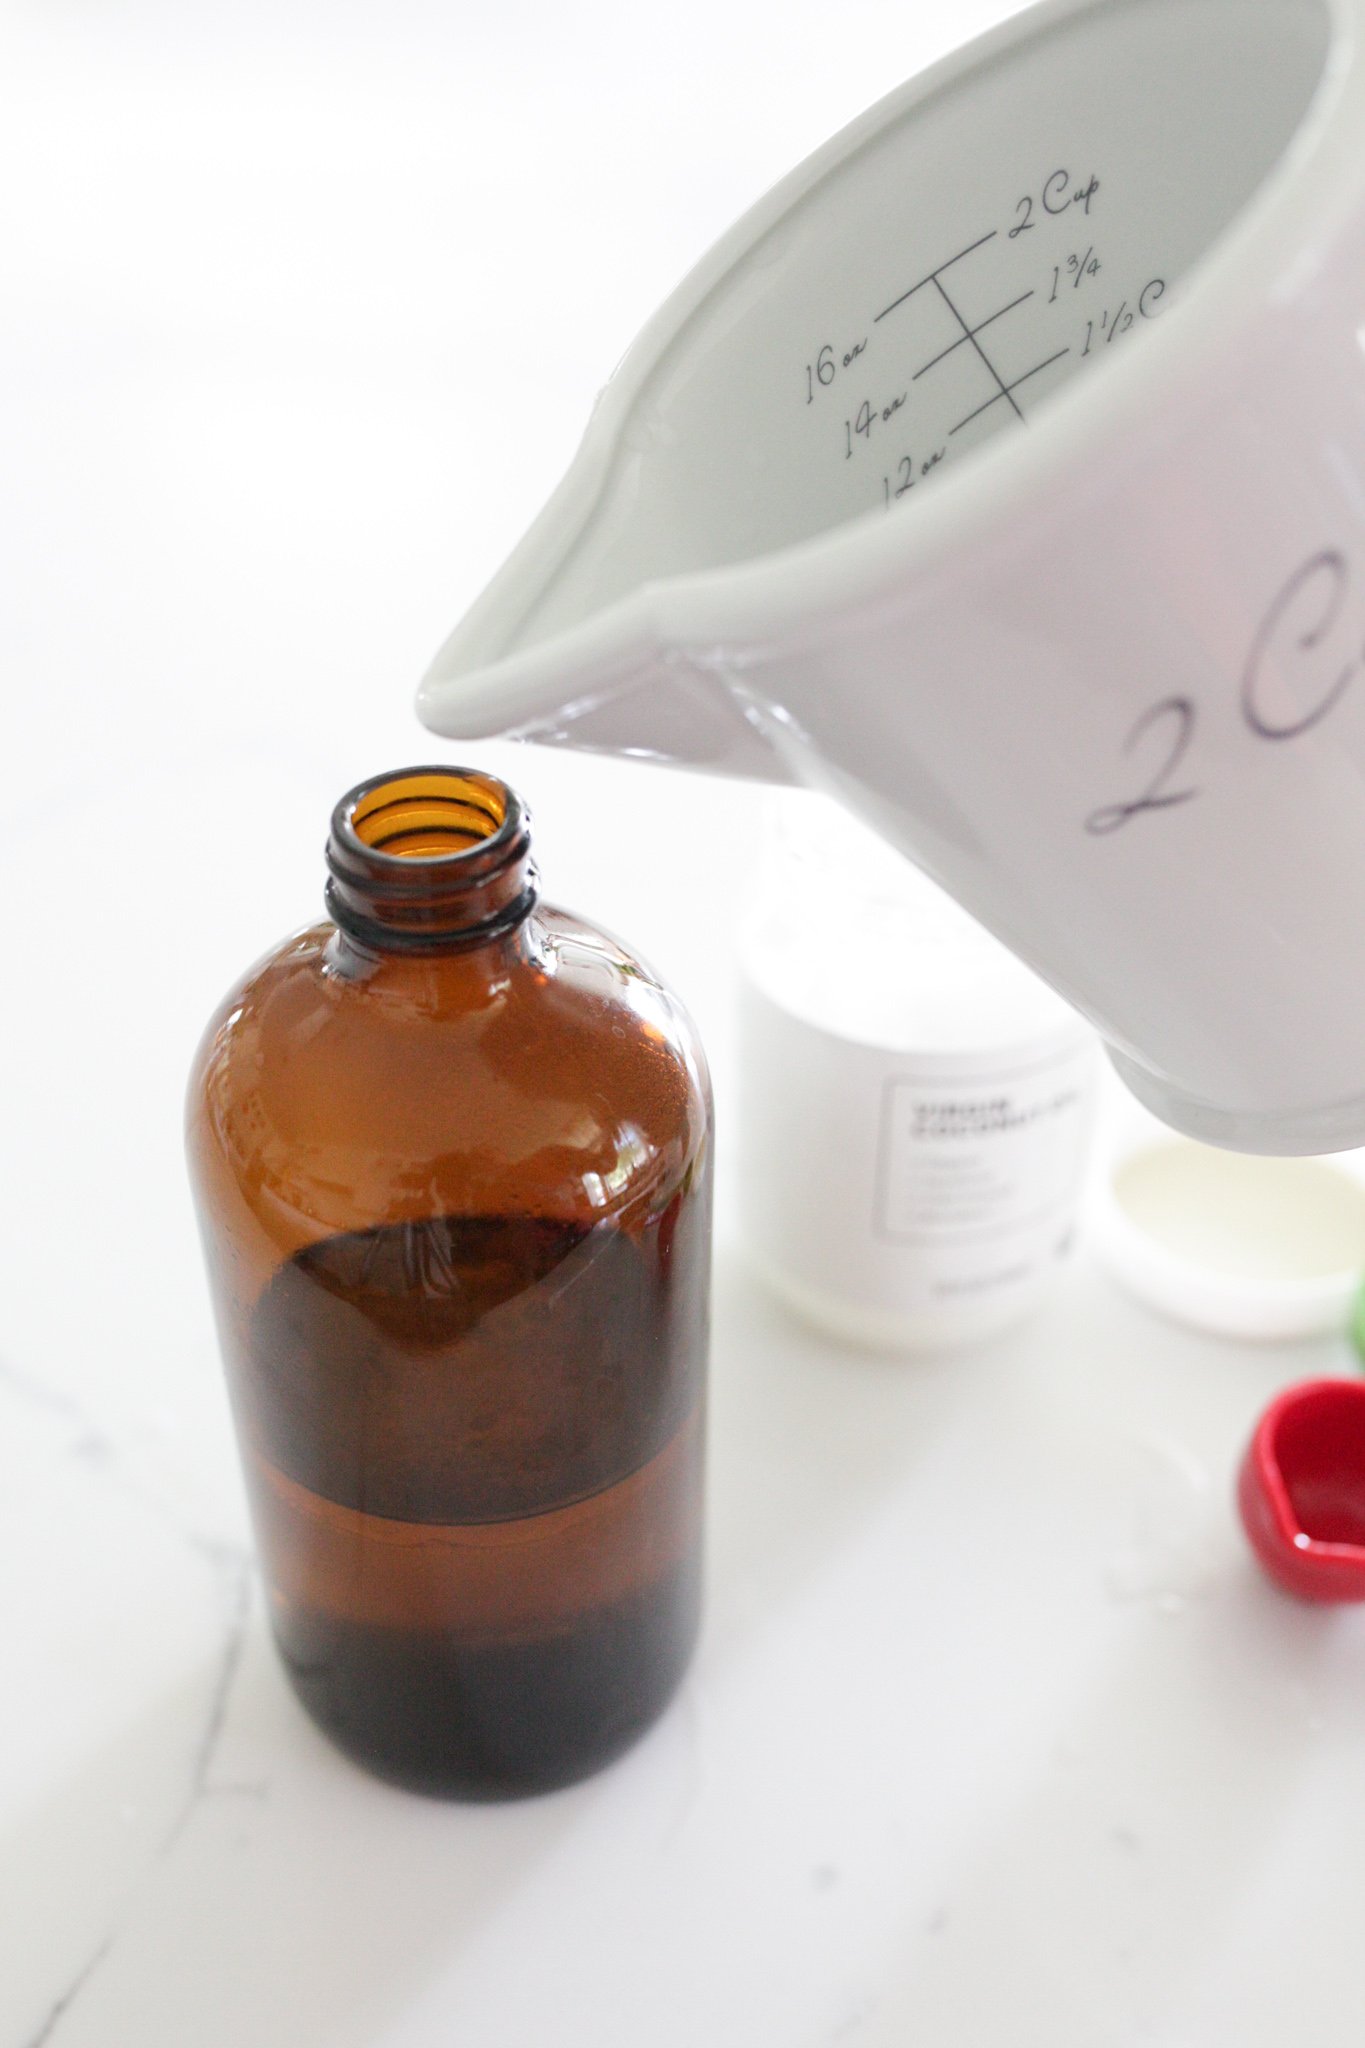
3. Pour the sea salt spray into your spray bottle.
After stirring together the ingredients, carefully pour the sea salt spray into your spray bottle. And there you have it! You’re done!

Customize your sea salt spray
You can add a few drops of essential oils like lavender which not only encourages hair growth but also reduces stress (yes please!), rosemary to improve thickness as well as growth or cedar wood to reduce hair loss.
You can add some epsom salt as well to increase the amount of texture the spray provides rather than using a texturizing spray to finish.
Adding leave-in conditioner will help keep your hair soft if tends to dry out.
If you add a little bit of pomade or water-based hair gel (like aloe vera gel), it can give it some light hold.
How to Use Sea Salt Spray
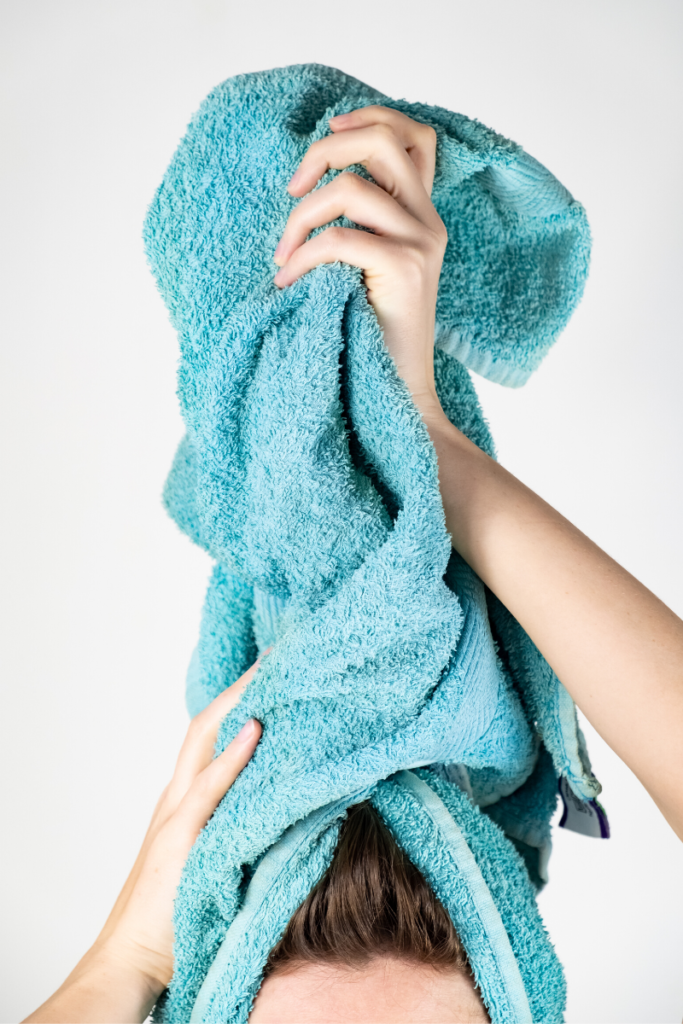
1. Start with damp hair
You can use this spray after washing your hair or just simply getting your hair damp, just not on dry hair. For best results, make sure your hair isn’t soaking wet when you apply it!
2. Shake your bottle of sea salt spray
This step is super important because you want to make sure that it’s well mixed before applying! You don’t want to get just oil or just salt or just water!) Give it a good shake!
3. Spray on to your hair
Spray from roots to the middle of my hair. I stay away from the bottom of my hair so it doesn’t dry it out as much.
4. Scrunch and twist your hair
After you spray on your sea salt spray, mess with your hair! I had a hair stylist who used to twist my hair into sections and let it dry that way before shaking it out.
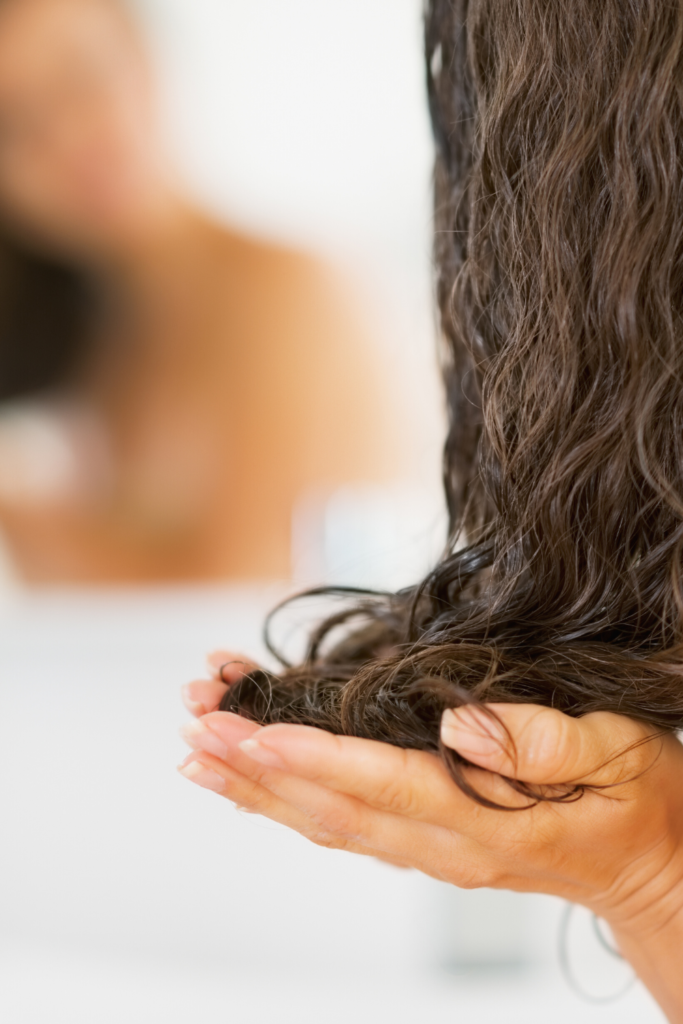
Or you can scrunch up your hair off and on until it’s dried! Test out a few different ways to see which style you like the best.
5. Finish with a hair dryer (optional)
If you’re short on time or just don’t want to deal with wet hair (like in the winter!!), finish up with a hair dryer! If I need to speed things up a bit, right before my hair is fully dry, I’ll blow dry my hair slightly with a diffuser. That helps to add a bit more volume to my hair as well as the texture and wave that the sea salt provides.
This tutorial is literally super easy and such an inexpensive way to make your own homemade sea salt spray!
DIY Sea Salt Spray
A simple, inexpensive Bumble and Bumble Sea Salt Spray Dupe!
Materials
- 1-2 tsp sea salt* (the more salt you add, the more texture it will give) *or swap sea salt for epsom salt to prevent your hair from drying out too much
- 1 Tbsp Virgin Coconut Oil
- 1 Cup Warm Water
- Spray Bottle
Tools
- Measuring spoons
Instructions
- Warm up 1 cup of water.

- Add virgin coconut oil and sea salt.

- Pour the sea salt spray into your spray bottle.

Notes
You can add a few drops of essentials oils like lavender which not only encourages hair growth but also reduces stress (yes please!), rosemary to improve thickness as well as growth or cedar wood to reduce hair loss.
You can add some epsom salt as well to increase the amount of texture the spray provides rather than using a texturizing spray to finish. Or swap the sea salt for epsom salt to prevent your hair from drying out as much like sea salt will.
Adding leave-in conditioner will help keep your hair soft if tends to dry out.
If you add a little bit of pomade or water-based gel, it can help hold your beachy waves in place!
You definitely get more for your money in comparison to the Bumble and Bumble Surf Spray, which costs $27 for a 4 ounce bottle.
This DIY sea salt spray works well with any hair type and is so easy to make! Let us know what you think of it!
If you need more hair tips, be sure to check out my 6 Favorite Hair Thickening Products or How To Use Dry Shampoo – 6 Easy Tips!
As always, thanks for reading and following along!
Jen
Thank you Jen! I knew there had to be a way to eliminate fragrance without spending a bundle on high a end product.
I made 1/4 of recipe to try it out as my bottle only holds 1/4 c. I used Epsom salt & a pinch of Himalayan sea salt with fractionated coconut oil. I put it on dry hair. Used 1/8 c to almost saturate most of my hair, except for roots at top of my head where I sprayed dry shampoo. The results on my beautiful silver & white hair? After it was mostly dry I had to ask, “Wow, who’s hair is this??? Hello me, at last!” My new long angled bob looks great this way. Yay!
I have struggled to come to terms with hair loss later followed by soft curls from being ill after COVID-19 vaccines 2 yrs ago. I love the curls, just lost my sense of style & was at a loss as to what to do with it. Wish I could share the pictures.
Now if only I could fix the irritating ‘white people flat/split’ at crown. Any ideas? BTW nice glass bottles in links
I tried making this (not my first DIY salt spray) and unfortunately it made my hair feel so sticky! My hair stuck to my hand so badly that I struggled to scrunch it. Do you know why this might have happened?
This probably was the type of coconut oil you used. You can also use jojoba oil. All recipes need tweaking so just try experimenting 🙂
How long does this spray last before it gets bad? Does it has an expiration time?
I looked up coconut oil and it lasts two years on the shelf, so this should last that long.
I’ve tried this and as soon as the coconut oil chills, it solidifies. How can this be sprayed when it’s a solid inside the bottle? Do you have to reheat it every time you use it? Shaking doesn’t warm it up enough to become a liquid again.
I’ve never had that happen to me! Whenever I add it to the warm water it mixes enough that it doesn’t solidify. I’m sorry!
You can use a liquid oil like olive oil or MTC oil. I’m in a cold house and the coconut oil just chunks up in the water so that’s what I do
You can use fractionated coconut oil. It stays in liquid form.
I wondered about that while reading the recipe. I will use fractionated coconut oil when I get home to try this. At the beach and am loving my volume so would love to replicate it!
Nice idea and a lot cheaper!