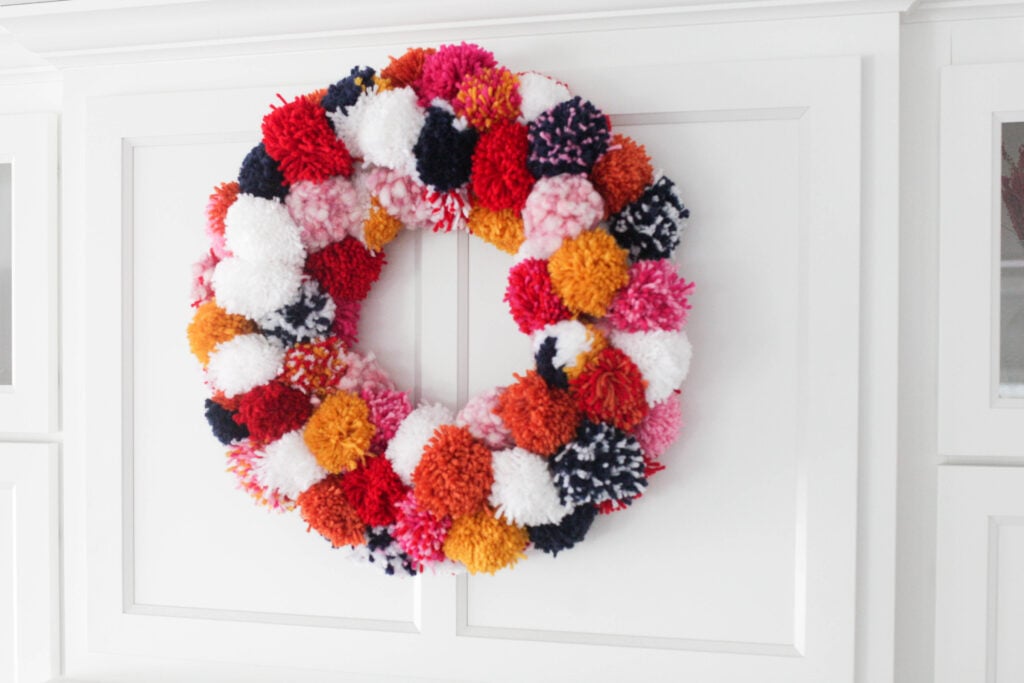
Looking to make a super simple pom pom wreath DIY? These gorgeous handmade wreaths make quite the statement no matter if it’s in your home or on your door!
It’s no secret I love Anthropologie. When I spotted the gorgeous pom pom wreath they came out with a couple years ago I wanted it but the size (and the cost!) were not ideal. So I decided to make my own pom-pom wreath diy!
There are hundreds of different types of pom pom wreaths you can make and for tons of different seasons. And I’ll be frank, as soon as I realized how easy it is to make pompoms, I wanted to make ALL the DIY colorful holiday pom pom crafts!
You can make pom pom garlands, pom pom mobiles (I actually already made one of these with one of my nieces!) — there are so many different projects you can do!
But first, let’s chat about pom pom wreaths (we’ll get to other pom pom projects in the future) and my Anthropologie inspired pom pom wreath.
Easy Pom Pom Wreath DIY
This post contains affiliate links.
I love the look of a variety of colors like Anthropologie had on their wreath, so I made one focusing on pinks, orange, reds, whites and blues. I love colorful holiday decor, so a colorful holiday pom-pom wreath is right up my alley.
I especially like the modern look of having some solid pom poms and some poms with different colors in them (half and half, or mixed together).
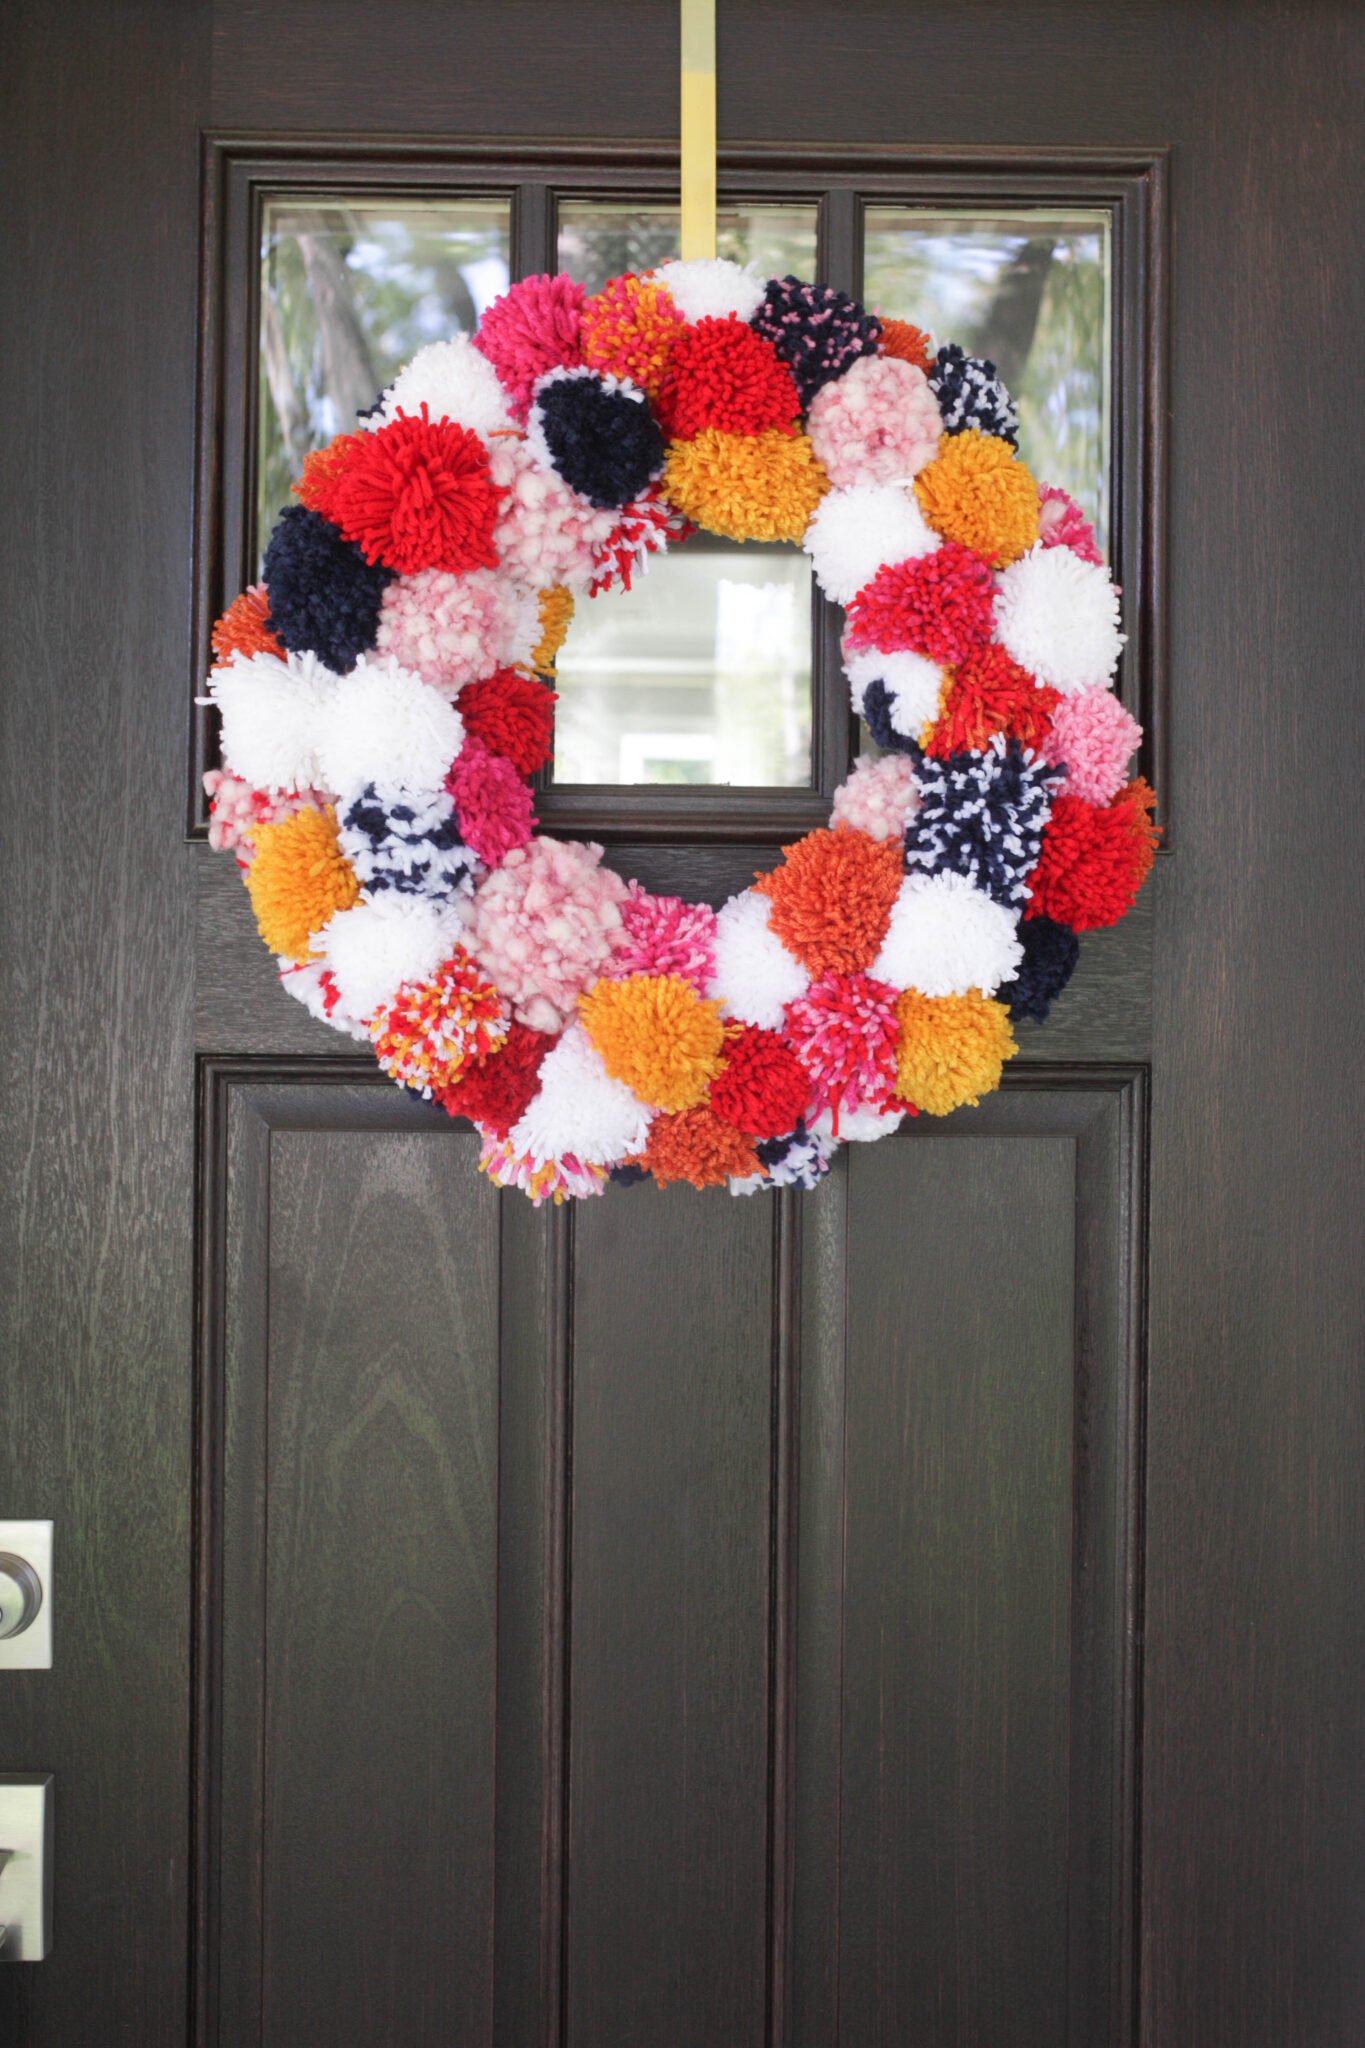
However you could do all one color (white for winter time, pink for a Valentine’s diy pompom wreath) or a couple of colors (black and orange for Halloween, red and green for a Christmas wreath!) or any variety of colors!
I plan on using my wreath from fall through Christmas because the colors can easily go with both.
Let’s talk about how to actually make a DIY pom pom wreath. First up, the supplies!
Supplies Needed
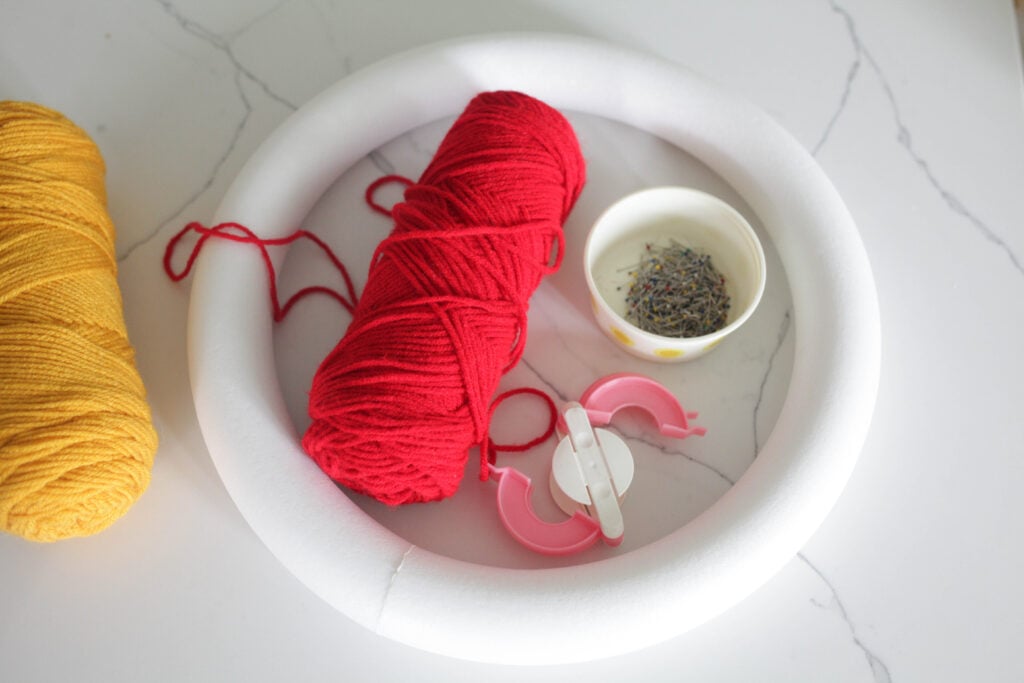
- Yarn in whatever colors you like! (I bought roughly 7 skeins of yarn and have a lot of leftover – get this from Amazon, Michaels, or any local craft store)
- Pom Pom Makers
- Foam Wreath Form (I used a 14″ foam wreath)
- Sharp Scissors (regular scissors might have a hard time cutting through the yarn — I recommend these scissors!)
- Pins
DIY Pom Pom Wreath Steps
1. Make Pom Poms Using a Pom Pom Ring
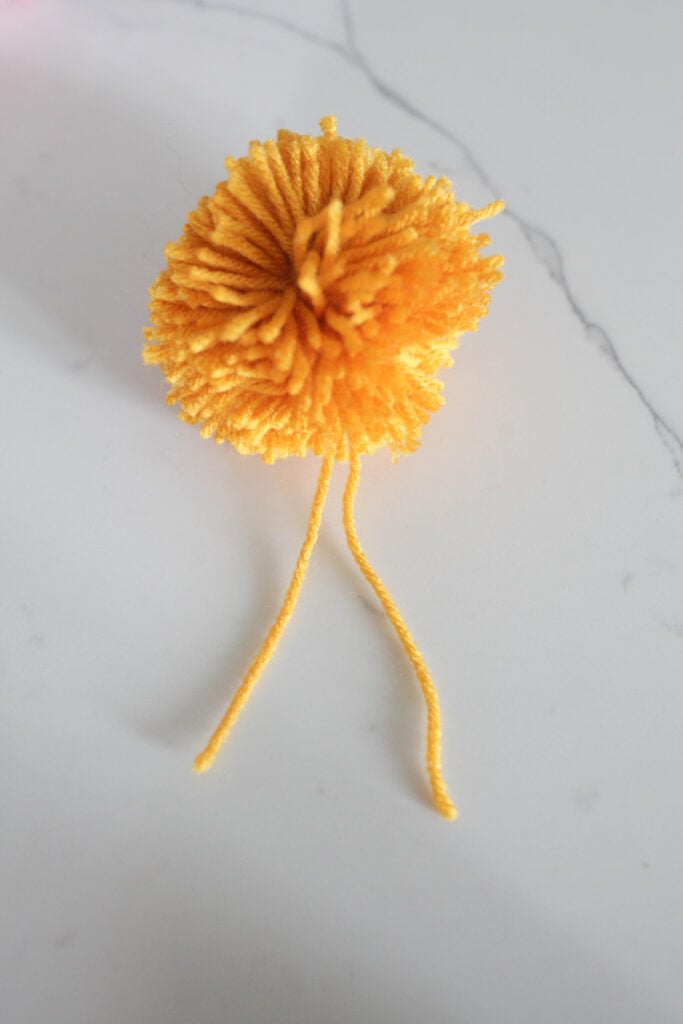
To start with, you need to learn how to make pom poms and trust me, it’s easy! So easy that my 4 year old can do most of it (minus the cutting). If he can do it, you can too!
Here are the steps but you can also watch the video.
How do you use a pom pom ring?
- Wrap one set of arms of the pom pom maker with yarn.
- Close that side and wrap the other side. (You can either cut the yarn after completing the first side or just continue on to the next side.)
- Close both arms (so it forms a circle).
- Take your scissors and cut down the middle of the outside of the pom pom maker.
- Next wrap a piece of yarn all the way through where you just cut. Make sure you leave enough of a tail to wrap the ends around the wreath form and knot it.
- Double knot the string very tightly.
- Open up the pom pom maker and ta da! A pom pom! You’ll love how it turns out!
How many pom poms you need for your wreath depends! It varies on the size of both your pom wreath, the size of the pom pom maker and how much room you want between your pom poms. I made about 65 pom poms for my 14″ wreath.
This probably isn’t a DIY that you can finish in one day. Making the poms can be a bit tedious (65 is a lot!), so you’ll probably want to spread it out over a few weeks.
2. Tie the Pom Poms to Your Wreath Form
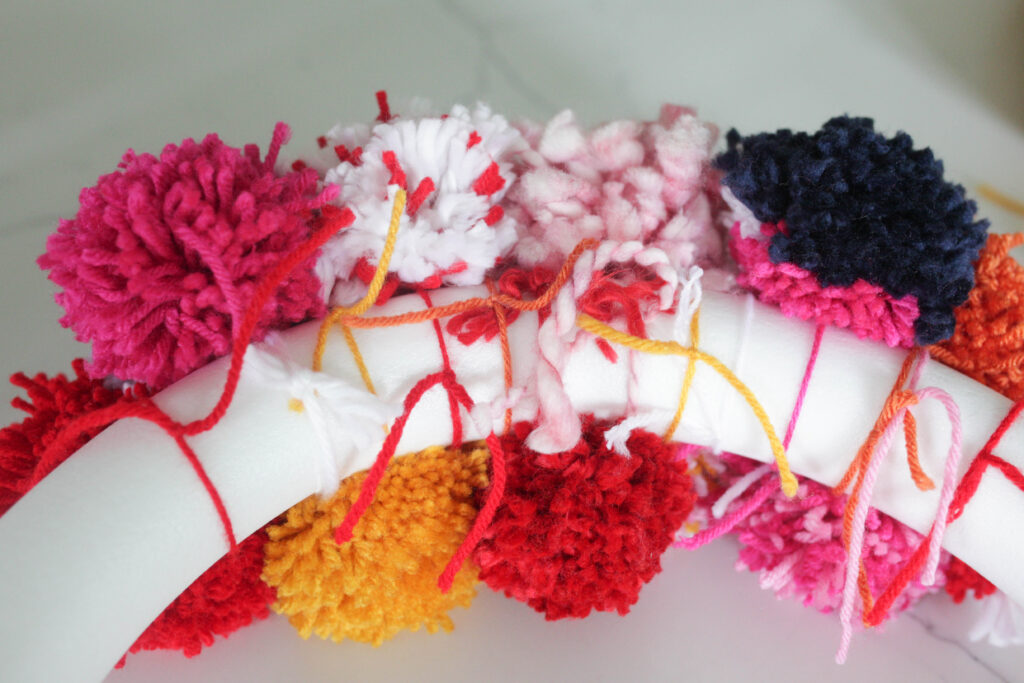
Next, you’ll want to simply tie the pom poms on to the wreath form. I personally like to knot my pom poms on to the wreath form rather than hot gluing so i can easily swap out colors if I decide to!
This also makes it super easy to manipulate the pattern a bit to move colors around and make your pom wreath DIY look exactly how you want.
3. Pin Loose Pom Poms in Place
I found that a few of my pom poms needed a little bit of help to stay in place. Using pins, pin any loose pom poms in place to keep them where you want them.
4. Hang It Up and Enjoy!
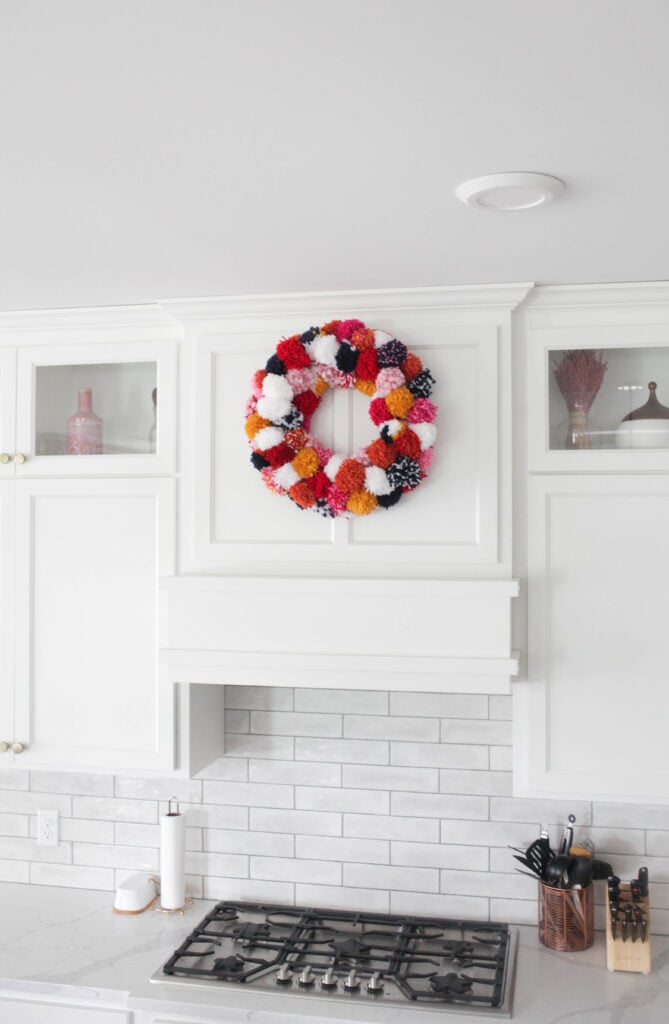
Use a wreath hanger to hang it to your door or Command strip to hang it somewhere else — the options are endless! It can be an indoor or outdoor wreath, but I’d say not to hang it outside where it’ll get wet.
And now, a few tips and tricks to help you out!

Tips + Tricks
1. Thick yarn makes more fluffy pom poms.
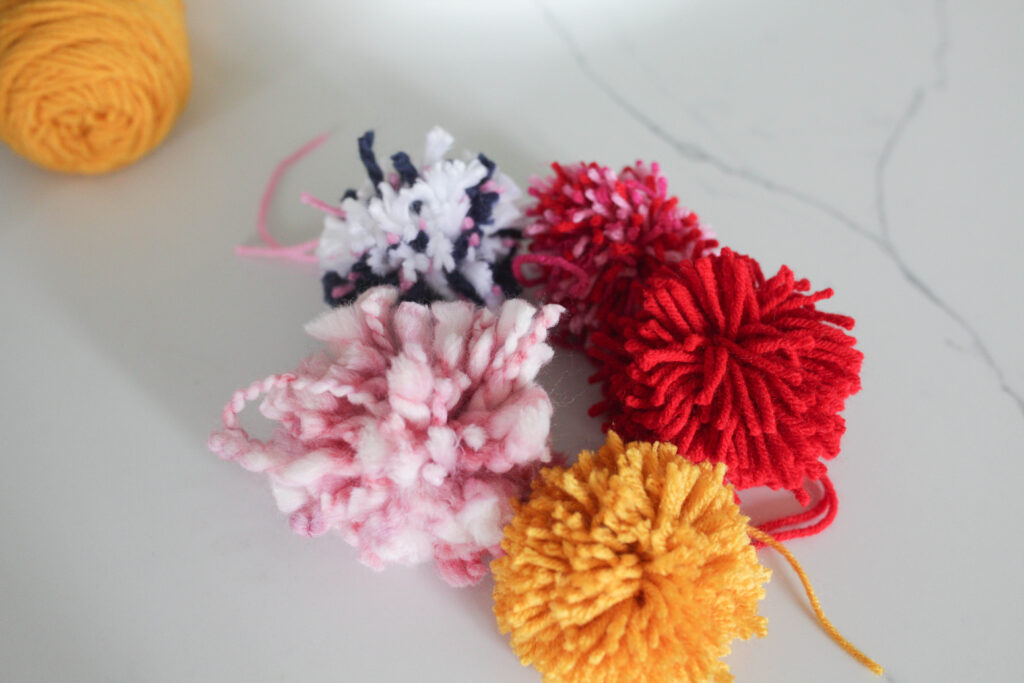
I used a variety of thick yarn and skinny yarn so you can see the difference in the photos above. There’s no “right” or “wrong,” just what you like best!
2. Use multiple colors when you make a pom pom.
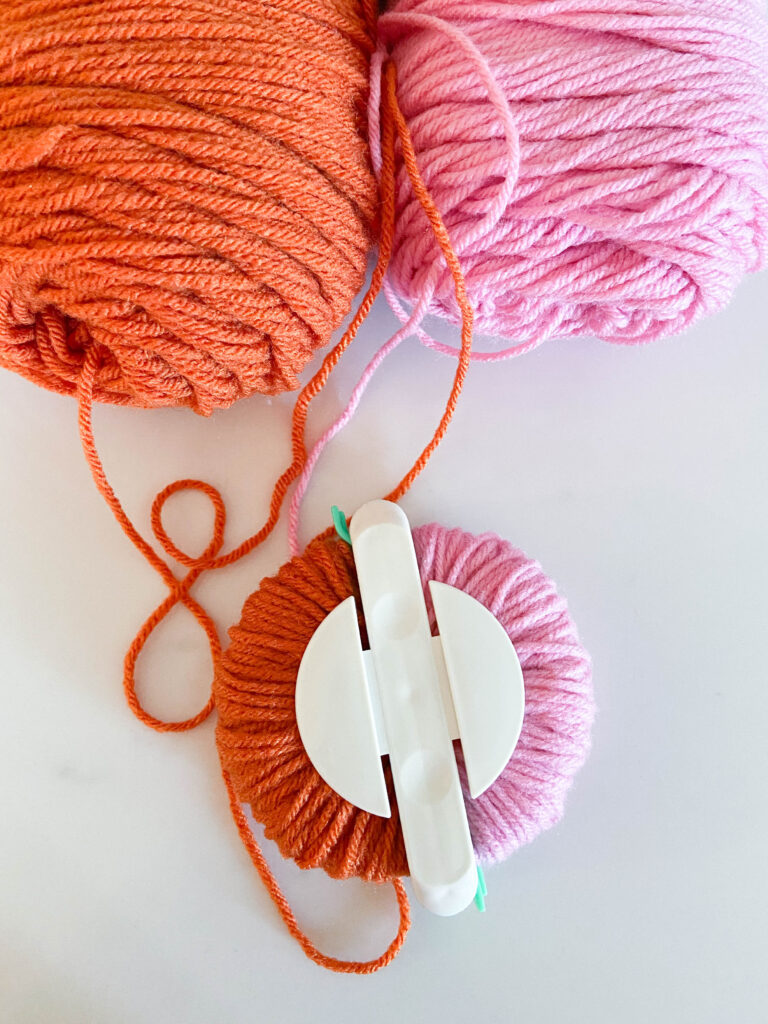
You can wrap colors together or wrap each side with different colors to switch up what your pom poms look like.
3. Wrap more yarn for thicker pom poms.
The more yarn you wrap on your pom pom maker the thicker and more full your pom poms will be!
4. Come up with unique pom pom wreath ideas.
If you’ve already made a traditional round wreath or just want something a little different, there are several new spins on the idea. You can make a rectangular wreath frame — instead of a round wreath form, just use a picture frame! Tie the pom poms on and then use hot glue to secure them.
Or try a heart shaped foam form. It could be for Valentine’s and hang up all February, of course, but depending on the colors you choose, it could be for spring, Fourth of July, or any other occasion!
You can also get fancy and try to make patterns or pictures with the pom poms. Make a spring wreath with flowers: choose a color for the background, then do a yellow center pom pom and white (or any color) pom poms all around it to make flowers!
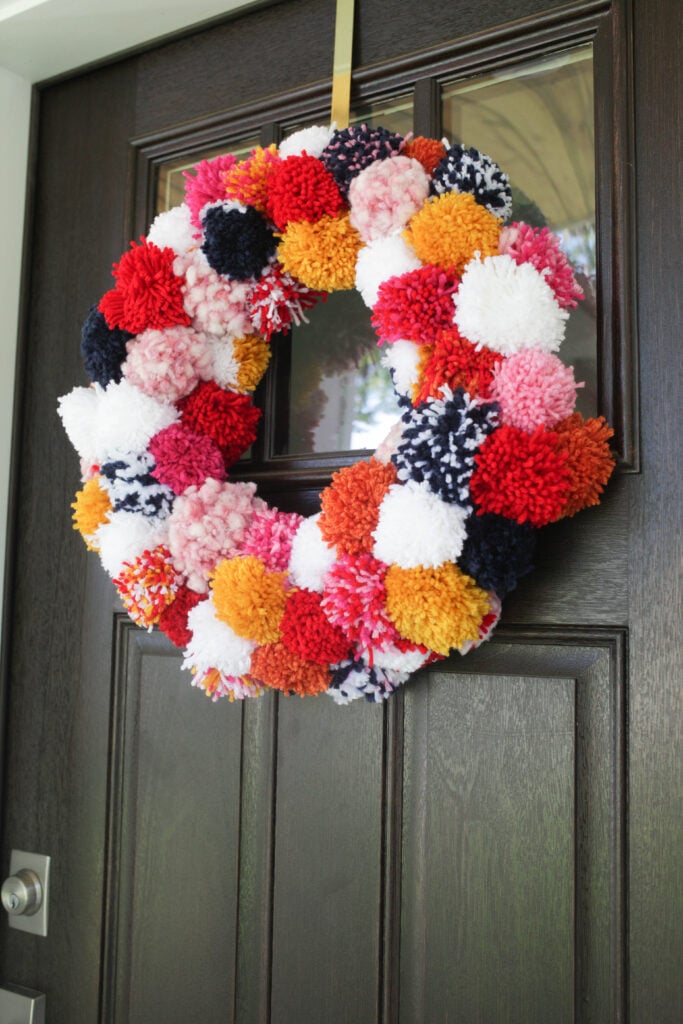
And that’s it! A super easy Pom Pom Wreath DIY. I hope you’re inspired to make your own pom pom wreath for your own home!
FAQ
The answer depends on how big your wreath form is (and how big your pom poms are!). For my 14-inch wreath, I used about 65 pom poms. Expect to make about that many — you can always make more if you don’t have enough.
For a 14-inch wreath, I’d estimate you need about 6 skeins of yarn. I bought 7 skeins but had lots left over.
If you’re doing a wreath in all one color, you want to make sure you have plenty since you’ll want to buy it from the same lot. Different lots sometimes don’t match exactly.
I like to tie the pom pom to the wreath form. When you make your pom poms, leave the yarn that you tie around the middle long enough to go around the wreath form. Tie the pom poms on and then pin with a straight or T pin to keep them in place.
You could also just use hot glue, but I find it to be less secure.
If you want to use glue instead of straight pins for securing your pom poms, go with hot glue. Fabric glue is good if you’re gluing pom poms together, but the best option for the foam wreath form is hot glue.
Want more Holiday DIY projects? Check out the easiest pipe cleaner candy canes (for you or your kids) or this fun Balloon Tree!
For more DIY fun be sure to read how to make a balloon garland!

I’m so ready to make one of these! Would you tell me what size Pompom maker you used? Thanks!!!