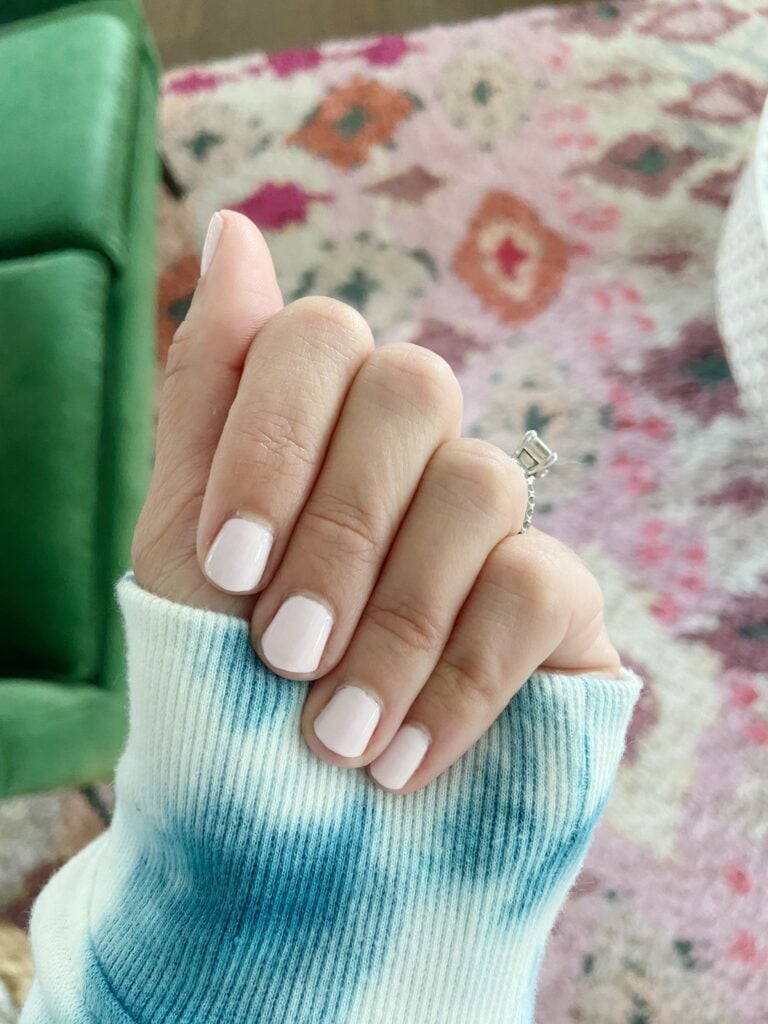
If you’re anything like me, you don’t have a lot of spare minutes in your day. So when it comes to getting manicures or pedicures, if they’re going to get done it’s very likely they’re going to get done at home when I can squeeze it in!
Over the past couple years I’ve really gotten into at home manicures and pedicures. I’ve quickly learned that having the right tools in your manicure set (or pedicure set!) is key to having Instagram worthy nails without the hefty price tag of a nail salon visit.
But let’s be real, there’s nothing worse than sitting down to do your nails only to finish and realize they look terrible! Trust me, I’ve been there. It wasn’t until after getting a manicure set that I realized that not only does it help make your nails look better but it also helps your manicure last longer!
This post contains affiliate links.
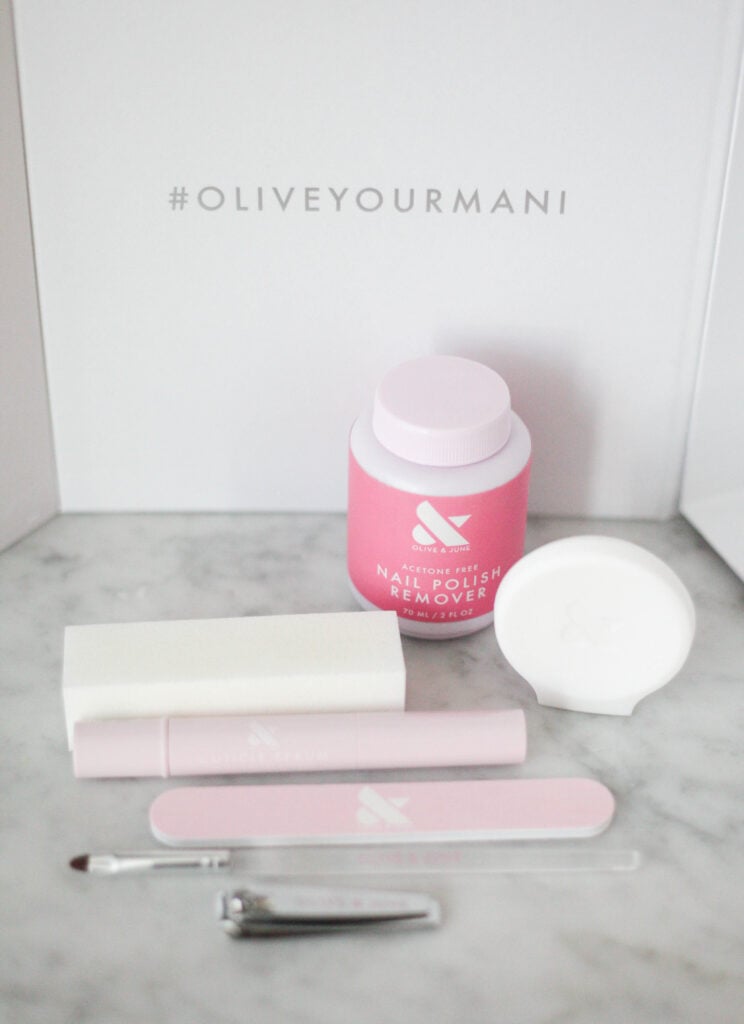
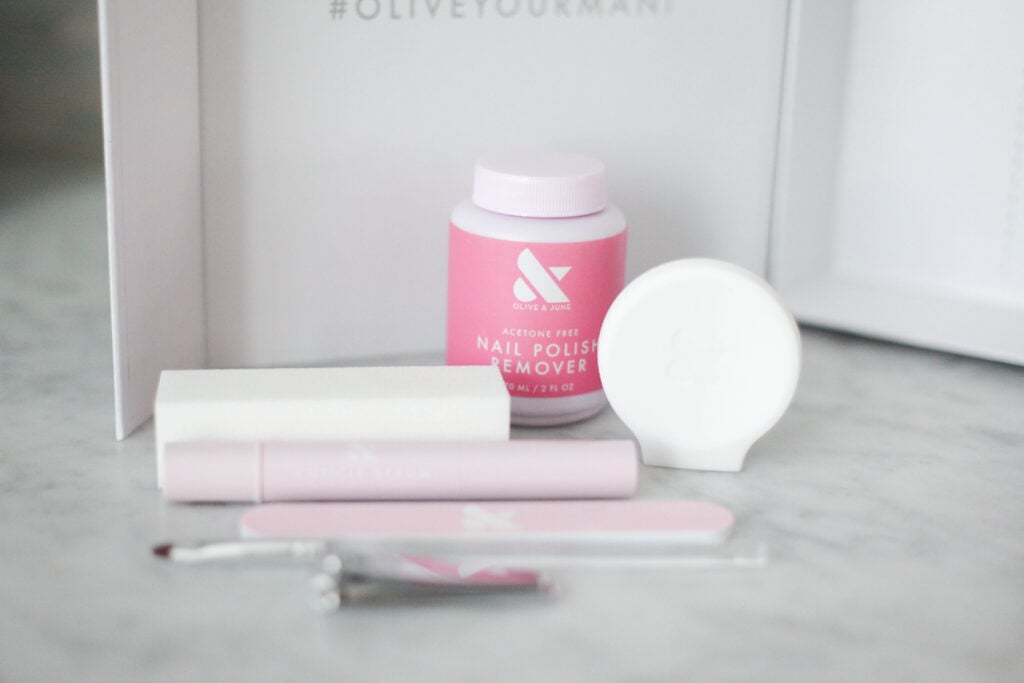
If you’re looking for a manicure set, I highly recommend getting this one from Olive & June! They also have a pedicure set! (Not sponsored, I just love them!) Manicure kits are full of great tools for not only flawless nails but also for the overall health of your nail.
I’m going to go through all of the manicure tools and pedicure tools and what they do.
Manicure System Tools & Tips
Let’s start with the Mani System!
1. Fingernail Clipper
The first step in your manicure is to trim your nails! One of the most important tools is a good quality nail clippers to trim back your nails. The reason I love the Olive and June nail clipper is because it’s a straight edge one! This basic tool helps to easily shape nails into the exact shape you want.
Use your nail clipper to carefully cut back your nails. The best tip is to do this with your nail polish still on! It sounds silly but oftentimes the whites of your nails aren’t straight. This way you won’t get distracted by them when trimming your nails back.
You nail length is a personal preference. Just use special care when trimming your nails and go slow especially if your shaping them.
2. Nail File
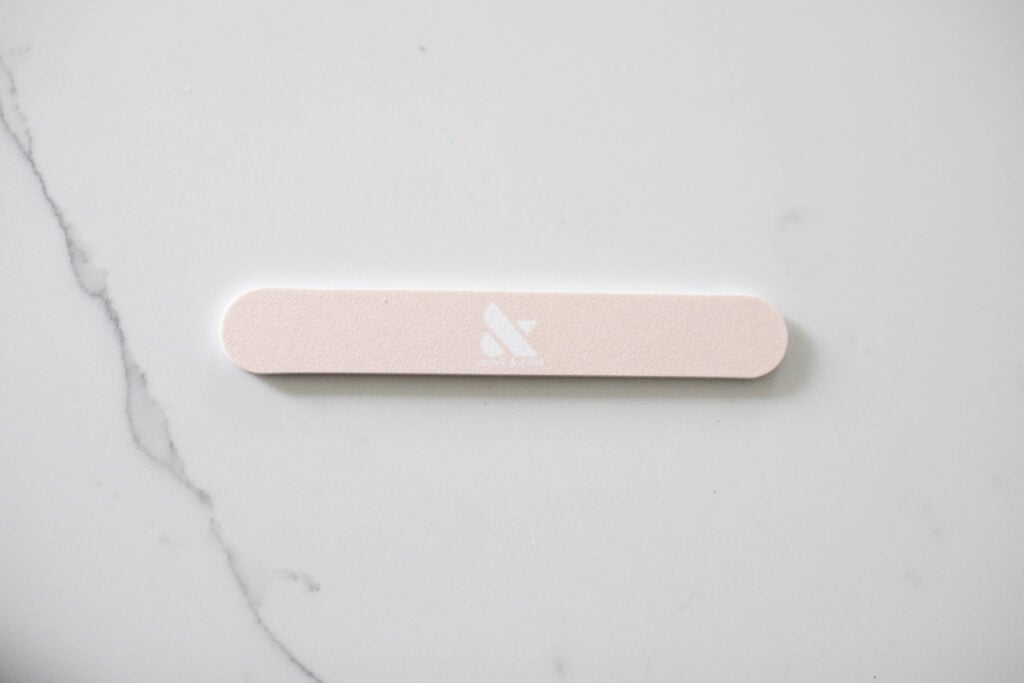
The second step is to finish off shaping your nails with a nail file. Find a foam board with a fine grit like the one from Olive & June. You want to use your nail file or emery board to finish off shaping your nail – don’t use it to do all of your shaping! Do that with the clippers.
3. Polish Remover Pot
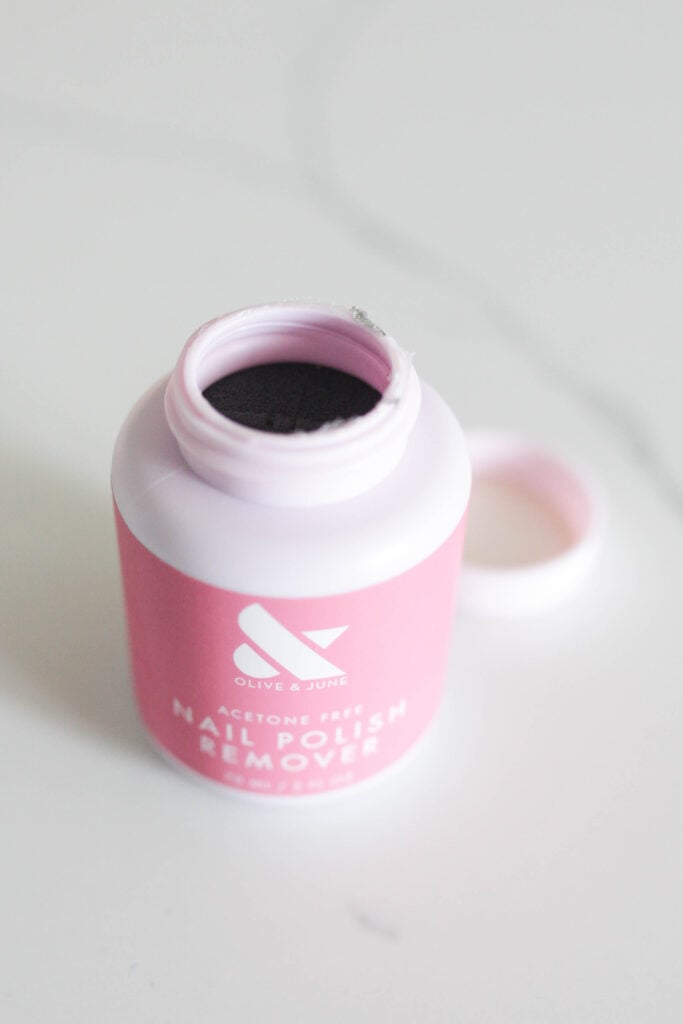
Now remove your polish! This nail polish remover pot is magic! It’s full of non-acetone polish remover (you may be a fan of using acetone instead of non-acetone as this is more personal preference). Non-acetone is much more gentle on your nails and cuticles.
The pot itself is fantastic! It makes removing nail polish so easy. You just put one finger in the pot, twist it around and off comes the nail polish!
It also makes doing your nails yourself at home easier because you can quickly remove polish from one nail and not mess up the others! There’s no attempting to get polish remover on a cotton ball and fixing a nail without messing up others. Just dip, twist and paint!
4. Nail Buffer
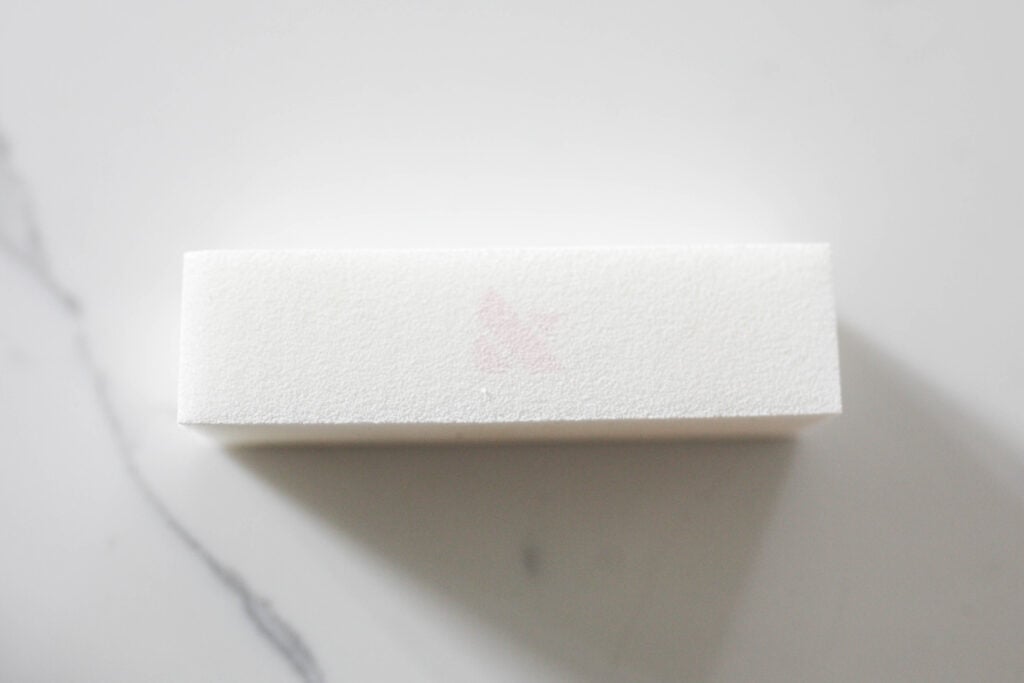
Next is to use your nail buffer! A nail buffer is a helpful nail tool for 2 things. The first is shaving down your cuticle after you gently push them back.
I don’t use a cuticle trimmer (leave that to the pros!!). Instead, I use my thumb nail to gently push back my cuticles into the nail bed. Once that is done I use my nail buffer to shave down any built up cuticle there is.
Some people say to soak fingers in warm water is helpful to push cuticles back and that can definitely be true! You just don’t want to soak your fingers before painting your nails otherwise it’ll shorten the life of your mani! Soak your fingers between manicure days, just not right before painting.
The second is to smooth down any ridges in your nails. Don’t go crazy but a few swipes across the top can gradually help smooth the tops of your nails.
After you’re done using the nail buffer, do one more pass in the polish remover pot to remove and debris or oil from your nail. That will help your polish to last!
5. Poppy
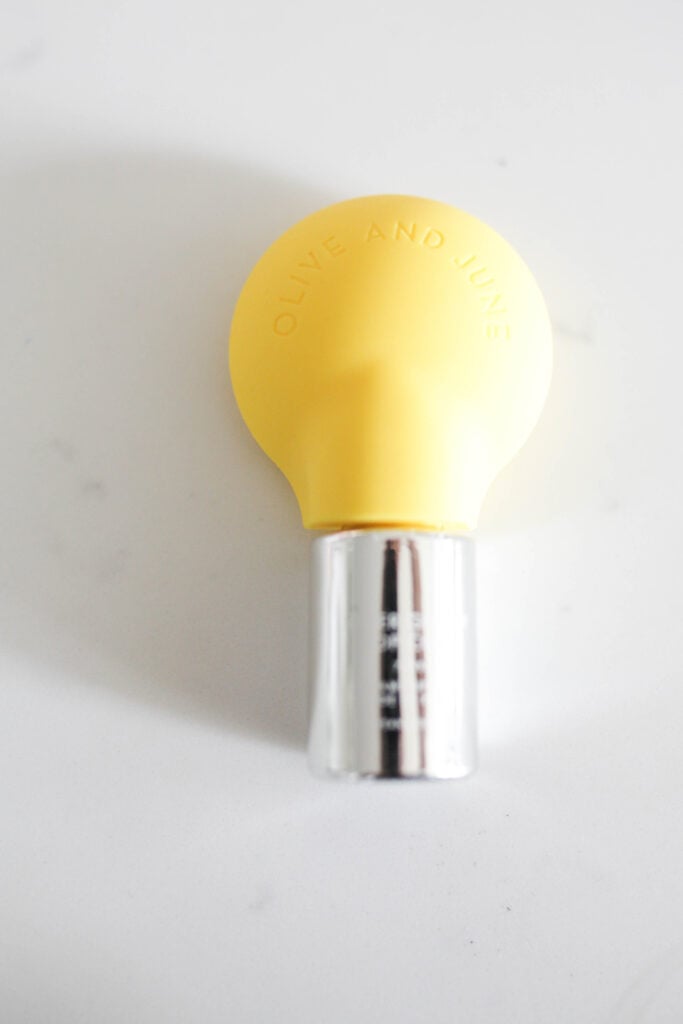
One unique thing about Olive and June is their Poppy! The Poppy is their patented bottle handle that pops on to their polish bottle tops to give you better control and make doing your nails that much easier.
Use the Poppy on any of the O&J polishes (even their base coat and top coat).
6. Clean Up Brush
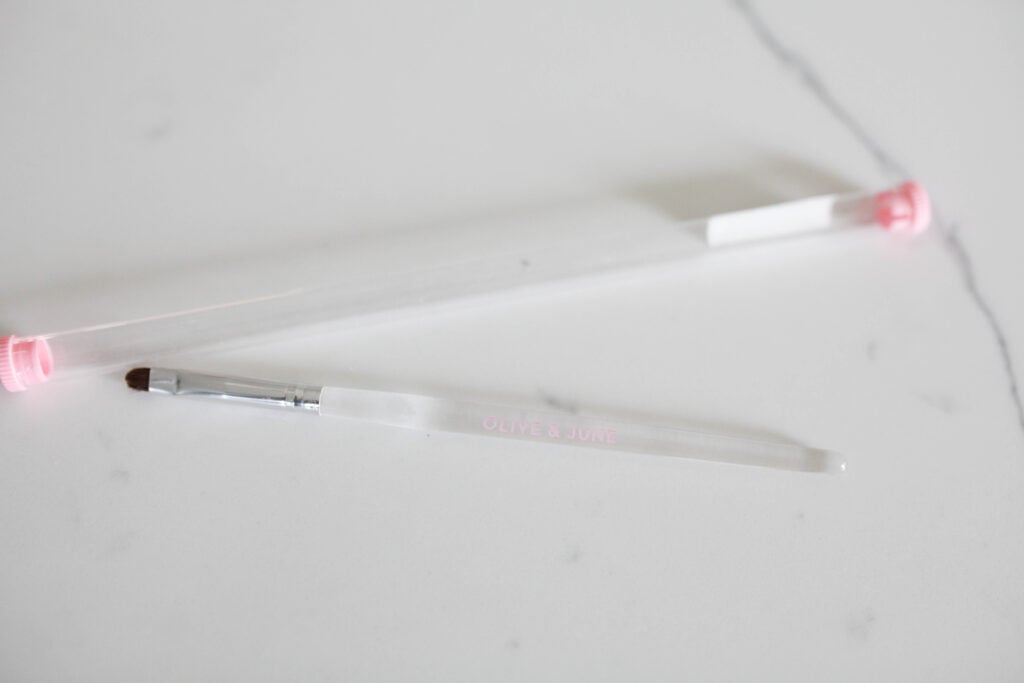
Next to the pot, this clean up nail brush is another personal favorite. Inevitably you’re going to mess up a bit while painting your nails. While some mess ups you’re going to need to start over, many just need a little fixing.
All you need to do is take the clean up brush, dip it in the polish remover pot and clean up any excess polish. It’s so easy to have nails that look like a pro did them with this tool!
7. Glossy Top Coat
I swear, O&J’s top coat is MAGIC. It makes your nails have such a smooth finish and helps your manicure last so long!
8. Cuticle Serum
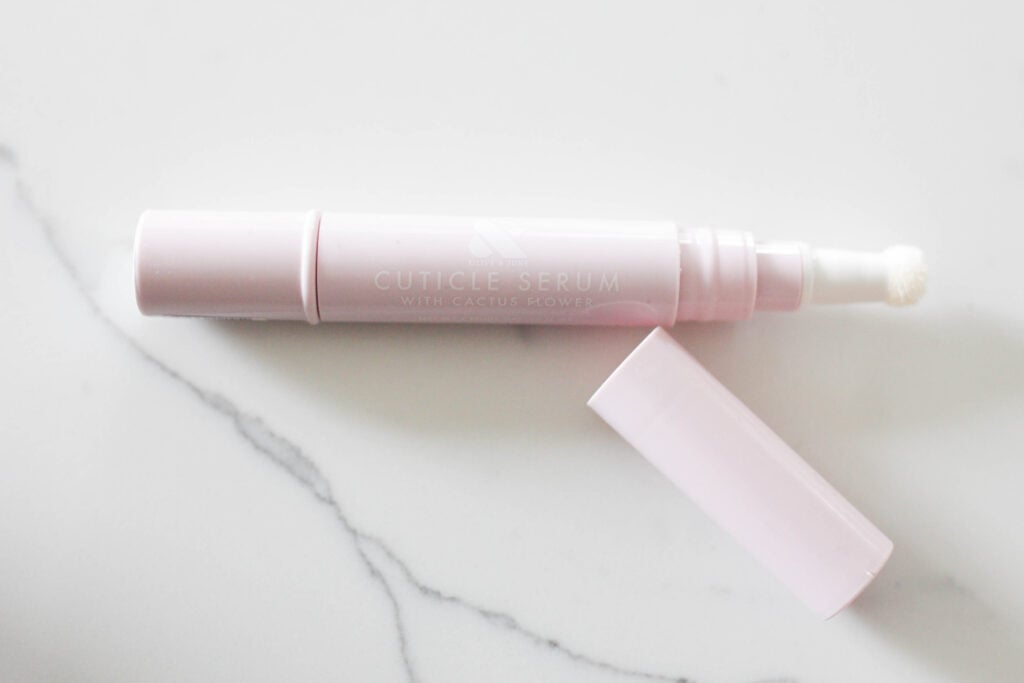
Cuticle serum is used at the end of your manicure and can be used every single day to have healthy, better looking cuticles. This cuticle oil is easy to apply and fast absorbing. Simply remove the cap, twist it a couple times to release the serum and apply directly on to your cuticles!
I put this on every night in addition to at the end of my manicure.
There’s the Mani System and how to use all of the items! Trust me when I say having the right tools helps SO much.
Pedicure System
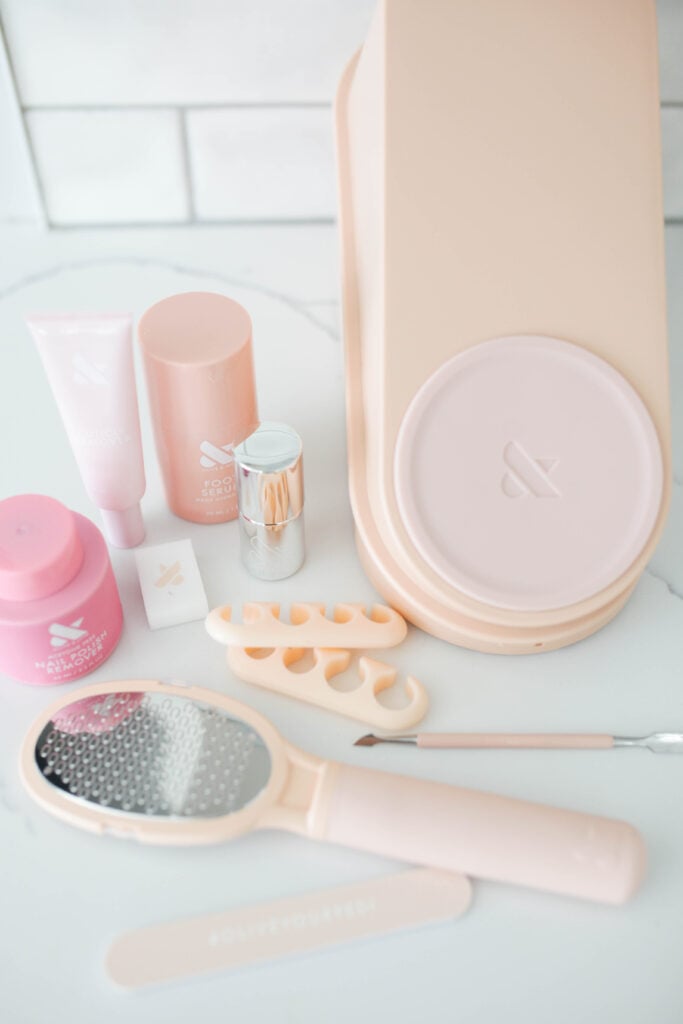
Now let’s chat about your pedicure kit.
1. Foot File
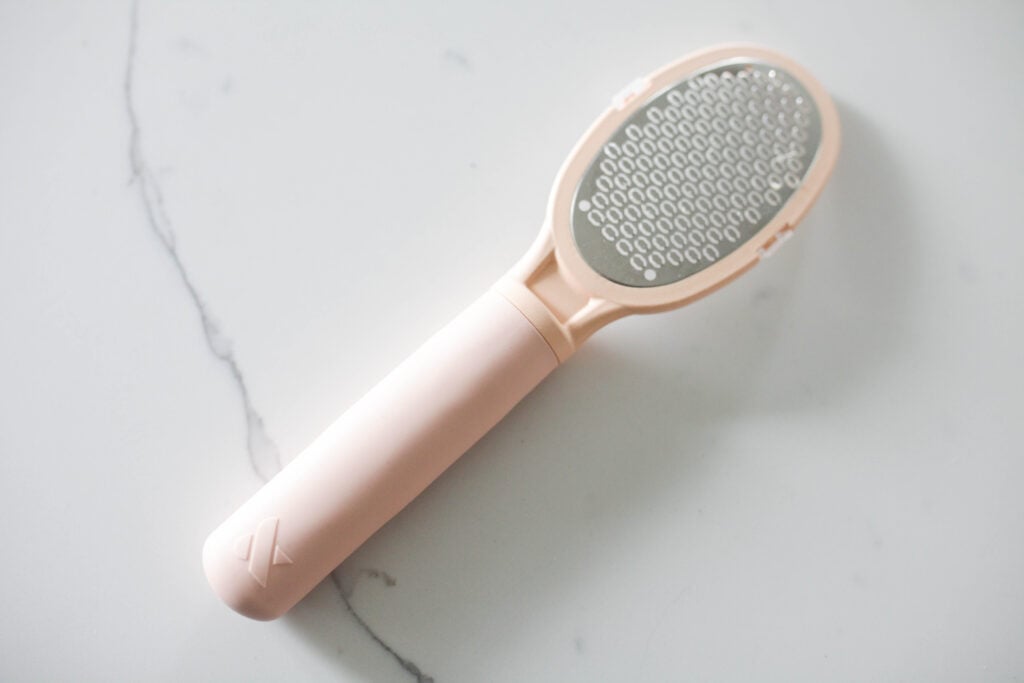
Every good pedicure system has a foot file! Use this about once a week (not more!) to keep your feet smooth and soft. This tool helps remove all the dead skin (and dry skin!) from your feet. Trust me on this one, you need this tool!
2. Toenail Clipper
It’s best to leave the finger nail clipper for fingers and the toe nail clipper for toes! This nail clipper also has a straight edge to make shaping a breeze. Use your nail cutter to make your toenails your desired length (don’t use your nail file for that!) and get a clean cut.
Again, use your clipper before your remove your polish on your toes!
3. Nail File
Like above, use your nail file to finish shaping your toenails!
4. Polish Remover Pot for Toenails

You won’t be putting your toes into the remover pot that you use for your fingernails so O&J have a special one for your toes! The top comes off and has a foam attachment to easily remove your polish.
You could always use cotton pad with nail polish remover on it to remover your polish too!
5. Cuticle Remover
Before you push your excess cuticles back, you’ll want to use this cuticle remover to soften them up making them easy to push back. All you do is apply the cuticle remover, rub it in and wait 5 minutes (or more). If you have tough cuticles, leave this on for as long as possible.
Then take your cuticle pusher and gently push the cuticles back. Again, don’t use a cuticle cutter or nail scissors to clip your cuticle!
6. Cuticle Pusher
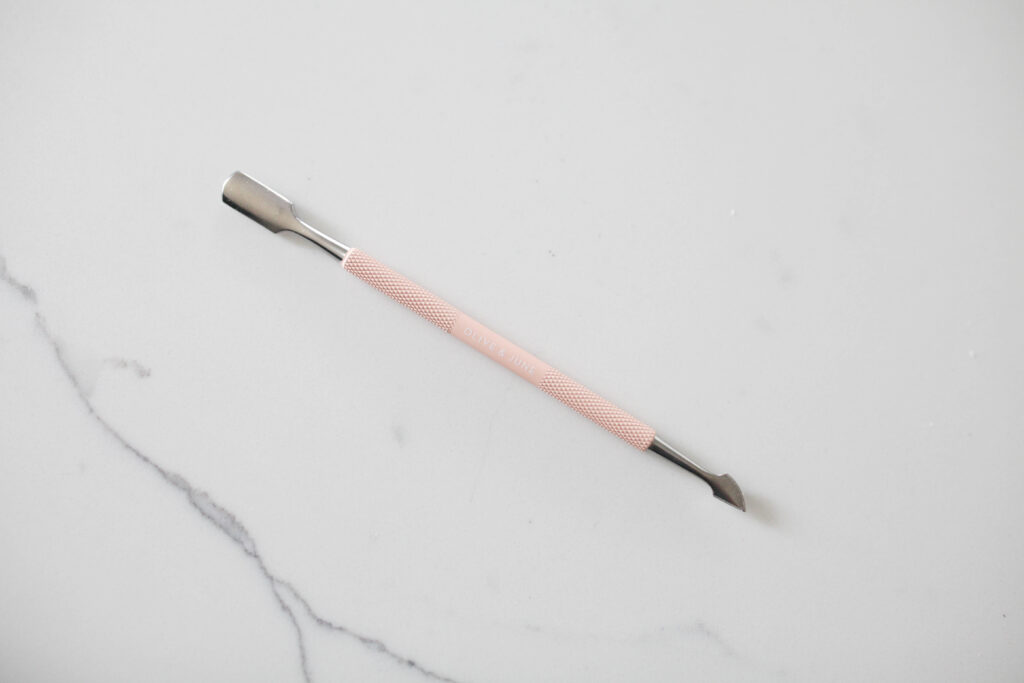
While you use your thumb nail for your fingers, this cuticle pusher comes in handy for your toe nails! Be extra gentle when using it so you don’t hurt yourself (take it from someone who went too quickly and pushed too hard!).
Use the rounded side to gently push your cuticle back.
7. Nail Buffer
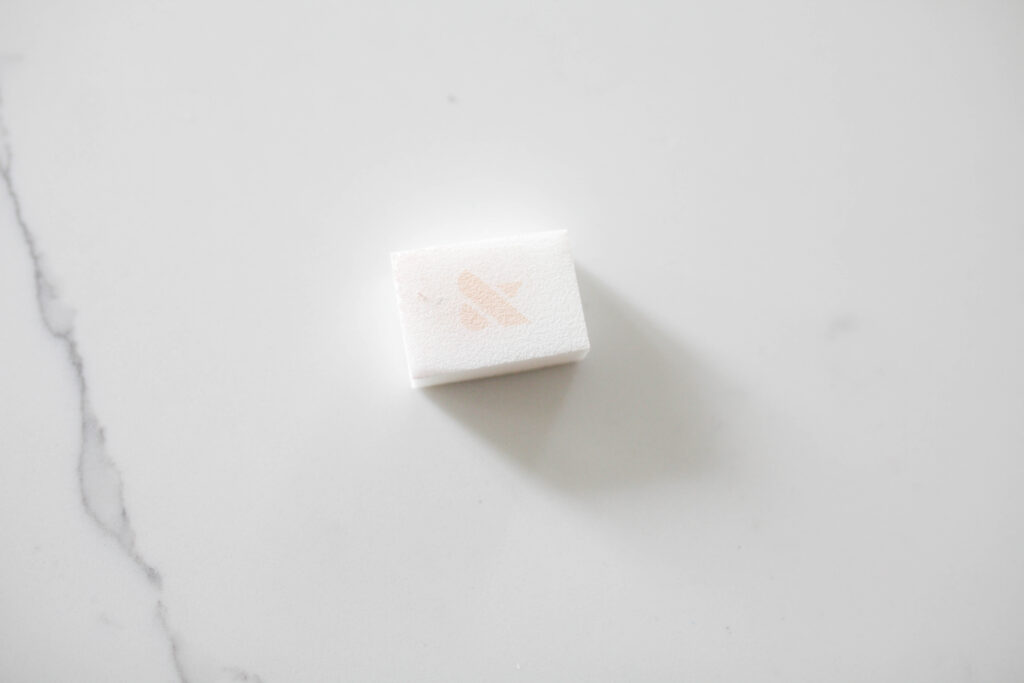
This nail buffer is the same style as the one that’s in the manicure kit but it’s smaller making it easier to trim down your cuticles. Remember, skip the cuticle nipper and use the nail buffer to shave down your cuticles. You want to take care of your nails so you don’t get infections!
8. Toe Separators
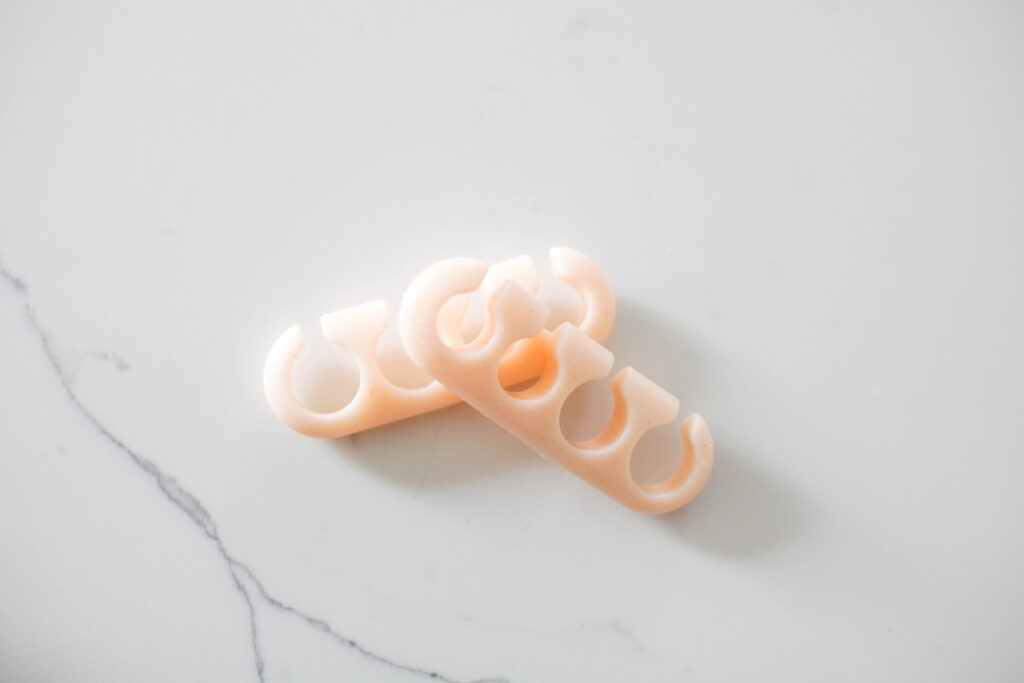
This is one tool that I think is a personal preference. Some people love them and others don’t! I don’t use these every time I paint my toenails but it definitely helps keep them separated for easier painting!
Pop this on before you begin painting your toenails!
9. Poppy
Use the Poppy to paint your toenails too!
10. Glossy Top Coat
Again, I swear, O&J’s top coat is MAGIC. Use it after your done painting and again every few days for extra protection!
11. Foot Serum
Use the foot serum for extra daily hydration after your polish is dry for perfect feet and toes!
So there you have it! Exactly how to use both the Manicure System and the Pedicure System.
If you want my full review on Olive and June with even more details, check out this Olive and June Review post!
Find out how to do an easy polka dot manicure or get inspiration for nude nails or short nails!