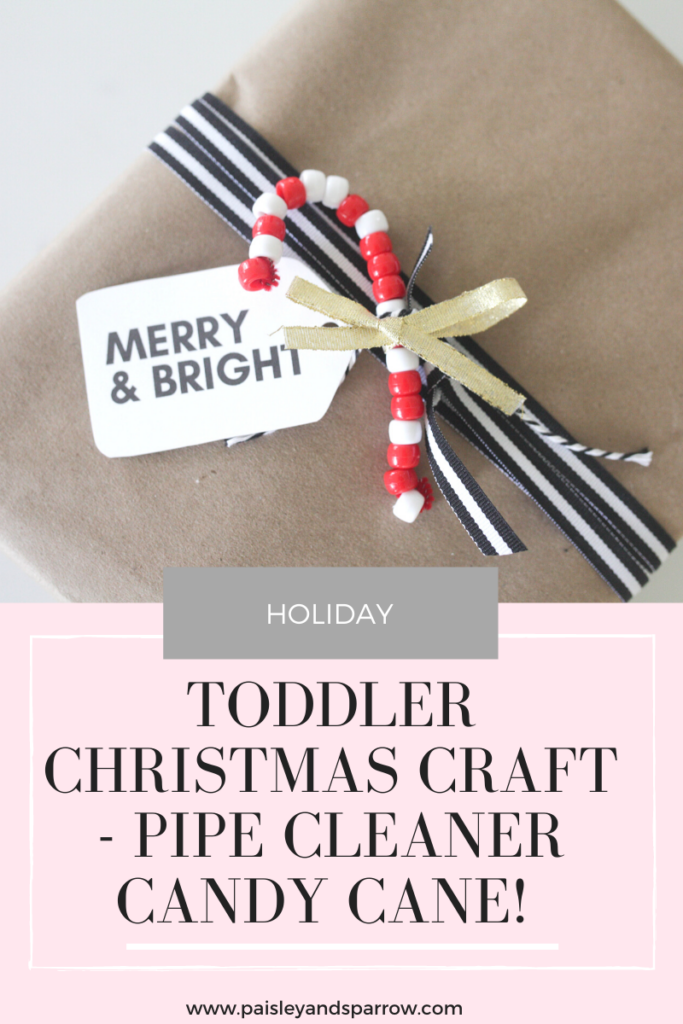
Looking for a super easy tutorial for pipe cleaner candy canes? Today I’m sharing a step by step guide for the easiest toddler Christmas craft around!
I’m always on the lookout for easy crafts that my kids can do without me helping every step along the way. This simple pipe cleaner candy cane craft was one that both my toddlers could do without me stepping in.
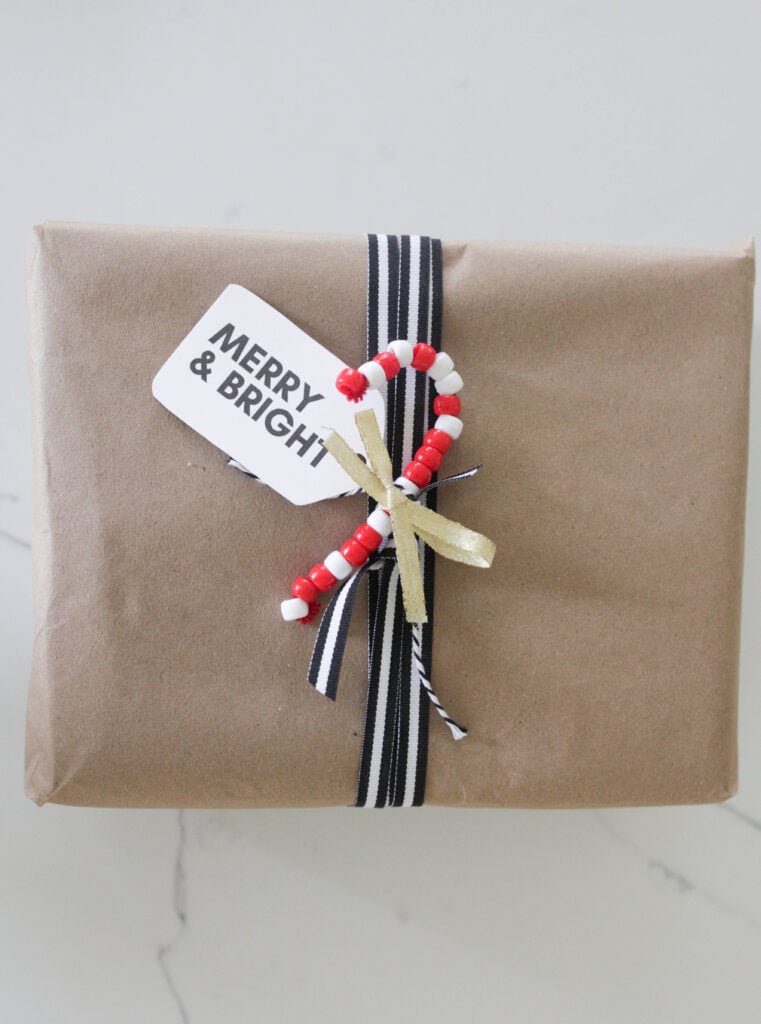
This kept them occupied for hours, wanting to make candy cane after candy cane (and eventually snowflakes too!).
This craft is great for so many different reasons.
You can customize it depending on the skill level of your kids. When we made these crafts, my 4 year old was capable of doing a pattern so he worked on his red, white, red, white pattern.
My not quite 3 year old was just mastering beading her beads on a pipe cleaner so I didn’t bother having her do a pattern and just let her go to town filling up her pipe cleaner.
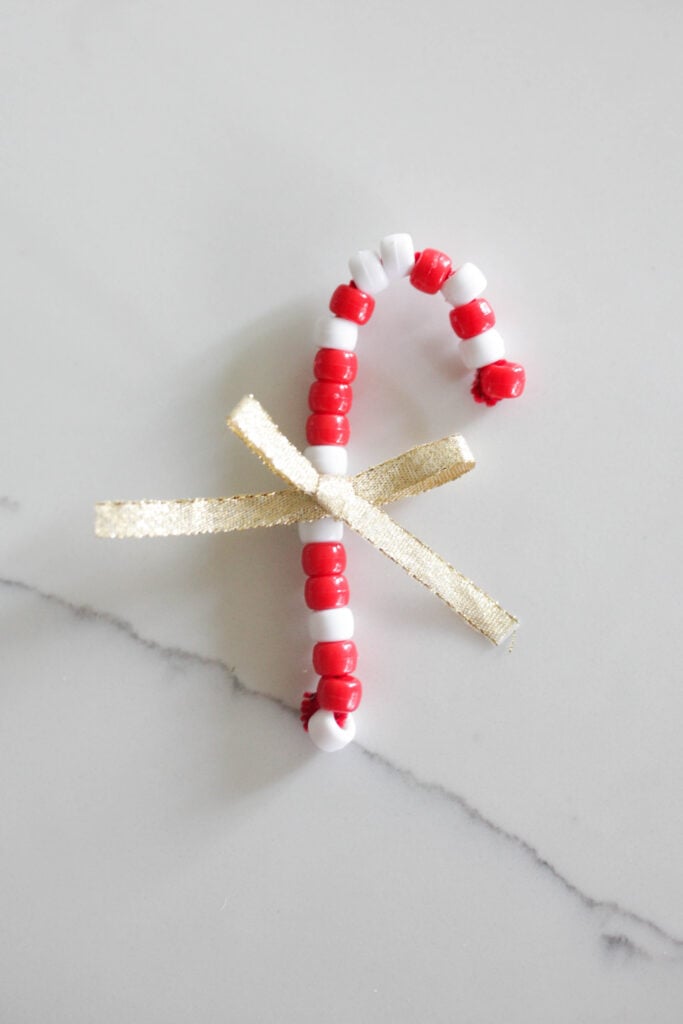
These can be used to decorate the tree, give as gifts to your kids’ teachers or babysitters (I like including something the kids actually made) or even hanging on the door handle of their door.
Pipe Cleaner Candy Canes Supplies
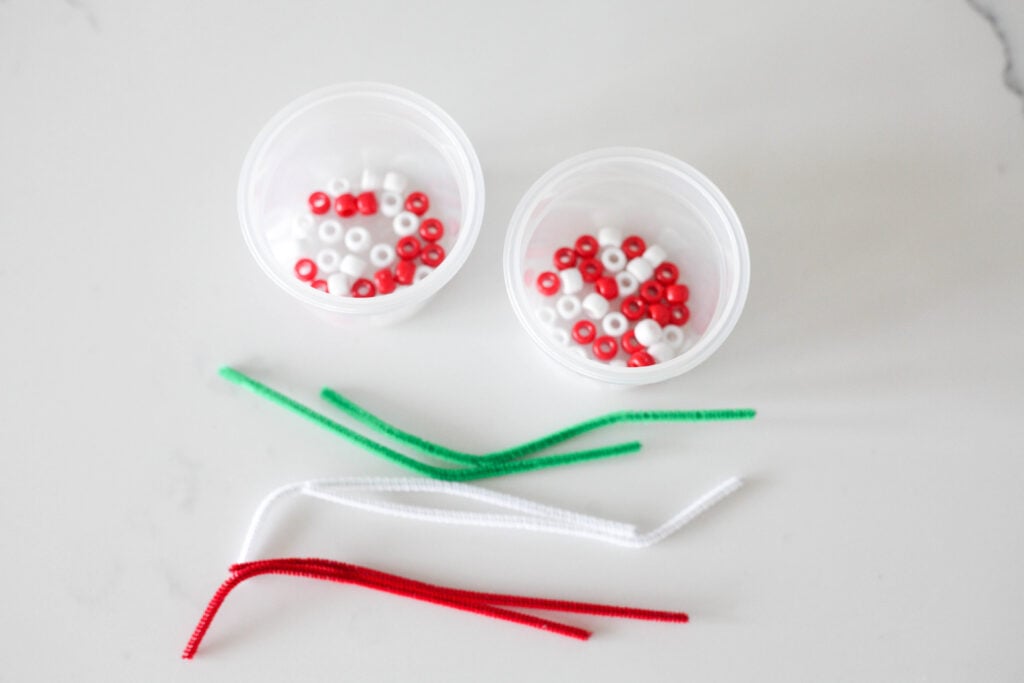
There really isn’t a ton that you need which makes this craft ideal!
1. Pipe Cleaner
This can be any type of pipe cleaner you want, just make sure it’s thin enough that your beads can easily be thread on to it. I picked up a variety pack of pipe cleaner from Amazon and use it for all sorts of crafts!
Michael’s also has Christmas color packs of pipe cleaners (red, white and green) if you want more color specific ones!
2. Beads
For beads you need to make sure they’re big enough to use with pipe cleaner (but not too big). I picked up this giant assortment of pony beads so I had enough on hand for all my crafts.
3. Ribbon
This is optional! You can use any type or color of ribbon that you want. I have a giant bag full of ribbon that I’m constantly filling with random bits of ribbon from gifts, boxes and anything that arrive sin my house with a ribbon on it! The kids love doing things with ribbon so having an assortment is always helpful.
If you don’t have any on hand, this ribbon is very similar to the one I used!
Pipe Cleaner Candy Canes Instructions
This is super simple to do!
1. Fill a small bowl with red and white beads.
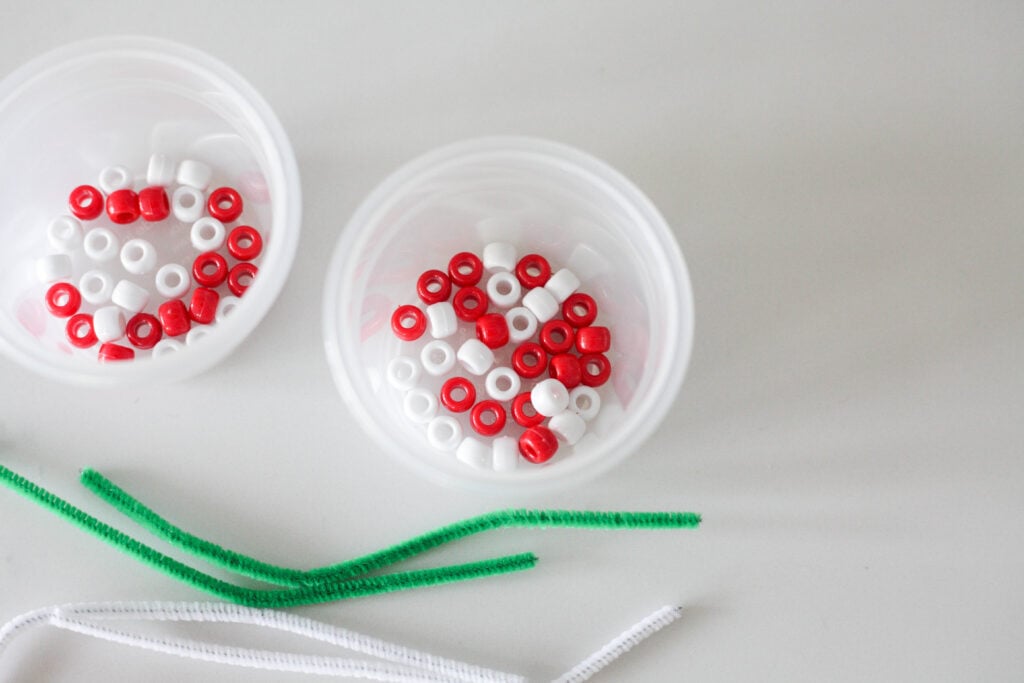
I’ve learned (the hard way!) to put a smaller amount of beads in a bowl for your kids to use. When the inevitable spill happens there’ll be less beads all over.
If you’re encouraging your kids to do a pattern you can do one small bowl with red and one small bowl with white. Otherwise just put them all together!
2. Thread one bead on to the pipe cleaner.
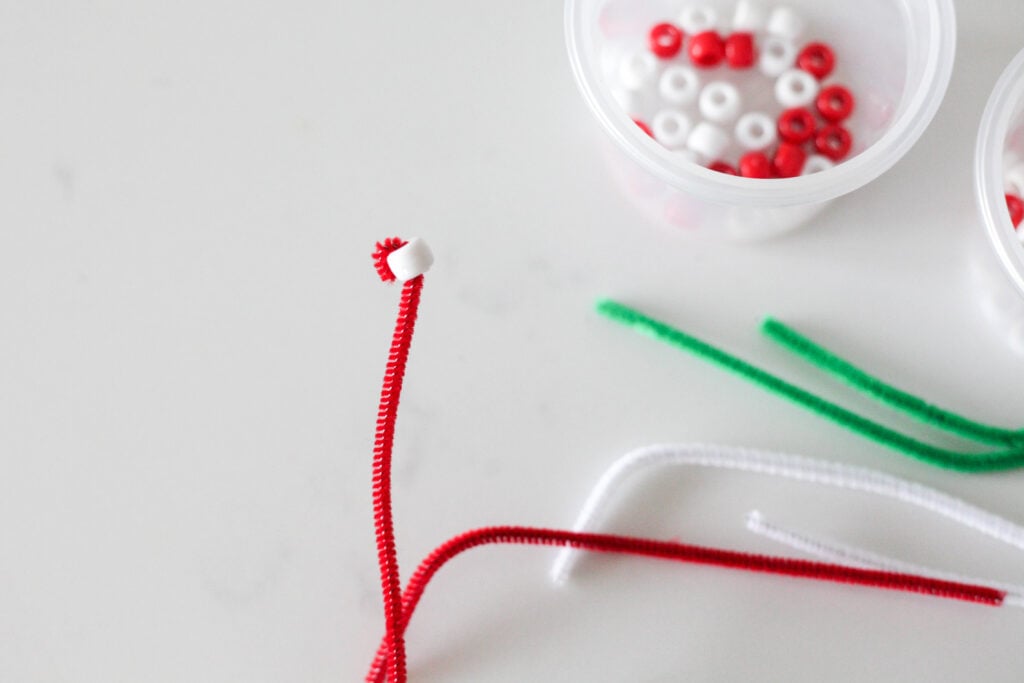
This may be one thing the grown up needs to do. It can be a little tricky for small fingers!
Fold the end of the pipe cleaner and tuck it inside the bead. Pipe cleaners can be pretty pokey so do your best to keep the sharp edges tucked away!
3. Fill the pipe cleaner with beads!
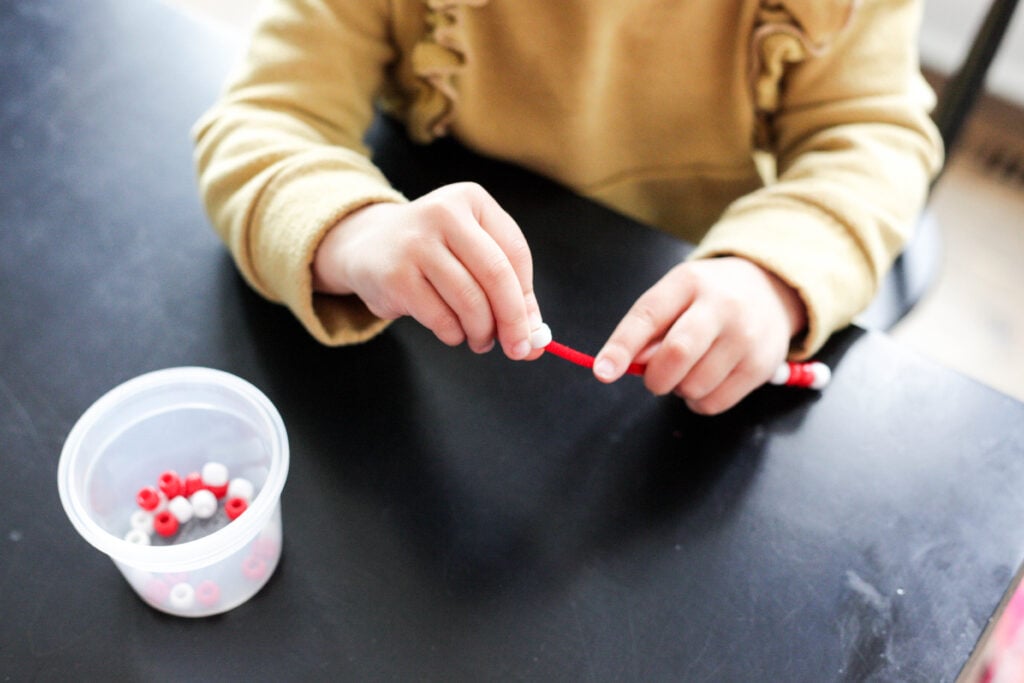
If you’re doing a pattern, encourage white/red/white/red or just let your little one have fun!
4. Tuck in the pipe cleaner into final bead.
Just like the first bead, tuck in the pipe cleaner into the bead.
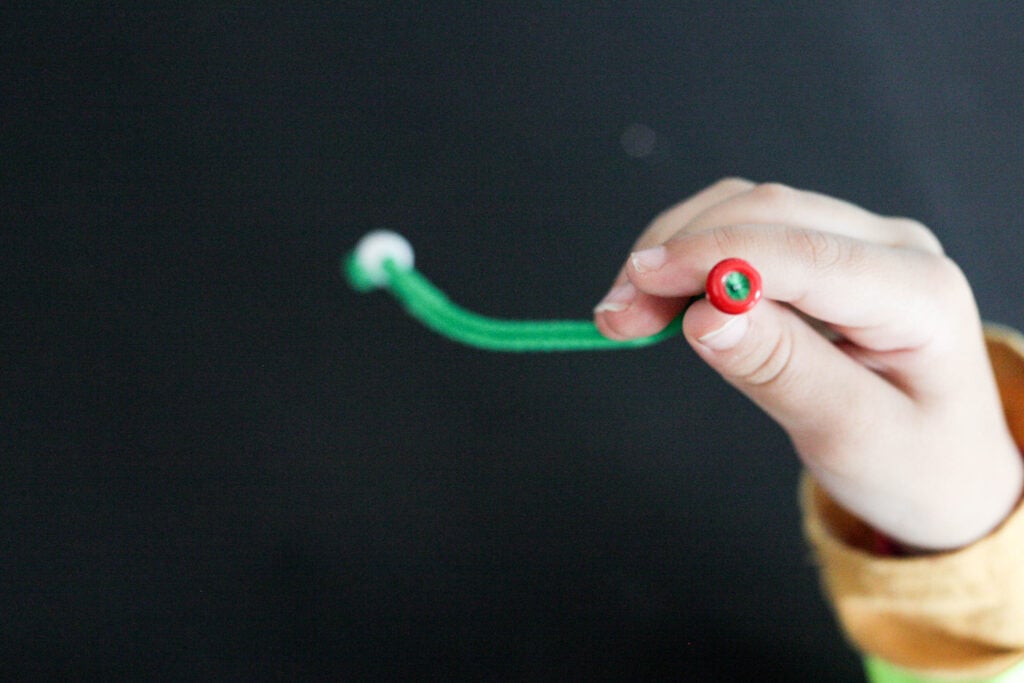
5. Curl the pipe cleaner.
Next up just clear the top of the pipe cleaner strung with beads into the shape of a candy cane!
6. Finish off with ribbon.
If you’re going to hang it up, tie the ribbon at the top of the candy cane.
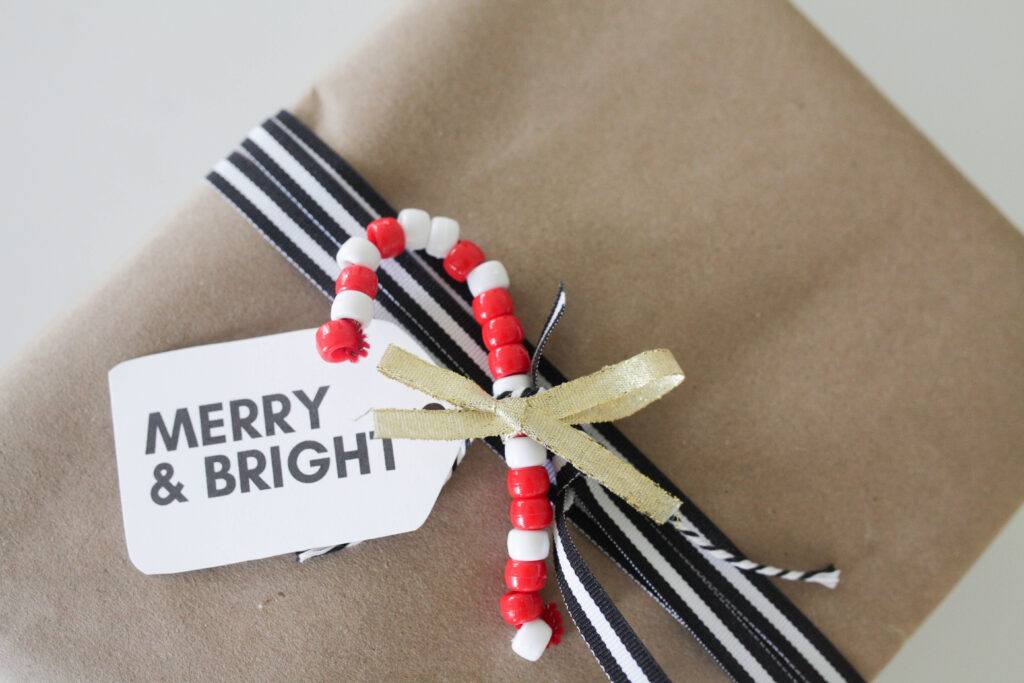
That’s it! You can use another ribbon to hang it from your tree or your kids door hanger for a fun decor piece.
Or this simple pipe cleaner candy cane is perfect for teacher gifts or to give to grandma or grandpa! Give it to them as is or tie it on their gift as a special touch.
Get my FREE holiday gift tag printables (as shown on the gift in the photos)!
