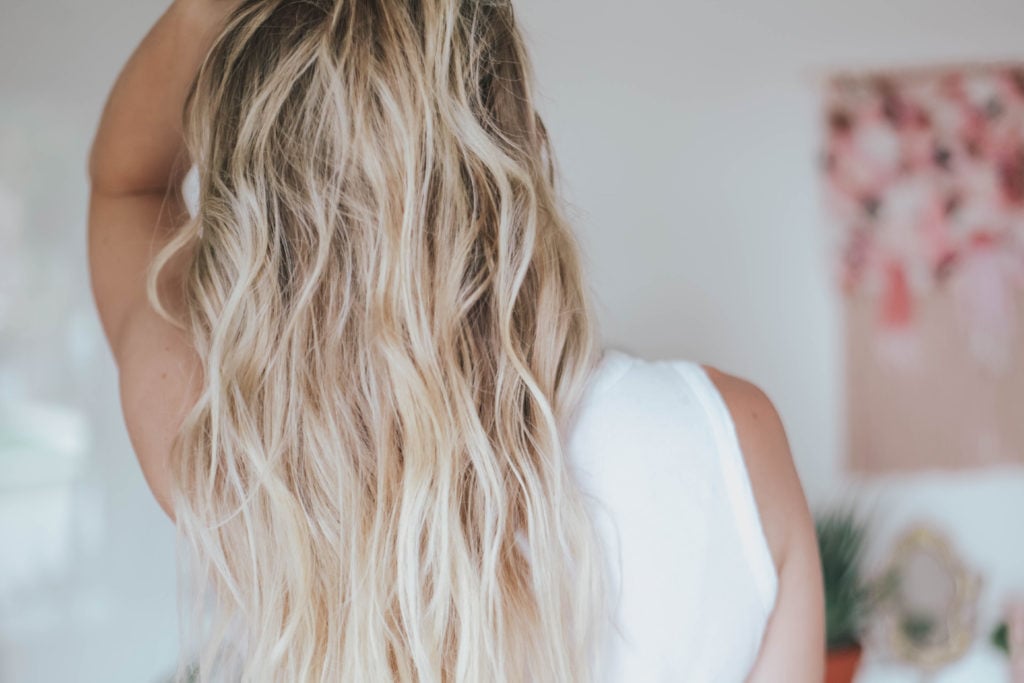
Trying to use less heat on your hair? Love the look of air dried hair on your friends or celebrities but can’t seem to pull it off? Today let’s chat through some of the best tips for beautiful air dry hair.
Benefits of Air Dry Hair
There are many benefits of air drying your hair but the most important, in my opinion, is that your hair will be healthier! You’ll be using less heat which will prevent your hair from getting dried out and damaged which is so important!
It helps you know how healthy your hair is! According to Jacynda Smith, hairstylist, founder, and CEO of TYME. “If [it takes] a long time to dry, it’s a sign that it needs more hydration and is doing everything it can to retain moisture from the air.” This was a wake up for me because my hair takes forever to dry!
And let’s be real, it takes WAY less time to do your hair if you air dry your hair than to blow dry it! Follow the simple steps below and you can let your hair do it’s thing while you commute to work, take your kids to school or answer emails in your home office!
Different Hair, Different Results
And here’s my caveat with this. As with most things, everyone is different and because everyone is different, everyone’s HAIR is different!
Some people (like Mary Kate and Ashley Olsen who, it’s been said, almost always only air dry their hair) can rock the air dry hair look every day of the week. Others just don’t have the hair for it!
These tips will definitely help all hair types and like most things, practice is key! Try out different products and different ways of setting your hair.
Make it a goal to air dry your hair once a week so you can try things out and work on different techniques! You can always throw your hair back in a ponytail if you’re not loving how it looks, or just do this on a day that you’re not going anywhere!
Let’s chat about some of the best steps you should take to air dry your hair.
How to Air Dry Hair
1. Moisturize in the shower
Moisturizing your hair is vital because the last thing you want is frizzy, unruly hair, right? If you start with a good quality deep conditioner you’ll be starting off on the right foot. So moisturize!
There are tons of great products out there but one of my favorites is the Moroccanoil Restorative Hair Mask. It helps revive damaged hair and rebuild your hair’s strength from the inside out. It’s great for all types of hair (straight, wavy, curly and coily) and all hair textures!
Pro tip: If you have fine or flat hair (like me!) keep this off your roots!! It will only cause it to be more flat.
2. Rinse with cold water
This is truly the most painful part of this process but it only takes a second! Turn that knob to cold (or at least colder than room temperature) and give your hair a quick rinse.
This will help close up your cuticles, sealing in all of that moisturizer you just gave it. This step will help keep the frizz away and allow your hair to shine!
The “experts” say to do your whole body but personally I just lean WAY back and blast my hair right before hopping out of the shower. Doing it that way isn’t quite as bad as standing straight under a steady stream of chilly water but still gets the job done!
3. Comb it out (straight + wavy hair only!)
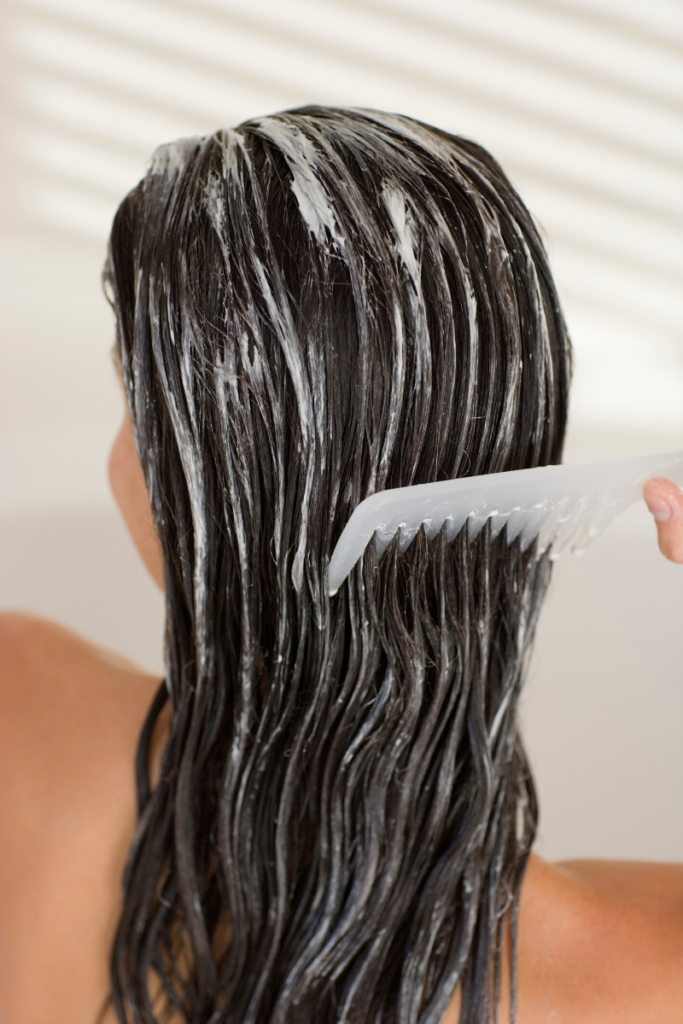
If you have straight or wavy hair, keep a wide tooth comb in your shower and gently comb it out before you hop out of the shower. You can also use a wet brush if you have one. Do this gently so you don’t break your hair if you run into a tangle!
4. Towel it off
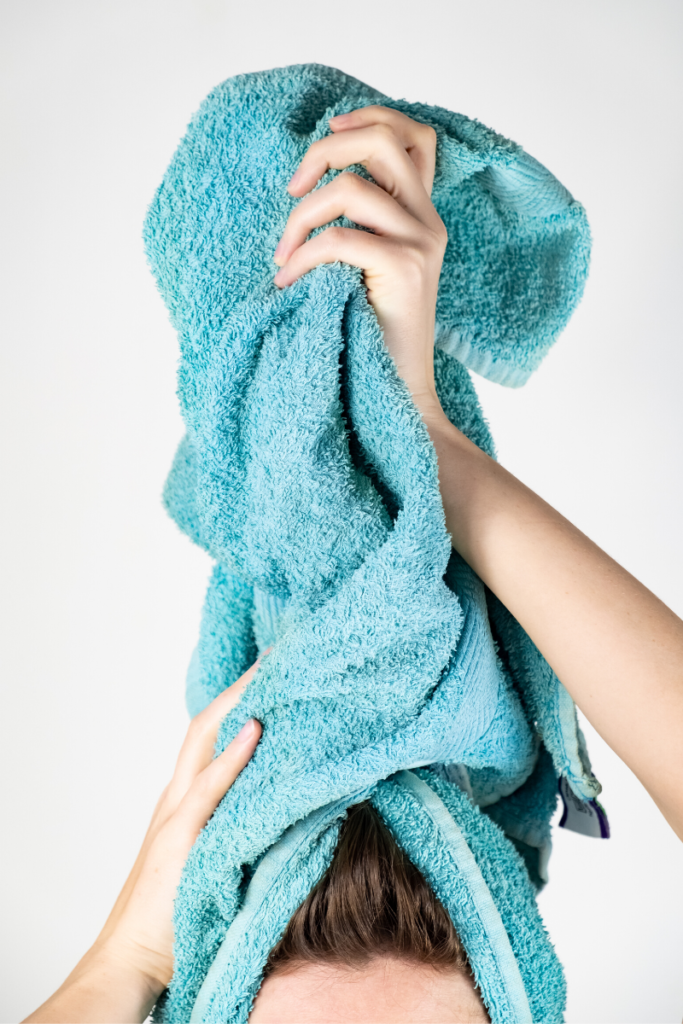
This step can be skipped! There’s lots of info out there about how using anything on your hair can created breakage or more frizz, no matter what it’s made out of.
If you choose to towel it off , use a microfiber towel and only blot it, never rub. (Other people say use a tshirt but I prefer the Aquis towel below.) Rubbing your hair can cause breakage, frizz and lots of damage over time.
The best way to dry your hair with a towel is to press and gently twist to remove some of the water left in your hair. Always be gentle and take your time with this step.
5. Add in product
Depending on your hair type and your hair goals, you’ll want to add a bit of product. Or a few different products!
A leave in conditioner will help overly fluffy hair to tone down a bit and not get so huge. (Fine hair girls, skip this!)
A wave-enhancing mousse will help give straight hair some volume and shape.
Curly hair girls should add a light weight gel to help your curls looking good.
6. Set your hair
This is where you’ll get your hair to the type of style you’re going for. First up, part your hair in the way you want it (side, center, etc).
If you want to give yourself some beachy waves, twist a few pieces in different directions gently around your head. Adding a sea salt spray like this one you can make at home will prep your hair to look like you just stepped off the beach!
Want face framing pieces? Tuck hair behind your ears and clip with bend-resistant clips to keep them in place while they dry.
Setting your hair before bed? Try a few loose braids twisted around one another.
This is where you’ll need to do the most experimenting and practice the most! Everyone has different hair types and everyone’s hair falls, curls and waves in different ways so you’ll want to try out different things to see what looks and feels the best to you!
7. Don’t touch!
Now comes the hard part. Leave it alone! Do your best to not touch your hair until it is 100% dry.
8. Finish it!
Once your hair is completley dry you can finish it off. Use your fingers to break up any twists your created or to fluff your hair.
Add in a bit of pomade to give your hair a piecey look or some styling powder to give your hair more volume.
9. Enjoy (+ sleep in a scrunchie)
That’s it! Now all you need to do is enjoy that fresh hair!
If you want to keep your hair looking good for the following day, my best tip is to put it in a high, loose ballerina bun using a scrunchie. It will help keep your hair from falling flat and the bun will give it some wave and life.
And there you go! I hope these 9 simple steps help you to give your hair dryer a much needed break and rock air dry hair in style!
Be sure to check out my 9 tips for preventing hair damage on this post!
As always, thanks for reading!
Author
-
by
-