Looking for an easy DIY manicure? I love fancy manicures but rarely have the time to go to a salon to get a proper one done. That’s why today I’m sharing a simple polka dot nail polish tutorial!
I don’t know about you guys, but I really feel like I have my life together when I have a good manicure. Pretty nails make everything you do with your hands more fun. I could be doing something silly like peeling a potato and I’ll feel like put together!
Today I’m sharing a super easy and fun polka dot manicure – let’s get started!
DIY Polka Dot Manicure
*this post may contain affiliate links which means I may earn a small commission on something you purchase at no additional cost to you. Thank you for helping me support my family through Paisley + Sparrow!
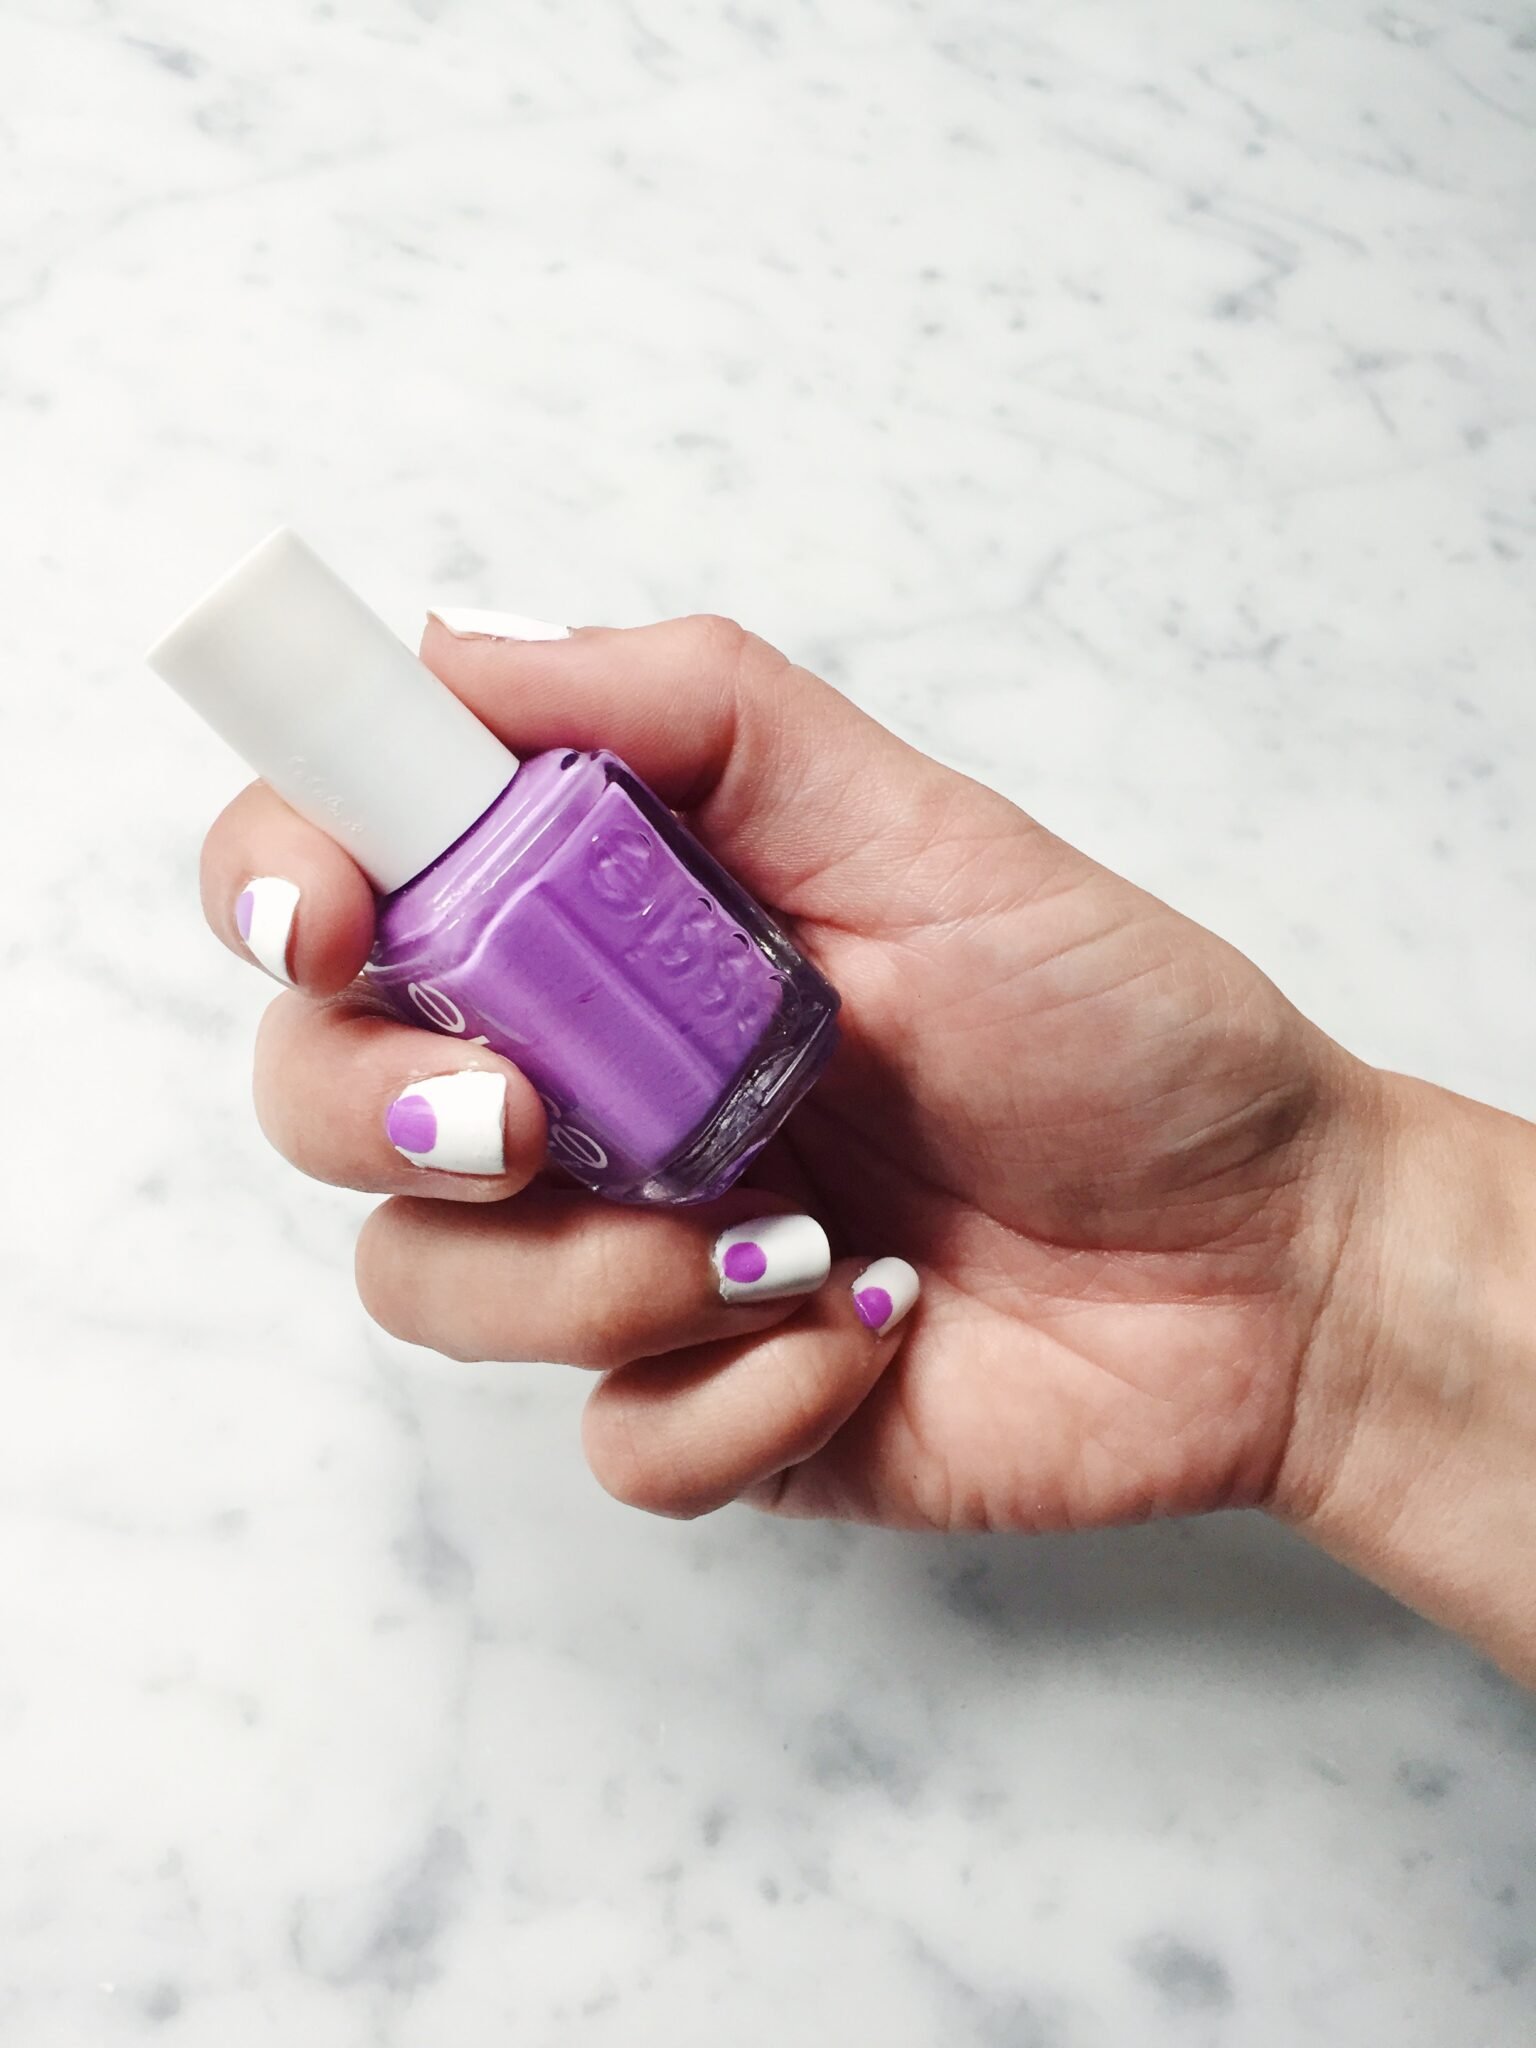
1. Pick your colors
To start, pick a base color and a color for the polka dot. You can do this one of two ways. You can use a lighter color for the base and dark color for the polka dot or vice versa. Either you want to different colors or shades to make the polka dot pop.
I started with a simple white base and used a fun purple color from Essie called Play Date. I also really love Olive and June brand nail polish!
2. Prep and shape your nails
Use a fingernail clipper to get your nails into the shape you want. Not sure what shape to do? Here’s 11 different nail shapes to try!
Finish it with a file. Use a buffer to prep your nail and cuticles. I love Olive and June‘s nail clippers – they have a straight edge for easy shaping!
Clean your nail with a nail polish remover. Even if you don’t have nail polish on, this step creates a clean base for the polish to stick to. Don’t skip this one!
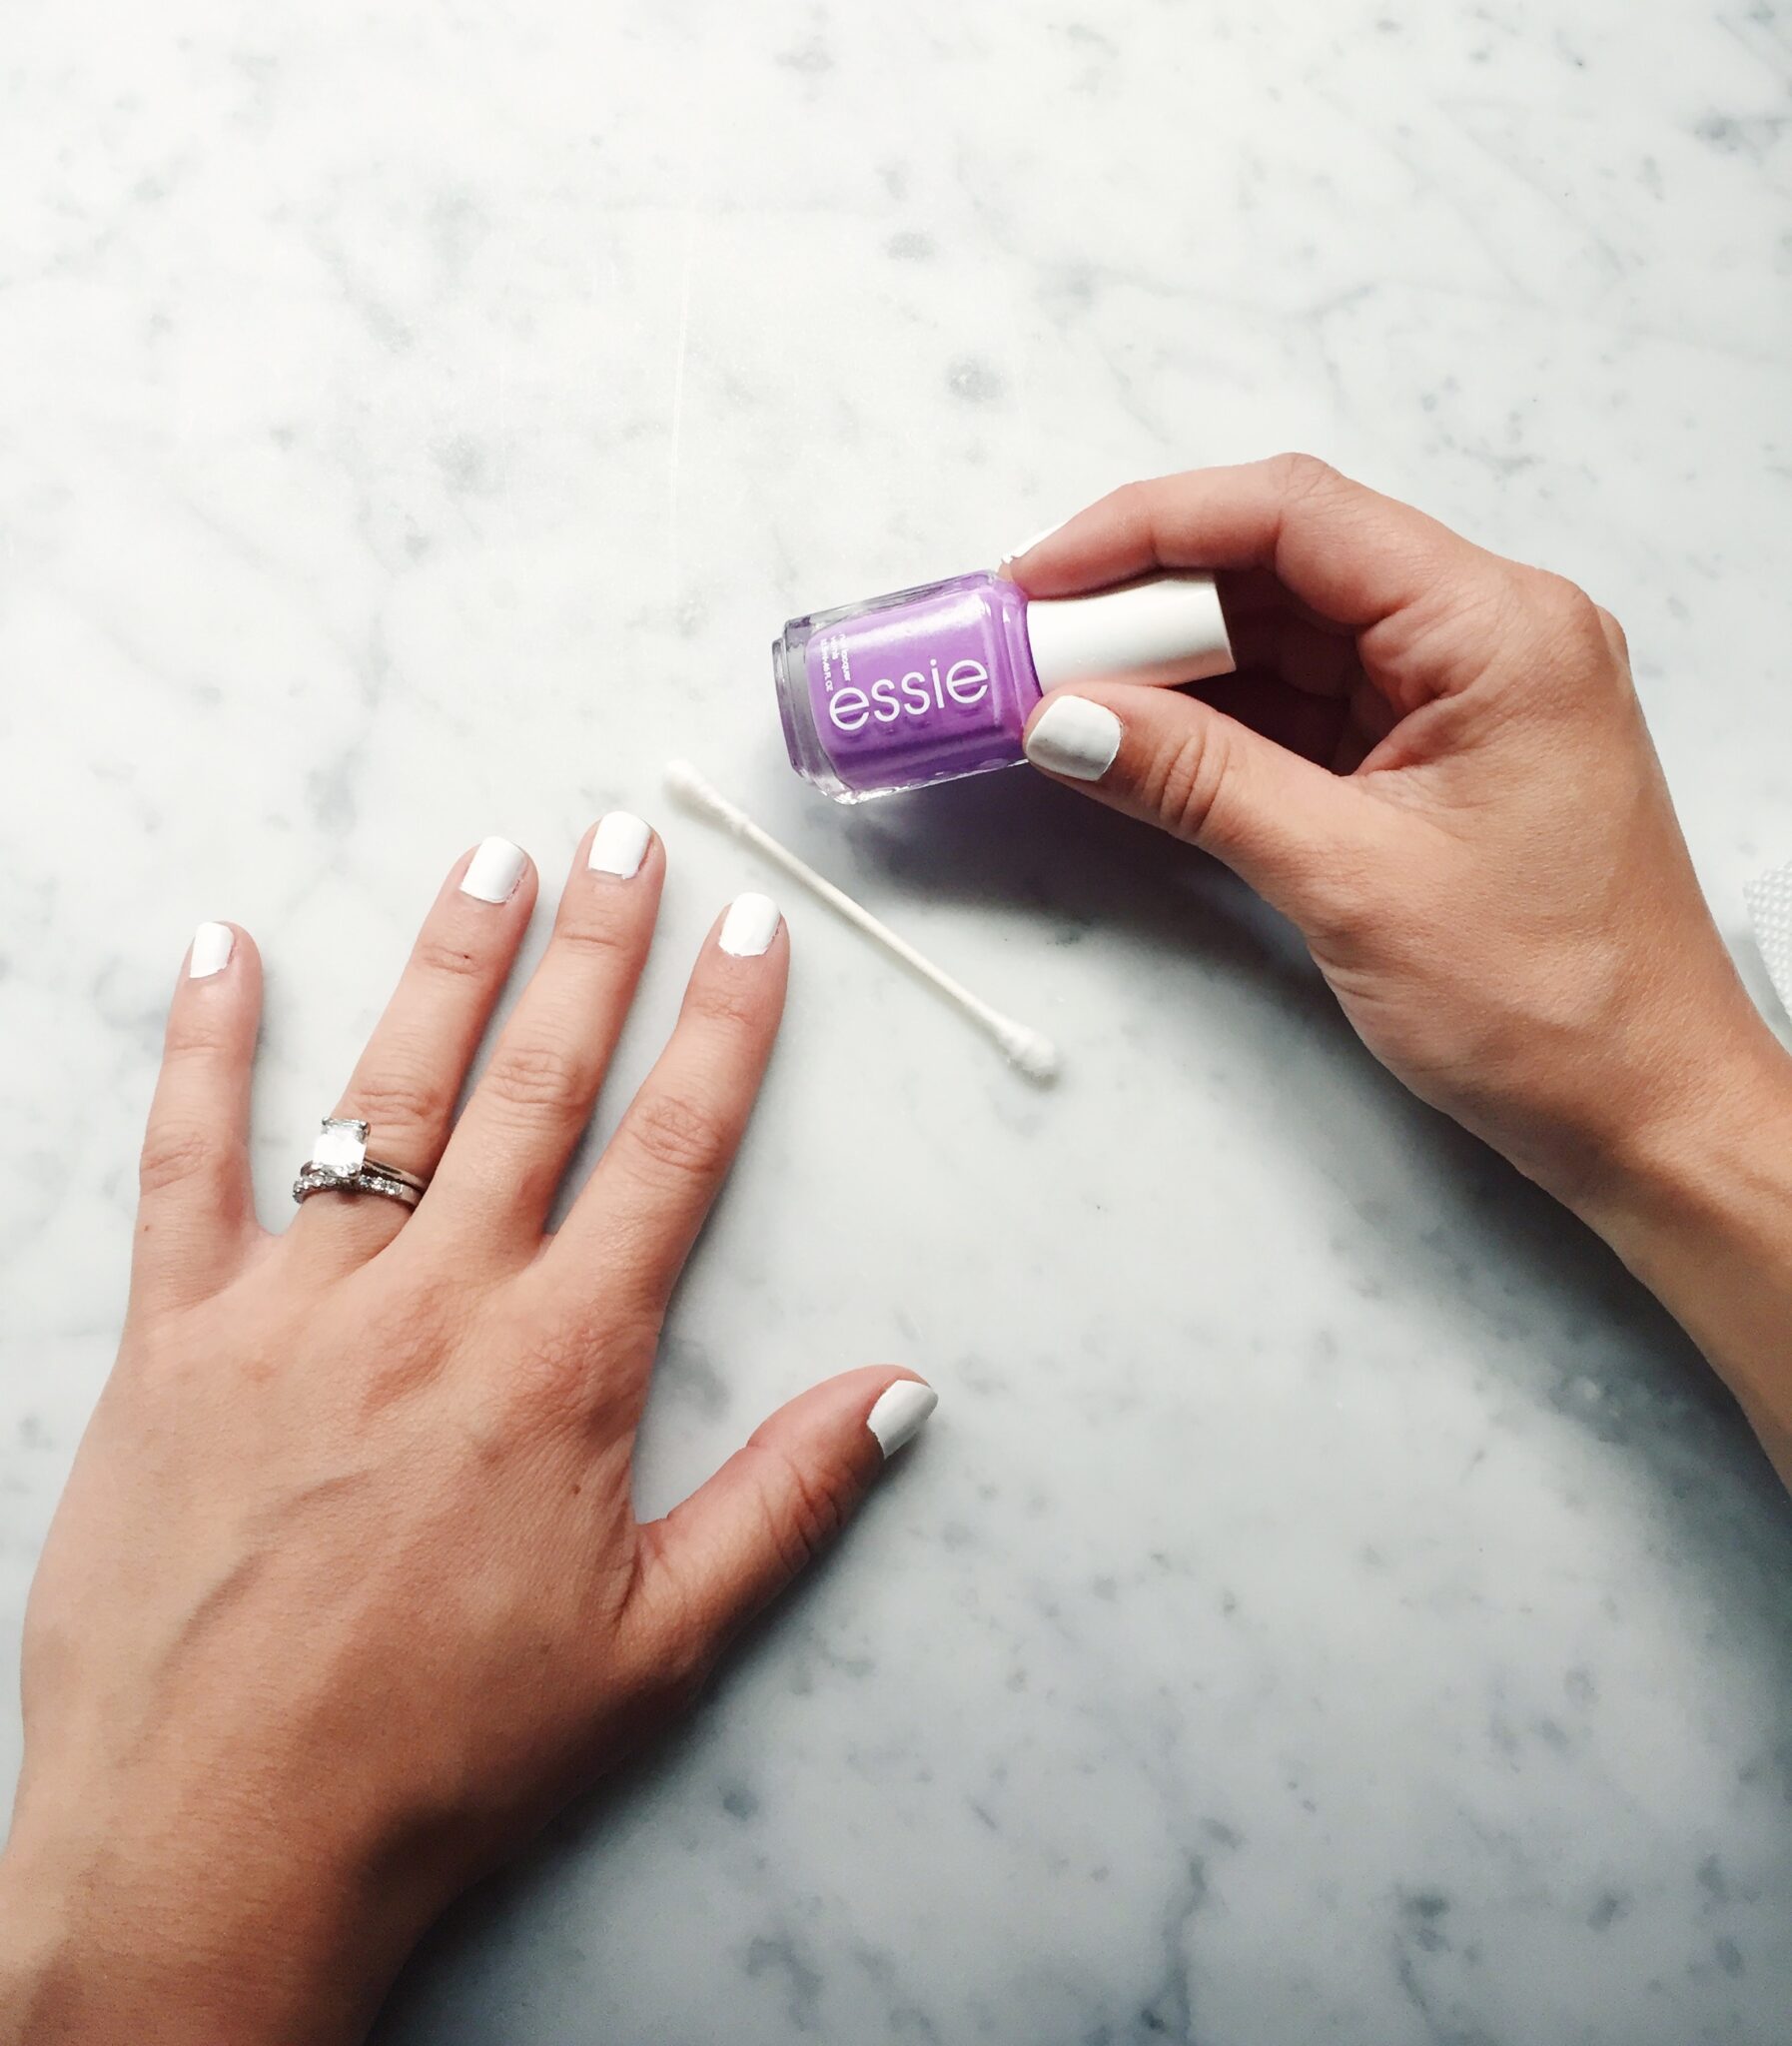
3. Paint the base
I did 2 coats of my base coat.
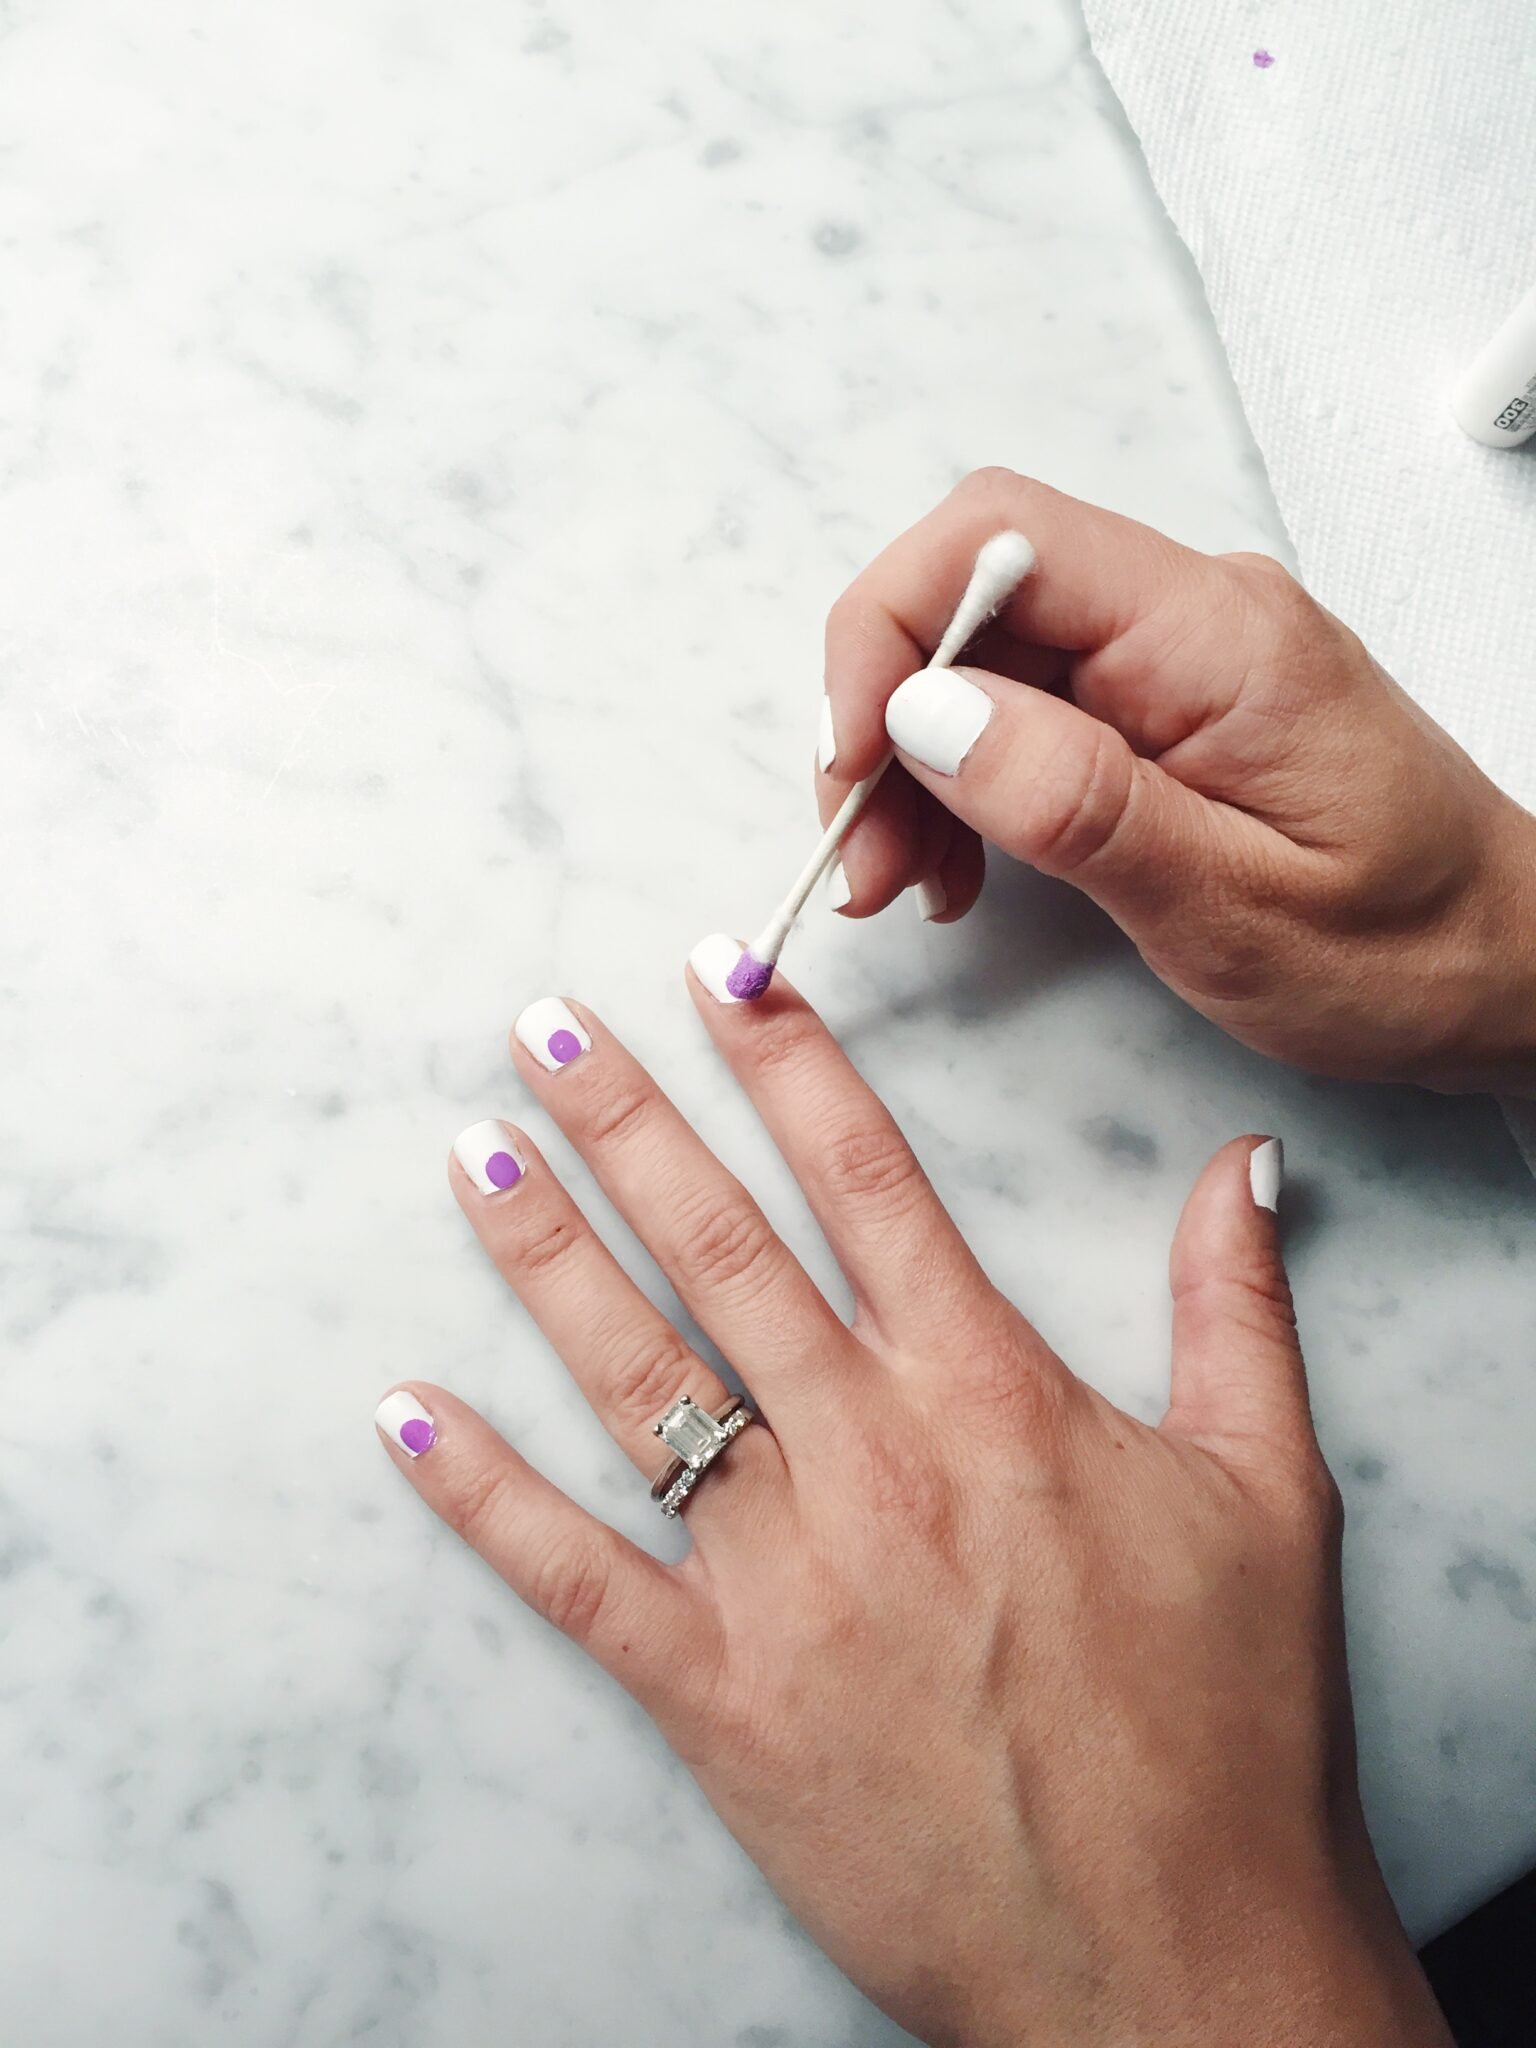
4. Paint the dots!
Next, use a q-tip to paint the polka dot! Simply dip the q-tip directly into the nail polish and then onto the nail.
The harder you push down the bigger the dot will be. If you want a tiny dot apply really light pressure and for a bigger dot (like I did) push harder!
5. Let them dry and apply a top coat.
I love this top coat from Olive and June. It’s one that keeps my nails chip free the longest! Now you have fabulous nails to take on the rest of the week with!
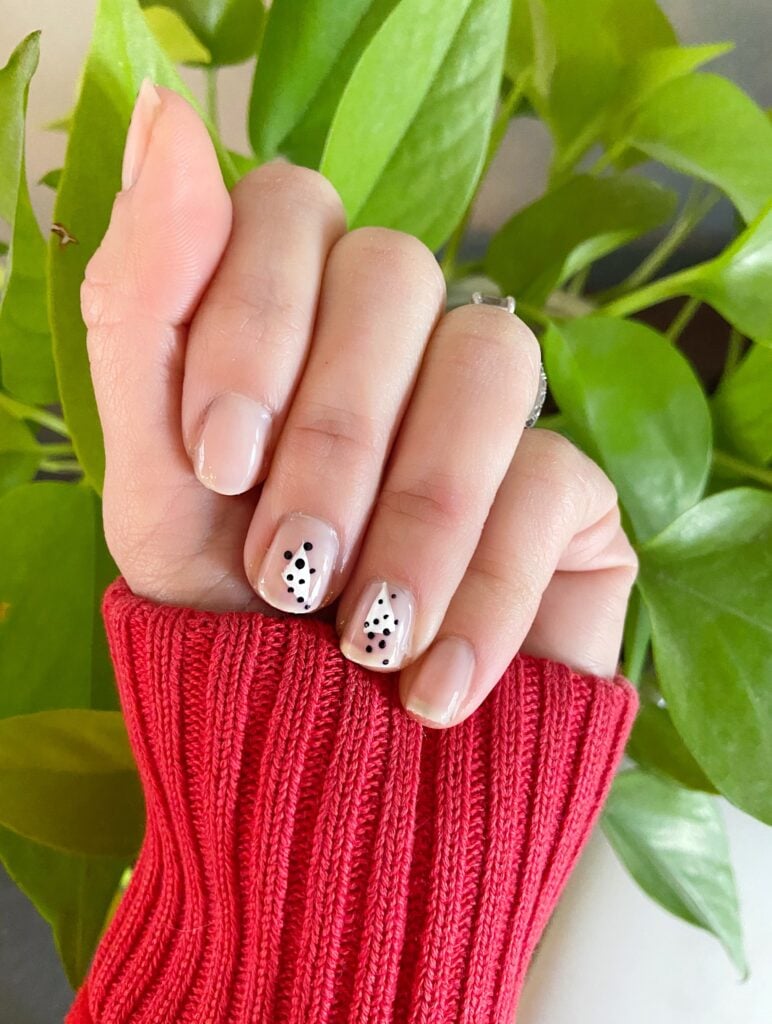
It’s easy to switch up this type of manicure with different colors and different sized dots depending on your mood.
Want to take it to the next level?
I picked up this super easy to use set of nail tools and I love it! Using that made doing a dot manicure so much easier.
It has a variety of different sizes of tools to make different size dots. I used 2 different ones on this manicure.
Polka Dot Manicure Tips
- You don’t need to dip your Q-tip or tool directly into the bottle of nail polish. You can use the nail polish brush to paint some nail polish onto the end of the dotter, or put a little bit of nail polish on some plastic wrap. This will keep you from getting too much on your dotter and causing a mess on your nail.
- Make sure your nail art is completely dry before painting your top coat. The last thing you want to do is smear the dots!
- Practice a couple of times on a piece of paper or plastic wrap to see what kind of dots your tool makes and get the hang of it.
- Start small with your dots on your nail. It’s easy to make them bigger, but not easy to take it off and start again to go smaller.
FAQ
What is a dotting tool for nails?
A dotting tool is a tool used for nail art. They use them at salons, but you can buy them to use at home as well. They’re shaped like pens and then have metal ends with different sized balls on the tips.
What can I use instead of a dotting tool?
If you don’t have a dotting tool, you can of course use a Q Tip like I did. Other options include bobby pins, toothpicks, the wrong end of paint brushes, push pins, and dull pencils.
How do you make a flower on your nails?
You can make a really simple flower with dots. Make a yellow dot for the center, and surround it with dots of the same color for the petals.
What do you think of this polka dot nail polish tutorial? If you don’t want to miss future tutorials be sure to sign up for our newsletter!
If you’re looking for tips on painting your nails at home, I have WAY more posts. Learn how to do dip powder nails, whether Olive and June is worth buying (it is!), and how to use a mani/pedi system.
And find inspiration for your short nail designs, nail shapes, and nude nails.
Also check out this post for a fun manicure or see a ton of different outfit ideas for styling leggings!
Thanks for reading!
Author
-
by
-